Figure 6-9
Automatic stitching state setting:
Mosaics starting point: after clicking the mosaics starting point, enter the setting of
mosaics starting point. The operator moves the frame to the starting point of splicing,
presses the exposure button, and the starting point of splicing is set.
Splicing end point: after clicking the mouse splicing end point, enter the setting of
splicing end point. The operator moves the frame to the end point of splicing, presses the
exposure button, and the splicing end point is set.
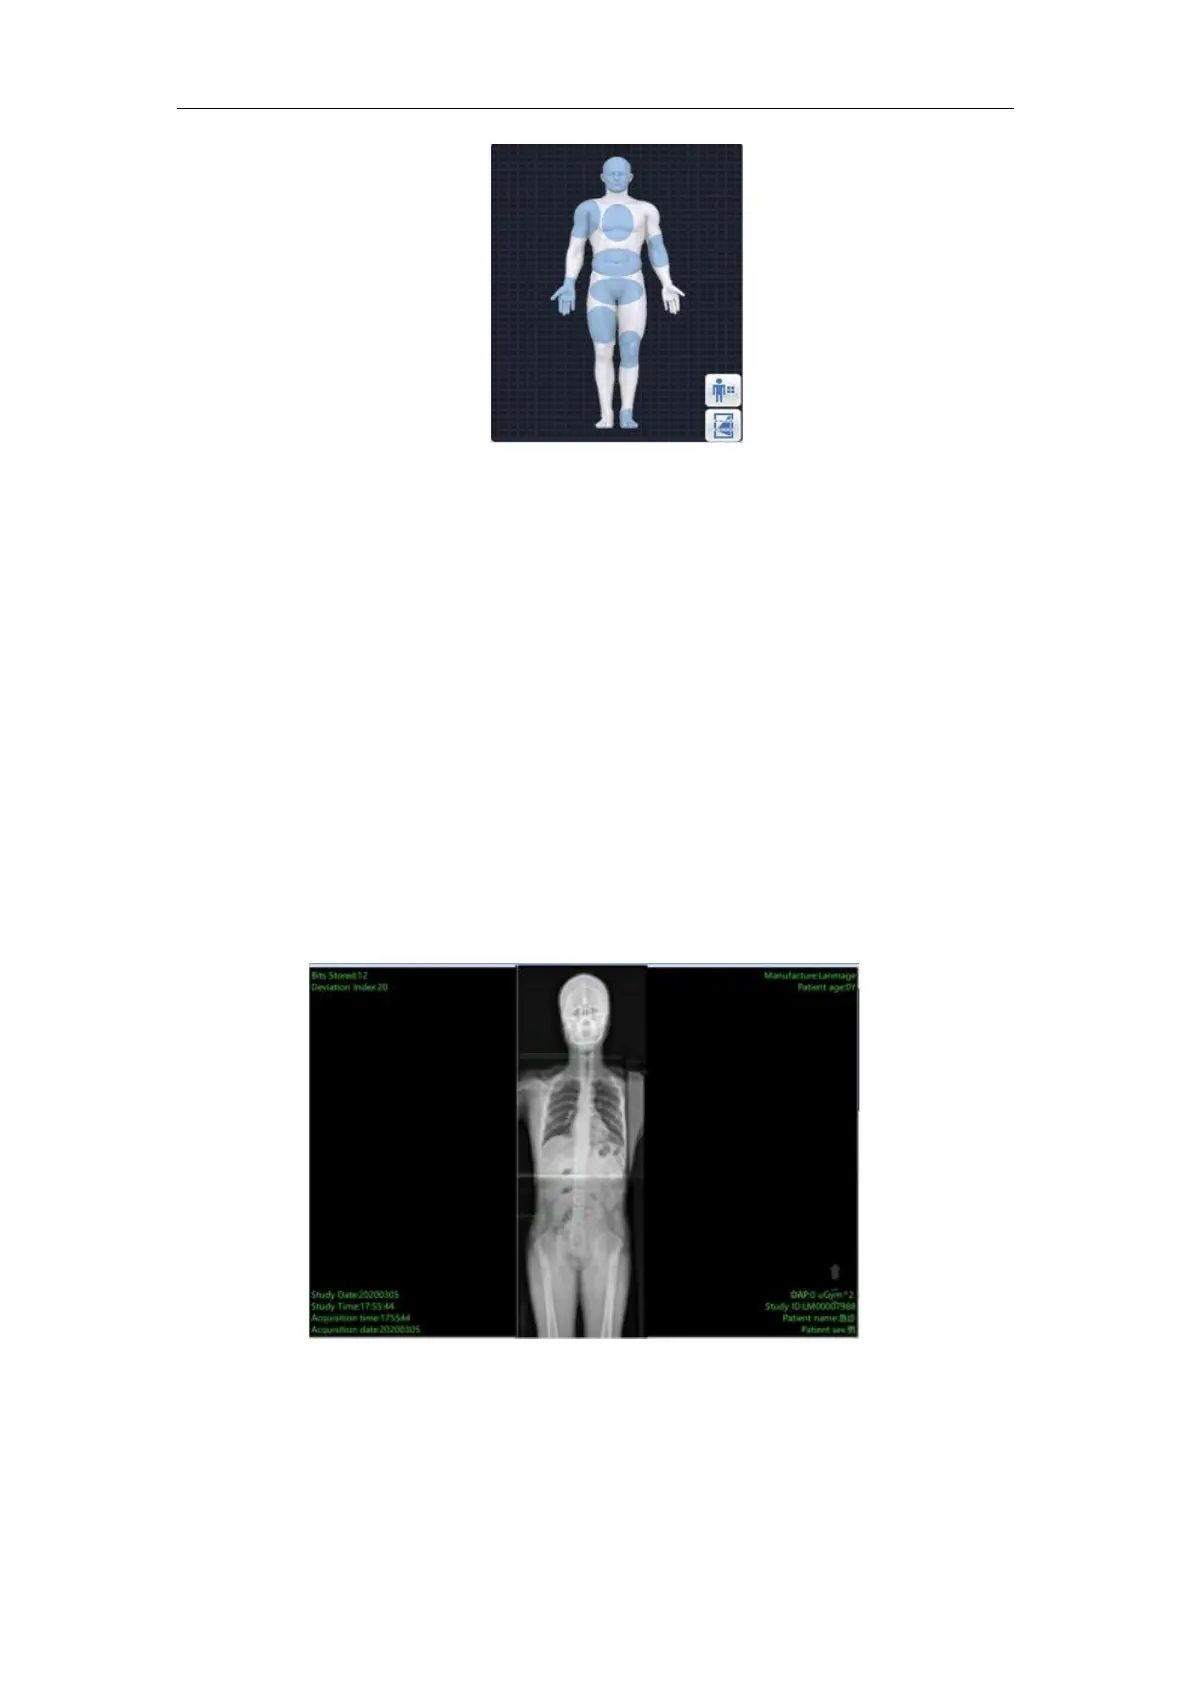
Automatic splicing exposure operation:
After setting the automatic stitching state, press the hand brake to collect the image.
After the images needed to be spliced are collected under the splicing protocol,
automatic splicing is started. After the acquired images are automatically spliced into a
complete image. After the splicing is completed, the splicing image will be displayed in the
image display area. As shown in the following figure:
Figure 6-10
To adjust:
After the system completes automatic Mosaic, the Mosaic image is presented in the
image display area. The system has the function of manual adjustment, the operator can
further adjust the image Mosaic.