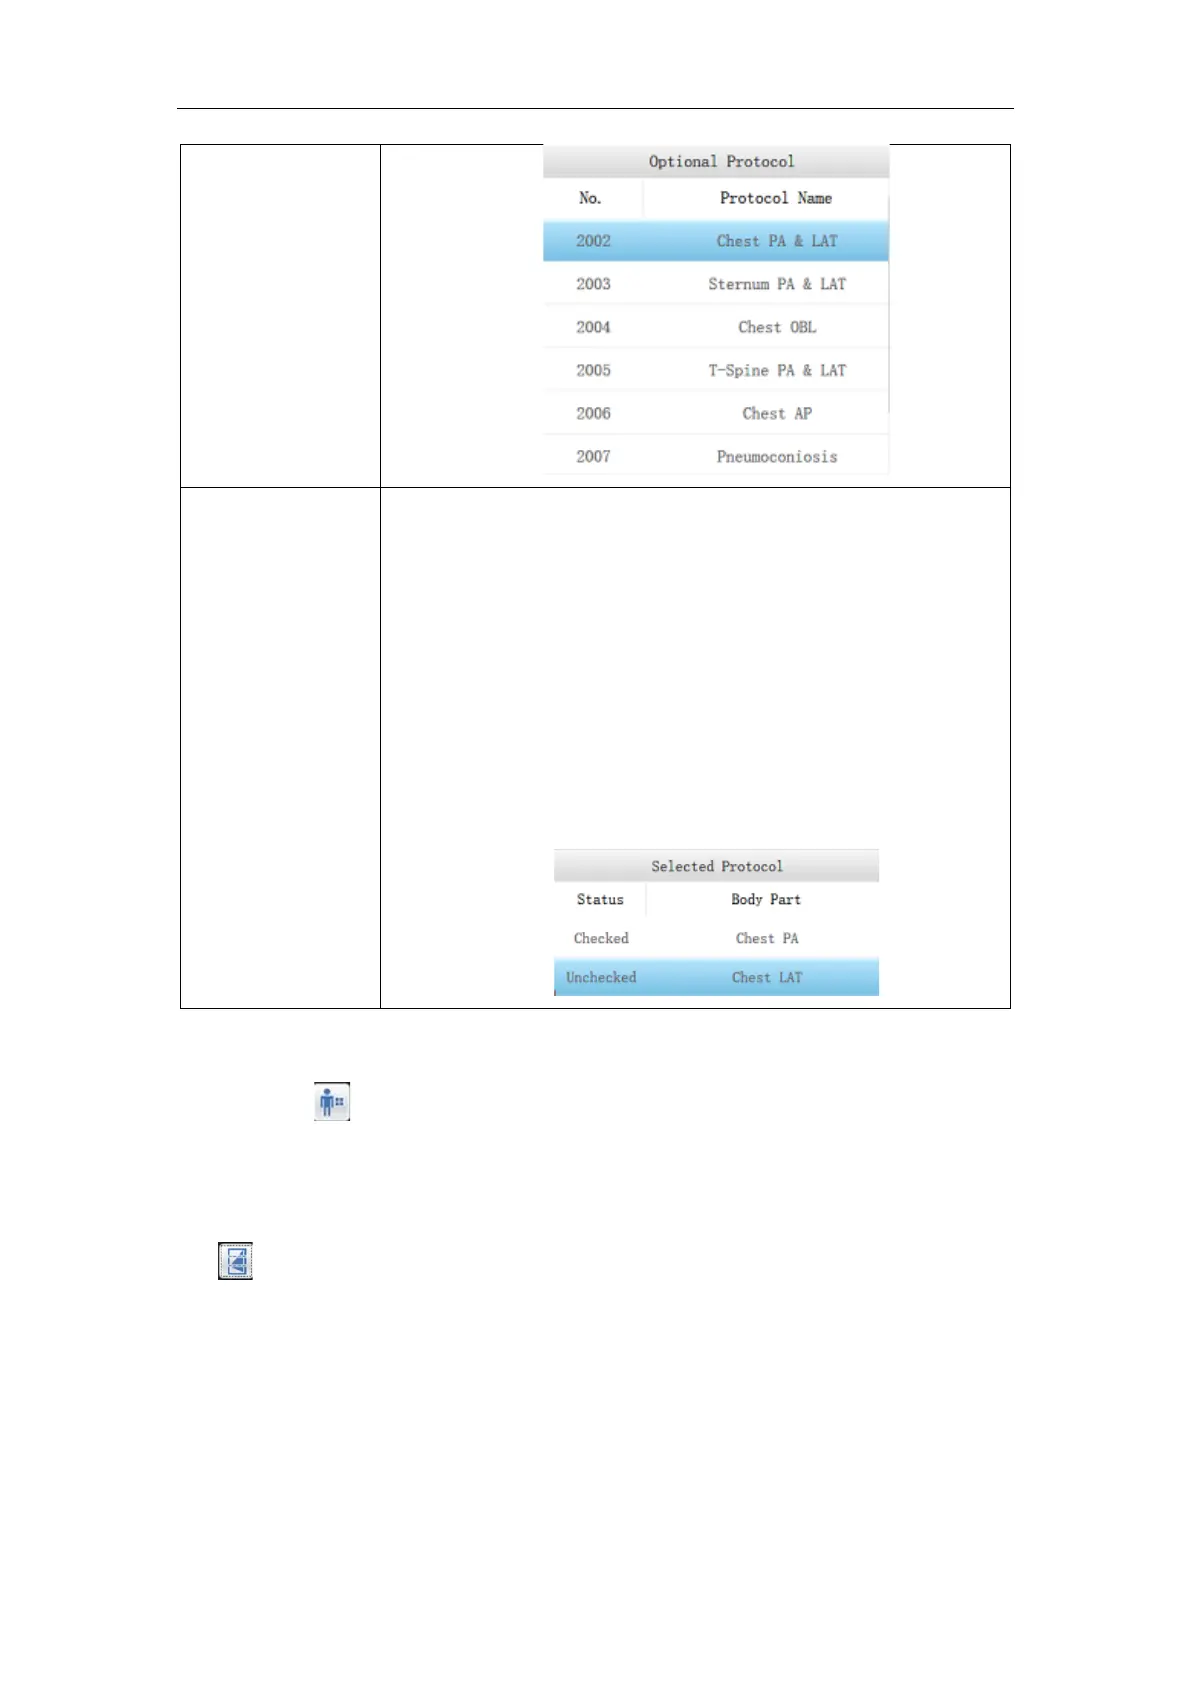
Selected examination position: select the site to be examined
according to the "optional examination position". The name of the
site to be photographed is displayed here. Select the specific
position to be photographed by clicking. When all the registered
parts are taken, the system is not allowed to expose, and new
parts need to be added for exposure. When shooting multiple
parts, the default is to shoot from top to bottom. When the part is
photographed, it turns grey. If you choose this part again, a prompt
box will pop up to indicate whether the part has been exposed for
1 time. Click ok to re-exposure.
4.5.1.5 Image mosaic (preset button)
There is a splicing protocol in the lower right corner of the selected human body area.
Click the icon to display the long limb splicing and spinal splicing in the optional
collaboration area. Select a splicing protocol of the target type that is added to the selected
protocol area.
After selecting the splicing protocol in the selected agreement area, the auto splicing
icon will light up in the lower right corner of the body area.



 To Next Page