55
LeeBoy Model 8515D Conveyor Paver 5-27
Maintenance
Main Screed Wear Plate
1. Retract screed extension completely.
2. Remove the cylinder covers on the walkboards,
then the screed lids.
NOTE: If equipped with electric screed heat, remove
all wiring and heating elements.
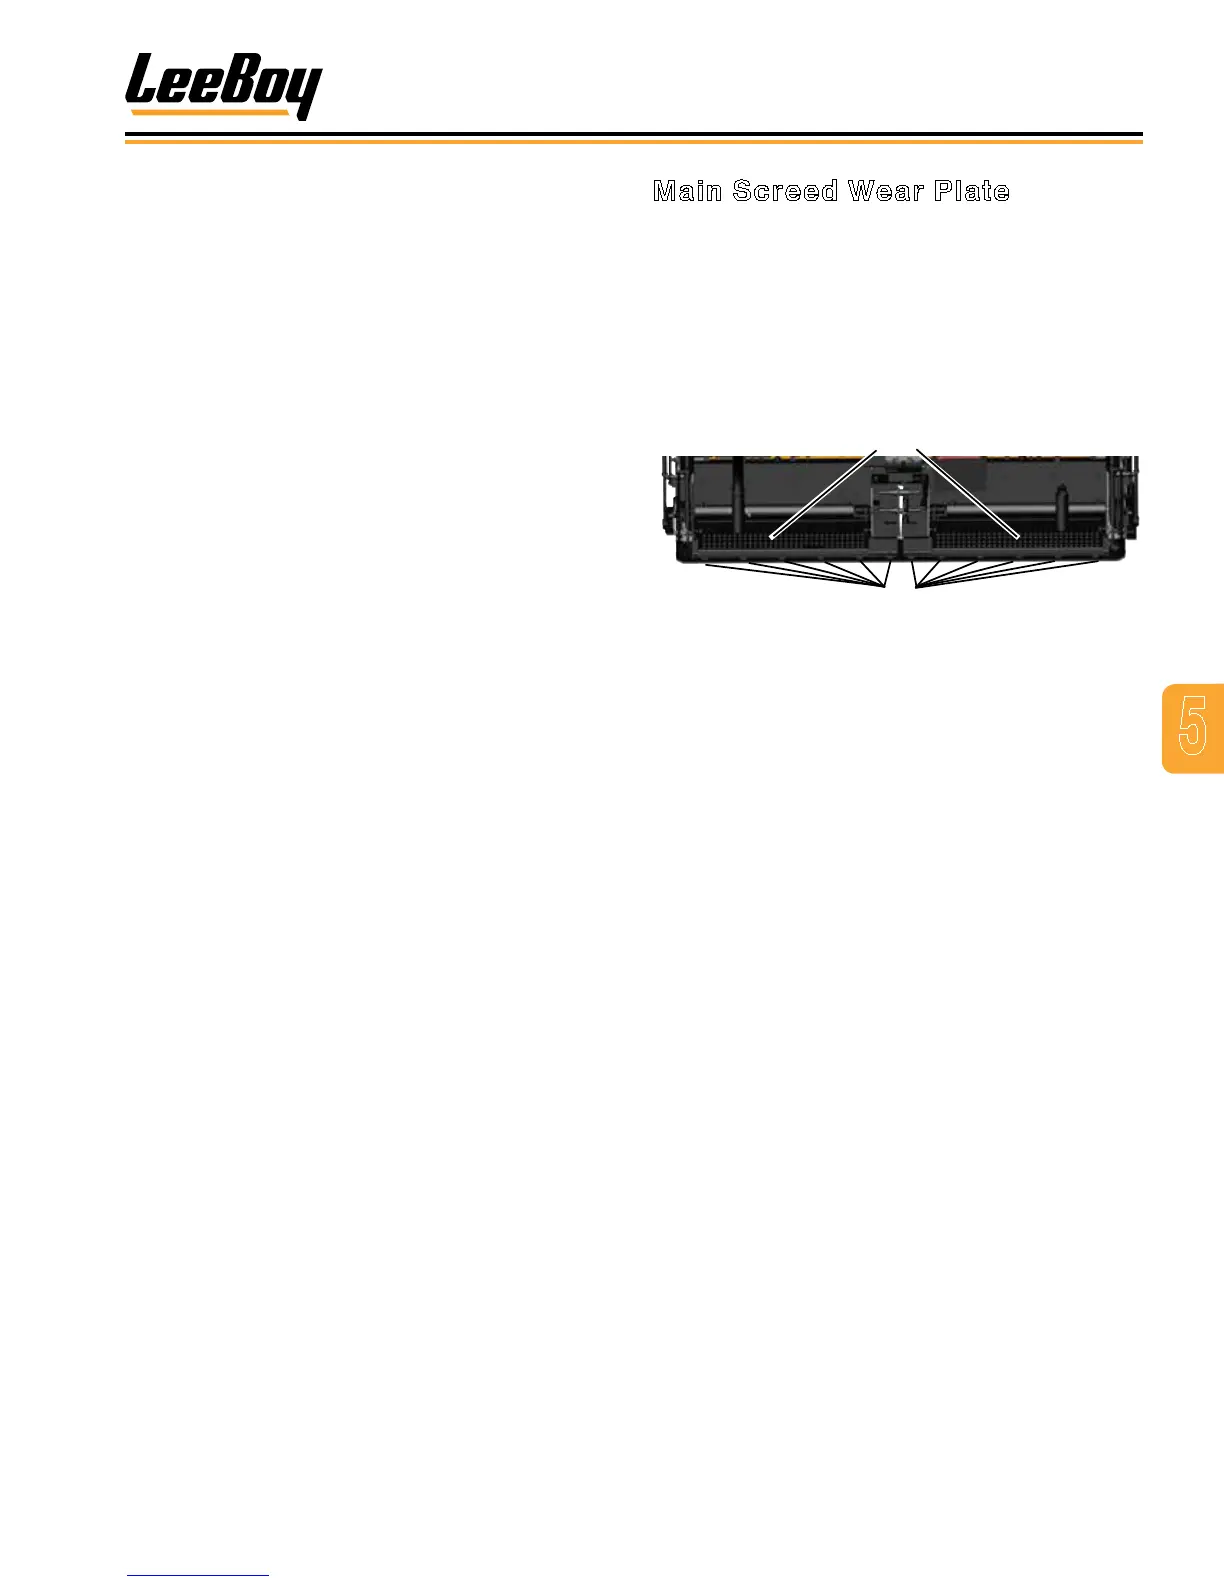
3. Remove all the bolts holding the wear plate to the
screed frame on each side. (Figure 5-33)
Walkboards
Figure 5-33. Wear Plate Mounting Bolts
4. Clamp the center portion of the screed frame to
hold the frame in place when lifting it from the worn
wear plate.
5. Raise the screed up and remove the worn wear
plate.
6. Clean all material buildup on the screed frame.
7. Set new wear plate level on three blocks, placing
one block in the center and one at each end.
Ensure the extensions are completely raised to
prevent misalignment.
8. Lower the screed frame down onto the new wear
plate.
NOTE: DO NOT tighten the bolts in the next step until
are bolts are installed.
9. Install ve bolts in one side at the front to hold the
wear plate in place.
10. Loosen the plate on the slotted side and adjust
the crown. This will move the screed frame in and
out on the wear plate to help align the bolts on the
opposite side.
11. Install the remainder of the front bolts, then install
the rear bolts, ensuring the screed frame and wear
plate are at.
12. Torque bolts to 55 ft lbs (74 N•m) starting inside,
then moving outward by rotating from the left to the
right side to keep the screed relaxed.
NOTE: Install all wiring and elements if equipped with
electric screed heat option.
13. Reinstall the screed lids, walkboard and cylinder
covers.
9. Slide the long screw through the bolt side of the
chain to prevent it from falling down into the cover.
Once chain is secure, remove the bolt holding the
sprocket.
10. Hold the sprocket at the chain as you slide out the
motor.
11. Remove the sprocket from the chain.
12. Slide off the sprocket and remove the auger motor
mount.
13. Place the new auger motor onto the mount.
14. Reinsert the sprocket back onto the chain.
15. Reinsert the motor.
16. Cover bolts with thread-locking adhesive, reinsert
and tighten.
17. Adjust the chain for 1/4 inches of slack.
18. Lubricate with chain lube.
19. Reconnect the hydraulic hoses and check for leaks.