55
LeeBoy Model 8515D Conveyor Paver 5-11
Maintenance
5. Repeat procedure for the lower ap.
If the lower ap switch did not click OFF:
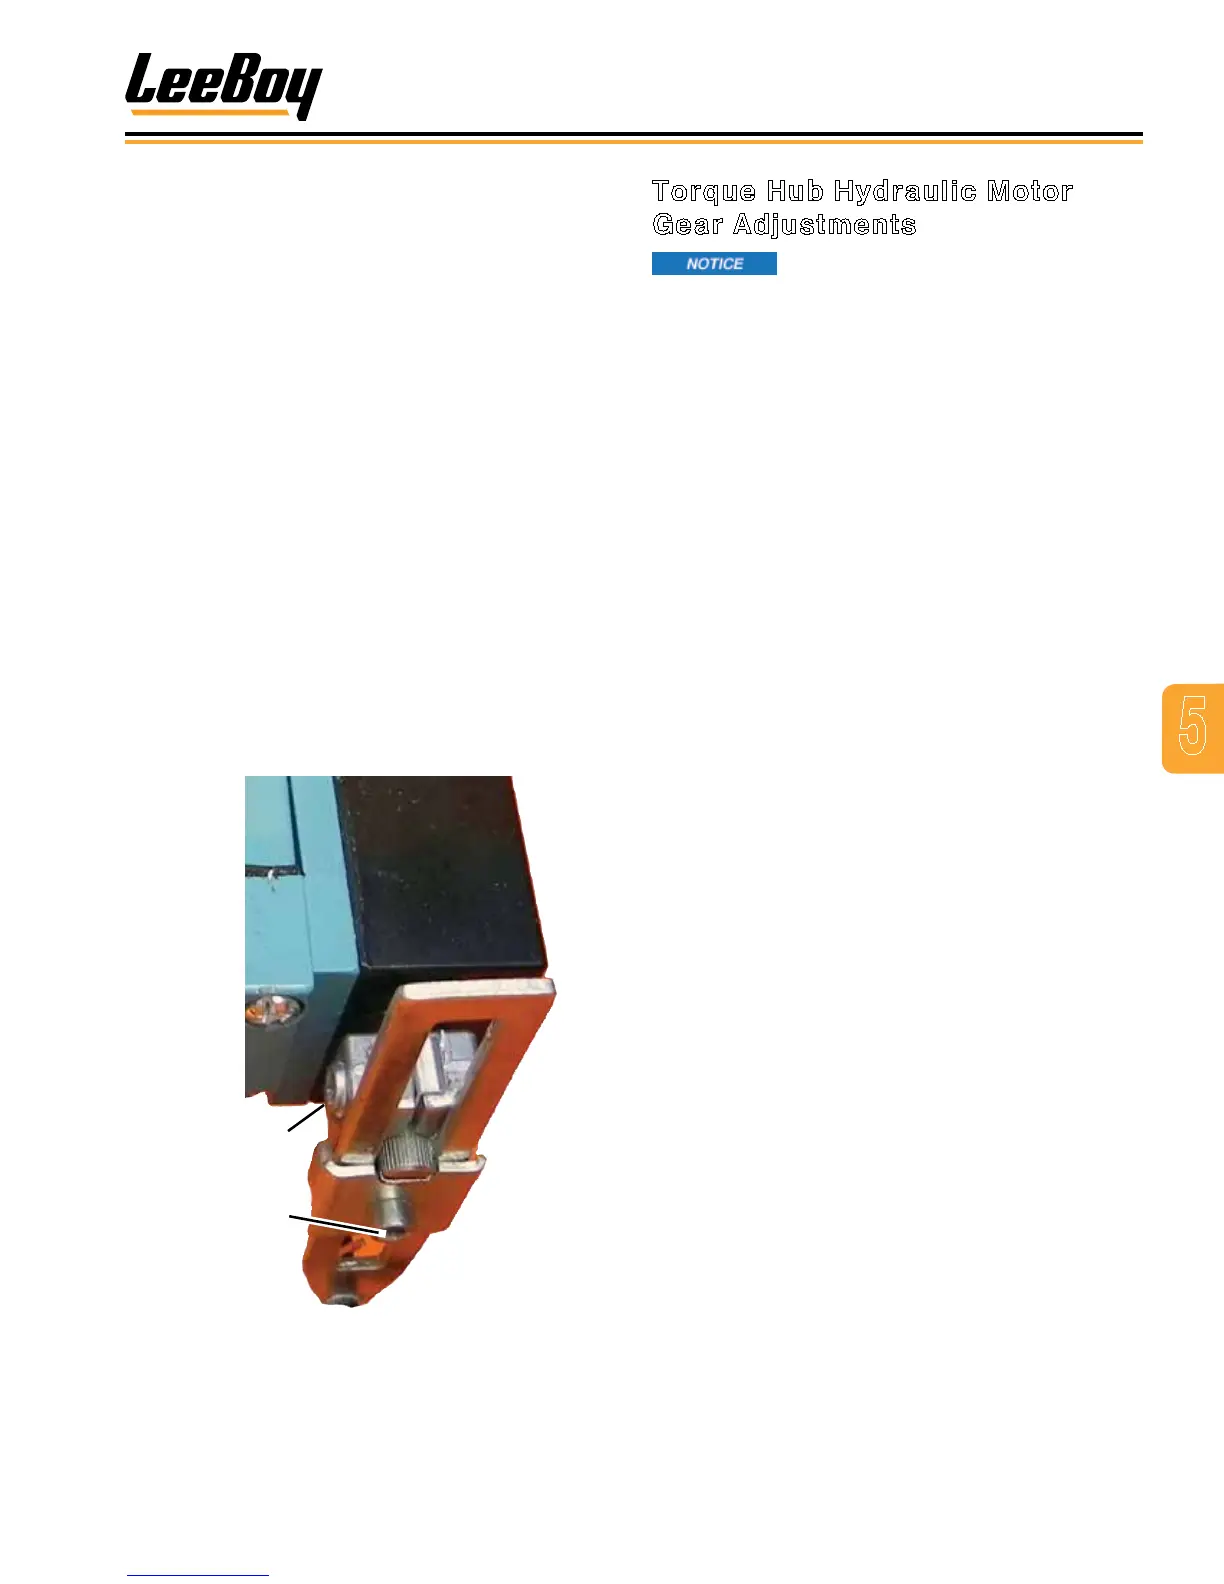
1. Loosen Setscrew B. (Figure 5-12)
2. Slide the actuator arm IN or OUT bo bring the travel
limits into tolerance.
3. This may require several adjustments before the
correct position is obtained.
4. When the actuator arm is in the correct position,
tighten Setscrew B.
NOTE: The factory setting is one inch (2.54 cm) from
the center of Setscrew B to the eyelet on the
actuator arm.
NOTE: The setting from the factory is 1 in. (2.54 cm) from
the center of the setscrew “B” to the eyelet on
the actuator arm.
5. To bring the travel limits into tolerance, slide the
actuator arm in the direction desired. This may
require several adjustments before the correct
position is obtained. When the actuator arm is in the
correct position, tighten setscrew “B”. No further
adjustment is necessary.
Setscrew A
Setscrew B
Figure 5-12. Actuator Arm - Setscrews A and B
Torque Hub Hydraulic Motor
Gear Adjustments
Torque hub hydraulic motors are
calibrated and set at the factory. These adjustment
should only be performed by an authorized LeeBoy
dealer. Work not performed by an authorized dealer
can damage machine and void the warranty.
The low gear adjustment must be made to the slow
side drive motor only. The low gear adjustment screw
is located on the bottom of the drive motor. Make only
small adjustments at a time.
Your authorized LeeBoy dealer will perform the tracking
adjustment on the high side gear by adjusting the screw
on the top of the hydraulic motor. This adjustment on the
motor for the fast track must be screwed in to equalize
track speed.
Your LeeBoy dealer will perform the following
procedure to adjust either gear:
1. With paver running, push the 2-Speed switch:
• Set both 2-Speed switches on both sides of the
control panel to the LOW position if adjusting
low gear. (The red 2-Speed light should not
illuminate.)
• Set either 2-Speed switch to the HIGH position
if adjusting high gear. (The red 2-Speed light
will illuminate.)
2. Adjust screw (on bottom of the hydraulic motor for
low gear; on top for high gear) until you feel back
pressure on the adjustment screw. This indicates
the correct adjustment is close.
3. Finalize adjustment by making a one-quarter
(1/4) turn at a time until the correct adjustment is
accomplished. Recheck tracking.
NOTE: If hydraulic motor has not been previously
set, ten revolutions of the adjustment screw may be
required before noticing any difference in travel.