LogTag TRIX-8/TRIX-16 Work Instruction Manual Revision 9.20 Page 7/53
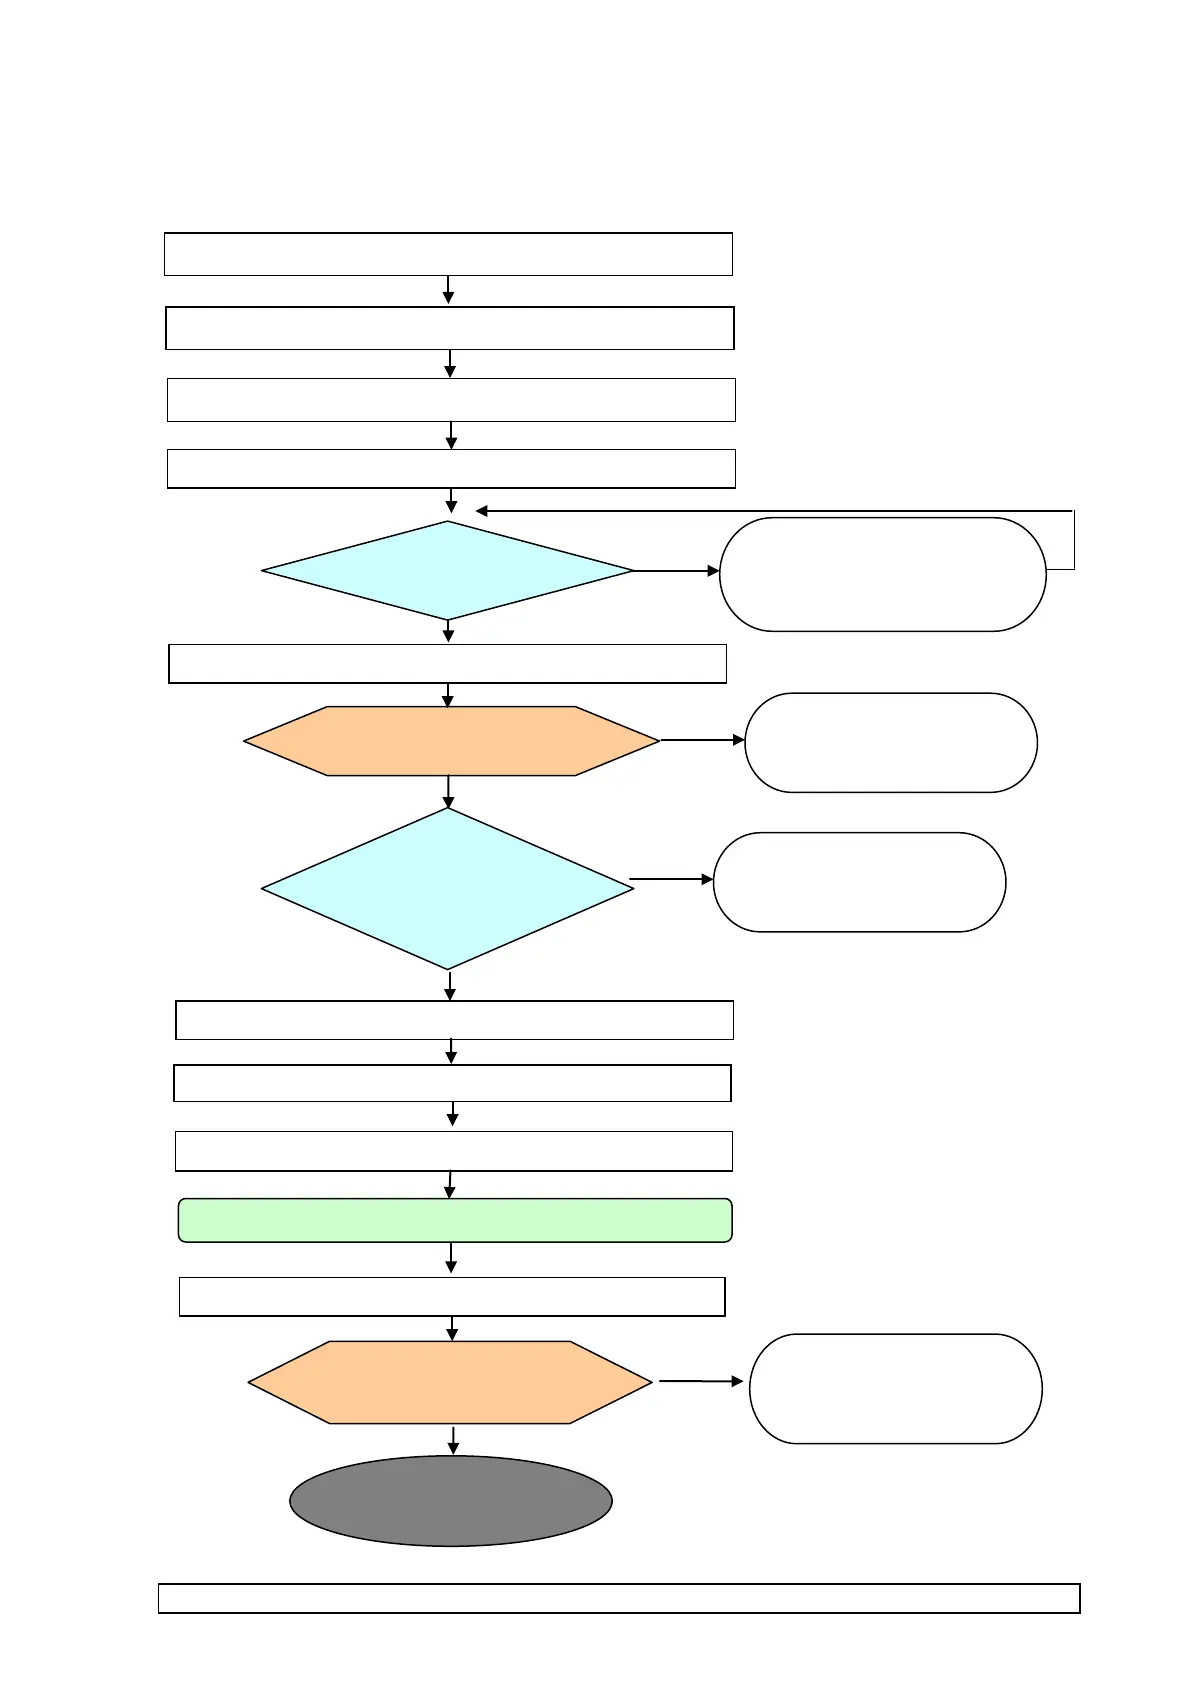
MANUFACTURING PHASE 2: Product assembly & test
Solder on battery (2.2)
COMPUTER TEST
LogTag Test & Setup (2.6)
Place Failed product in
marked container with this
test number for servicing.
Add sealant to sensor area (2.3)
Press case halves together (2.4)
INSPECTION
Case thickness (2.5)
Squeeze case together using
toggle clamp to insure case
thickness to specification.
Apply clear tape over switch hole in case (2.10)
LogTag Check & Final Test (2.12)
marked container with this
test number for servicing.
PASS
Screw in case screws (2.8)
Press Light-pipes into LED holes in case (2.9)
MANUFACTURE PHASE 3
CUSTOMISATION
Apply foam dot to battery (2.1)
Temperature cycle stress test (2.11)
marked container with this
test number for servicing.
Push Start Button Start (2.7)
observe LEDs blink to indicate start
Stack for 10mins before processing in next test (2.6)
Stack for 10mins before processing in next test (2.6)