The RIPping Process Installing & Configuring PhotoPRINT Server
13-12 Sprinter User's Manual
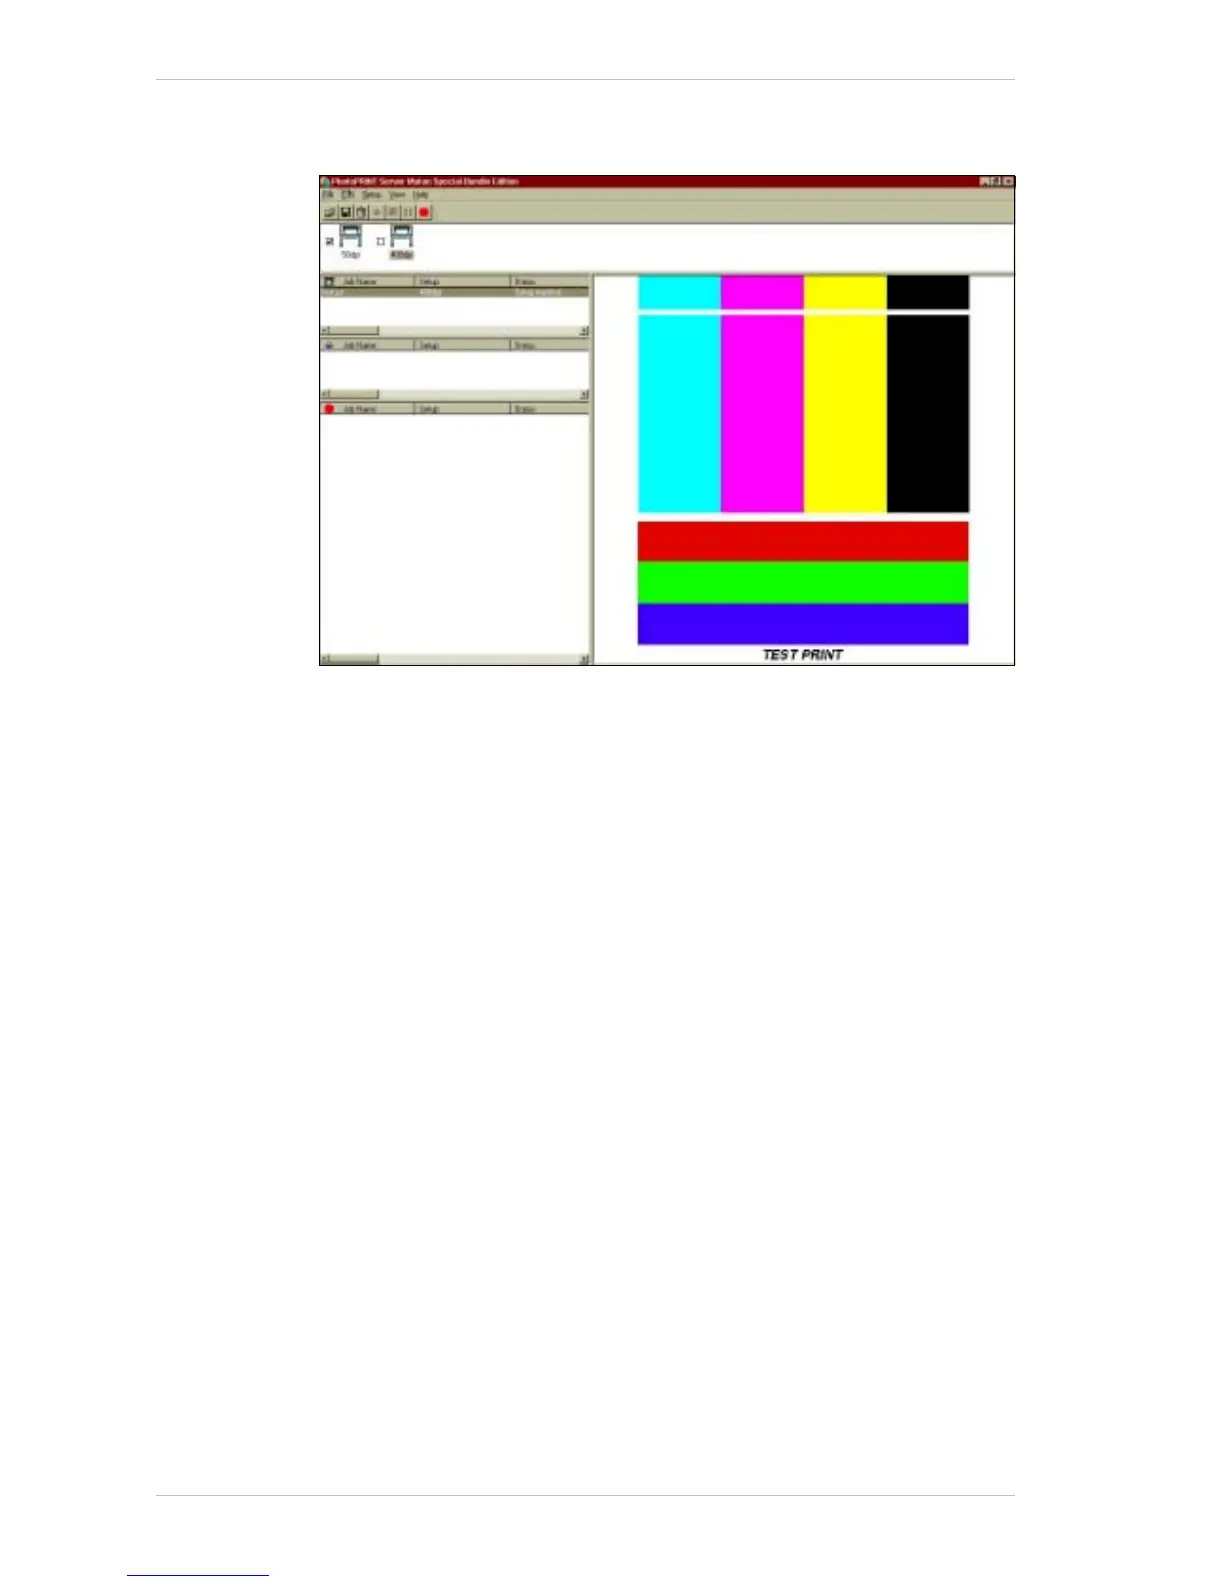
The RIPping Process
Figure 13-18: The PhotoPRINT Server Properties Window
! To RIP a file:
1. Run the PhotoPRINT Server application.
2. From the M
AIN SCREEN click the ADD JOB icon and select the required
file by double clicking on its name.
The J
OB PROPERTIES dialog box appears, with the file displayed together
with its settings.
3. Click OK.
The selected file appears in the Q
UEUING window of the MAIN SCREEN
(Figure 13-11, page 13-8).
4. Double-click on the file, to see a preview.
If required, change the parameters of the file before printing (e.g., size,
mirror, rotation, number of copies, etc.).
5. Drag the selected file from the Q
UEUING window to the PRINTING window.
The application displays the file in the RIPing window, RIPs the file and
places it in the P
RINTING window.
The resulting files are saved in the directory that was specified in the
C
OMMUNICATIONS tab of the SETUP PROPERTIES window (Figure 13-16,
page 13-10).