Preparing Your Printer for Printing Preliminary Preparations for Printing
Sprinter User's Manual 8-9
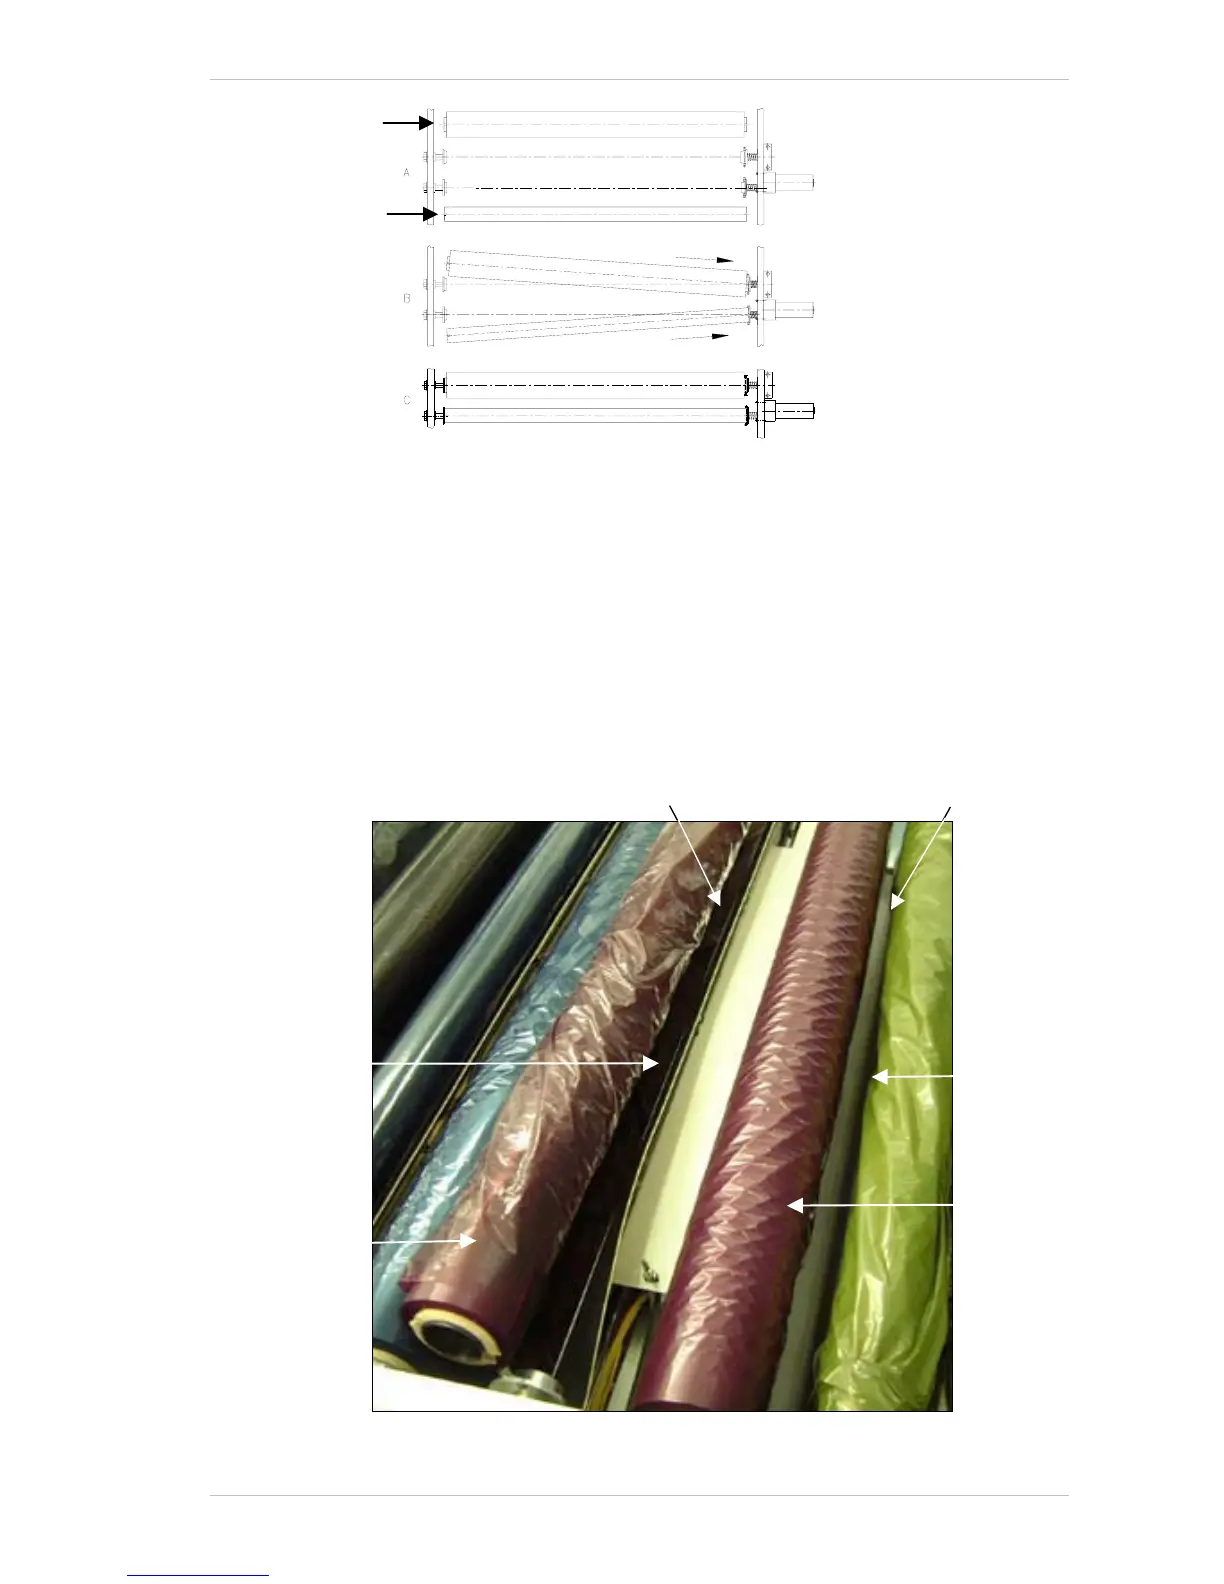
Figure 8-10: Placing the Ribbons into the system
9. Take the new RIBBON and put it in place of the RIBBON you have just
taken out.
10. Pull the R
IBBON underneath the PRINT HEAD – to the outside of the ANTI-
STATIC BRUSH (Figure 8-11).
11. Using adhesive tape, attach the edge of the new R
IBBON to the empty
cardboard roll, at three points.
12. Close the T
OP COVER and from the CONTROL dialog box, click the RUN
button of the relative R
IBBON. Ensure that the RIBBON is fed between
the A
NTI-STATIC STRIP and the TAKE-UP ROLLER.
Figure 8-11: Feeding the Ribbon under the Print Head
New Ribbon
New Ribbon
Anti-static Stri
Anti-static
Brush
Feed the new Ribbon down
and to the outside of the
Anti-static Brush.
Ensure that the New Ribbon is
fed between the Anti-static Strip
and the Take-up Roller.
Unused
Ribbon
Unused Ribbon
(removed from its
correct location,
for clarity)