MAINTENANCE
5-5
MA-5079-ENG MICRON GEAR ADHESIVE MELTER
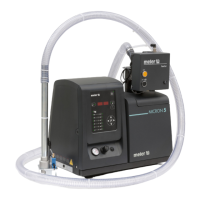
7. Replace the assembly inside the distributor and fasten it clockwise.
Tighten the purge screw clockwise with a flat blade screwdriver.
8. Continue working as usual.
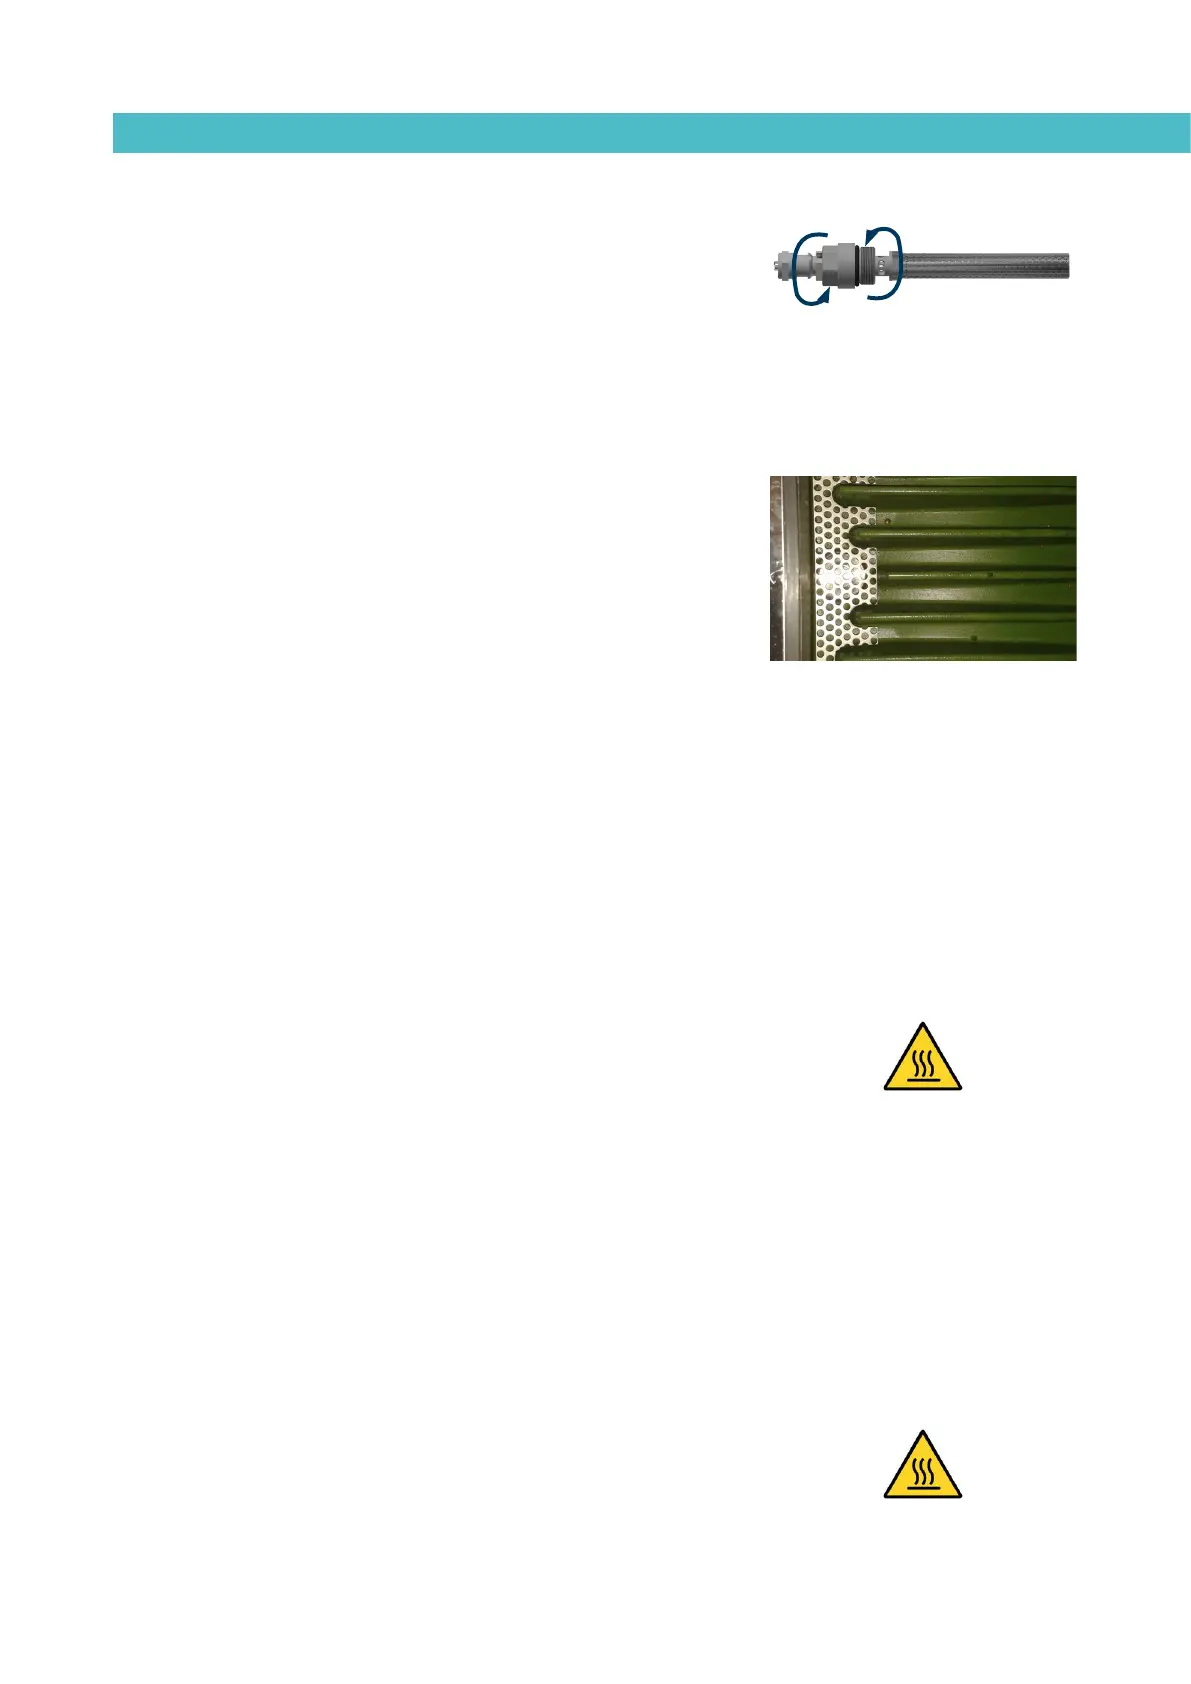
Cleaning the tank
The hot-melt tank must be cleaned on occasion to maintain its fusion and
anti-adherence properties. The tank is covered on the inside with PTFE and
inclined enough to aid unloading the hot-melt and to avoid it from being
retained inside when consequential burning occurs.
Furthermore, when adhesives are mixed, reactions may occur between them,
causing a degeneration and thus problems in unloading in the direction of the
pump.
Therefore, it is recommended to clean the deposit every time that:
• A change is made to a different type of hot-melt.
• Too much burnt material is generated in its interior.
Changing adhesive type
1. Use up as much of the adhesive as possible.
If it is necessary to unload the adhesive without having used it up as
much as possible, follow the instructions in the section ‘Emptying the
tank’.
2. Clean the remains of hot-melt adhesive on the inside of the tank.
Warning: Use appropriate protective equipment for high temperatures.
3. Add the appropriate type and quantity of the new adhesive, wait for it
to melt and pump at least one full tank through the system (hoses and
applicators).
Cleaning burnt adhesive
1. Empty the tank directly (see the section ‘Emptying the tank’) to prevent
the burnt material from passing through the pump circuit.
2. Clean the adhesive remains and burnt material inside the tank. Do not
use sharp objects that might damage the inside coating.
Warning: Use appropriate protective equipment for high temperatures.
3. Add the appropriate type and quantity of adhesive and wait for it to melt.