POWERHEAD
90-855347R1 JANUARY 1999 Page 4A-21
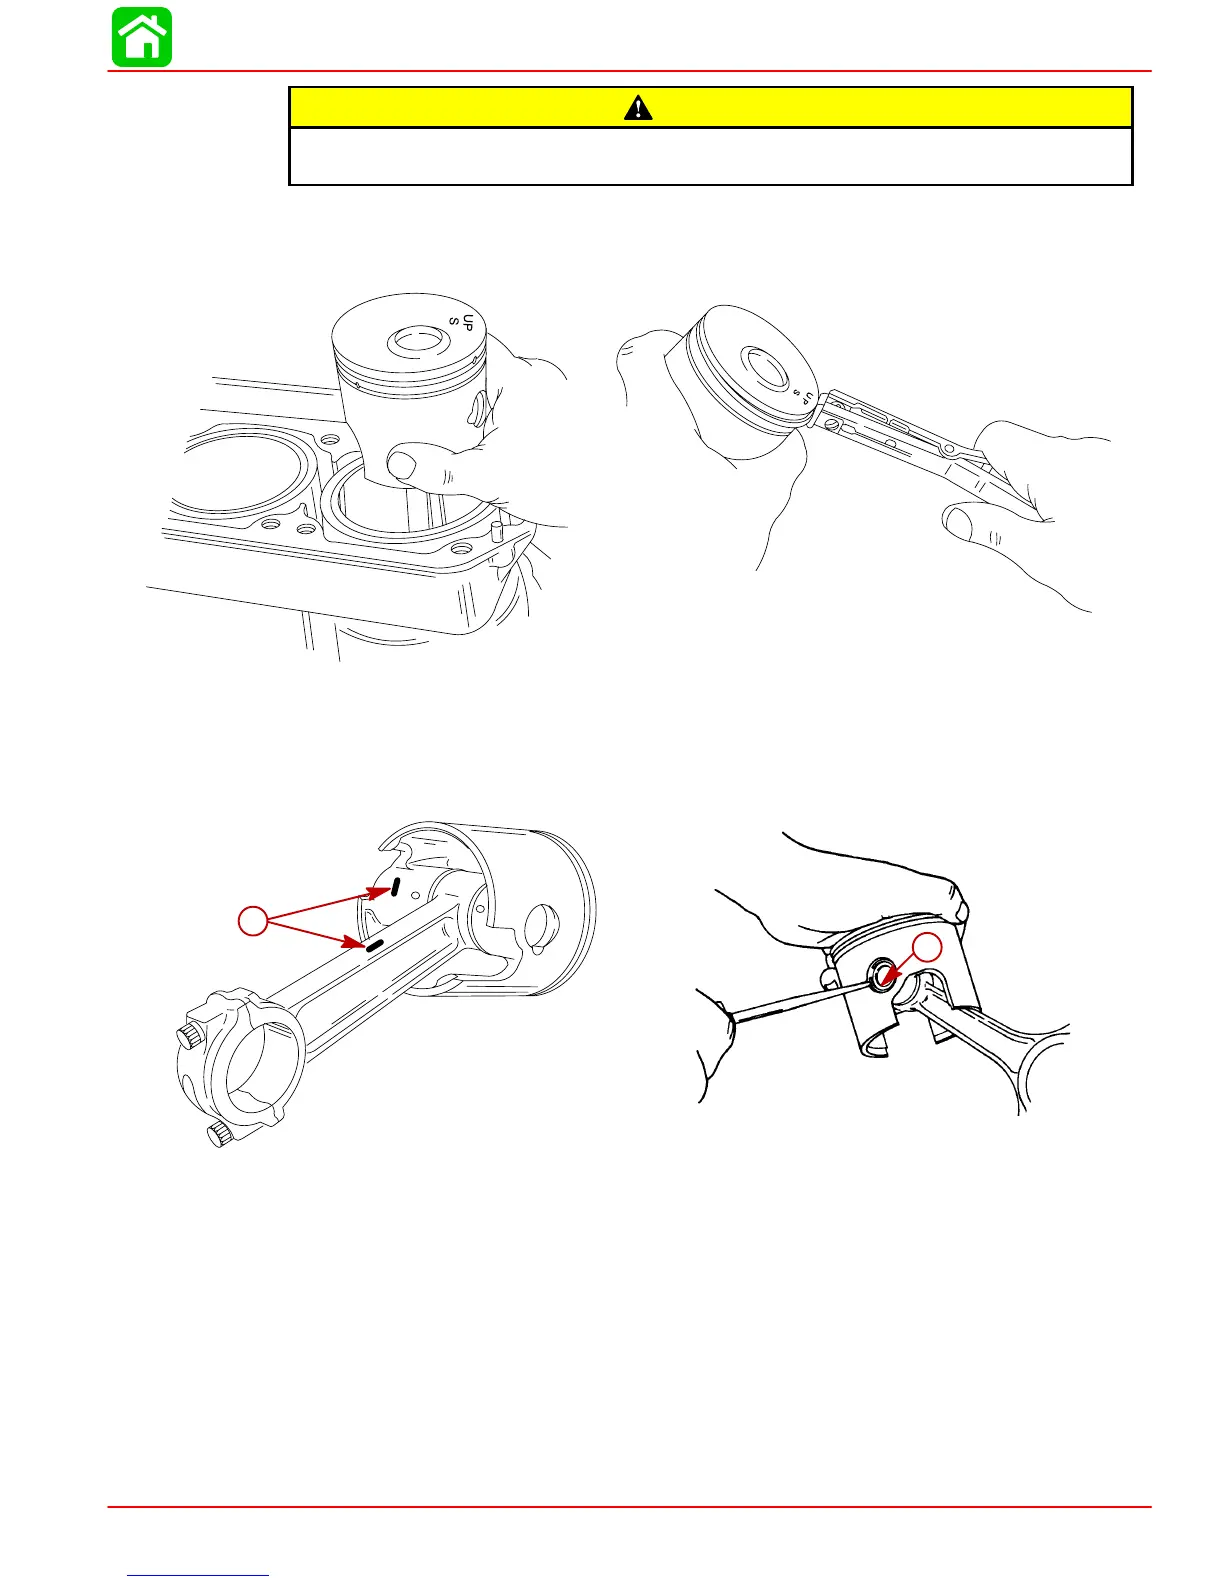
CAUTION
Each connecting rod and end cap are a matched machined set and must never
be mismatched.
6. Inspect pistons as outlined in “Cleaning and Inspection,” following.
7. Use Piston Ring Expander (91-24697) to remove piston rings. Always install new pis-
ton rings.
56155
56153
8. Using an awl, scribe identification number of connecting rod on inside of piston (a).
Reassemble piston on same connecting rod.
9. Using tool (91-52952A1), remove piston pin lockrings from both ends of piston pin.
Never re-use piston pin lockrings.
51083
56154
b
a
a-Scribe Identification Number
b-Lockring
IMPORTANT: Warming the piston dome using a torch lamp will ease removal and
installation of piston pin.
 Loading...


