© Microhard Systems Inc. 13
2.0 Quick Start
This QUICK START guide will walk you through the setup and process required to access the
WebUI configuration window and to establish a basic wireless connection to your carrier.
Note that the units arrive from the factory with the Local Network setting configured as
‘Static’ (IP Address 192.168.168.1, Subnet Mask 255.255.255.0, and Gateway
192.168.168.1), in DHCP server mode. (This is for the LAN Ethernet Adapter on the back of
the BulletPlus unit.)
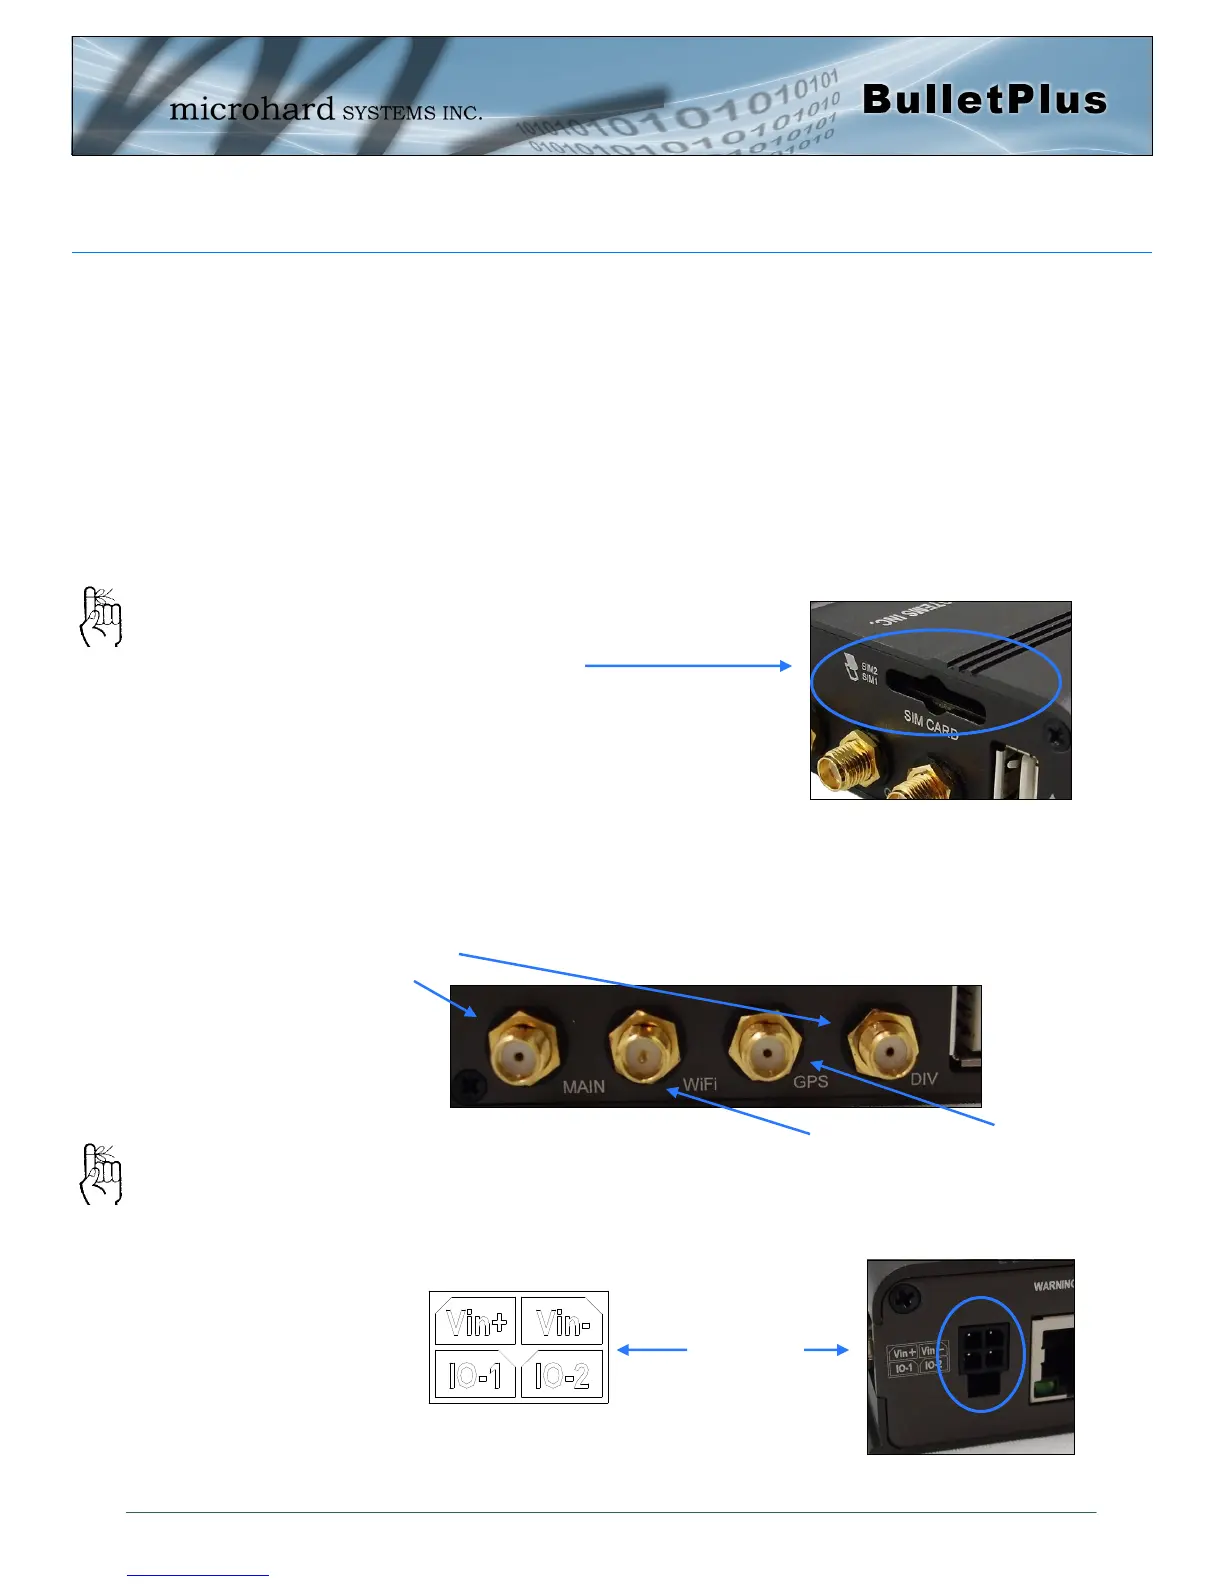
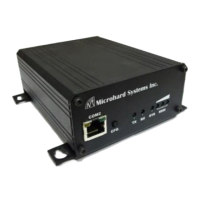
2.1 Installing the SIM Card
Before the BulletPlus can be used on a cellular network a valid SIM Card for your Wire-
less Carrier must be installed. Insert the SIM Card into the slot as shown, the bottom
SIM slot is for SIM1: (The contacts should face down, and the notch to the right)
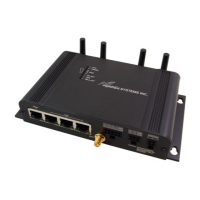
2.2 Getting Started with Cellular
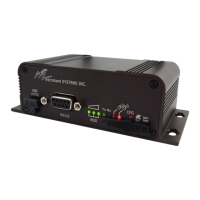
Connect the Antenna’s to the applicable ANTENNA jack’s of the BulletPlus.
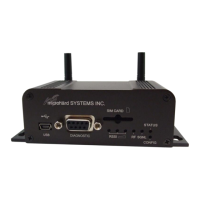
Connect the power connector to the power adapter and apply power to the unit, the CPU
LED will flash during boot-up, once on solid, proceed to the next step.
SIM Card Slot (s)
To reset to factory
defaults, press and hold
the CFG button for 8
seconds with the
BulletPlus powered up.
The LED’s will flash
quickly and the modem
will reboot with factory
defaults.
Use the MHS-supplied
power adapter or an
equivalent power source.
The unit can also be powered
via PoE using a MHS PoE
injector.
GPS Antenna
Cellular
Antenna’s
7-30VDC
WiFi Antenna