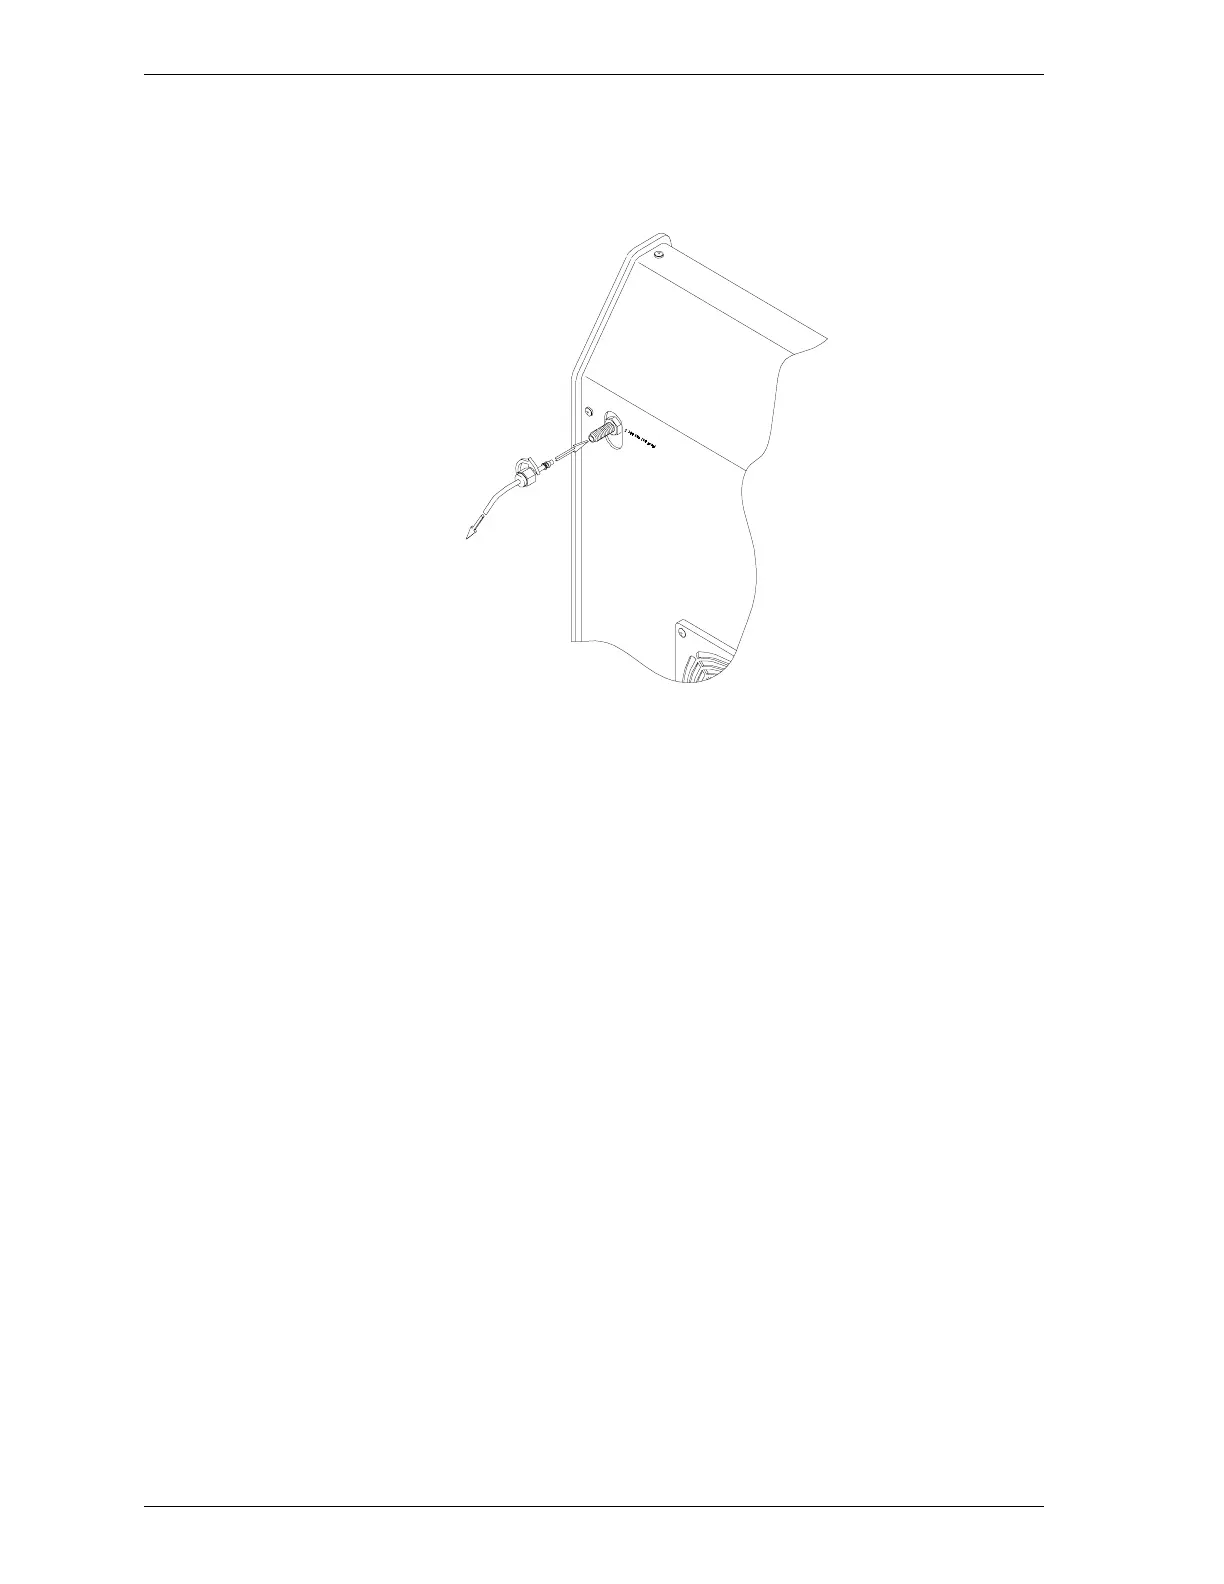
6. Attach the other end of the copper tubing to the gas fitting on the back of
the degasser.
Figure 1-3. Attaching Copper Tubing to the SmartPrep
7. Open the gas bottle shut-off valve.
Use the regulator pressure control knob to set the pressure to 15 psi
(103 kPa).
8. Close the gas bottle shut-off valve. Check the pressure. If it decreases, gas is
probably leaking at the fitting. Tighten the fitting. Then check the pressure
again.
9. Open the regulator shut-off valve. The pressure should stabilize after about
five minutes. If it does not, gas is probably leaking at the brass reducer fit-
ting or at the gas port on the rear panel of the degasser. Tighten the fittings,
then check the pressure again.
10. Open the gas bottle shut-off valve.
11. There are two RS-232 serial ports on the back panel of the degasser. They
are labeled with arrows indicating data flowing into the left connector and
data flowing out of the right connector.
Installation SmartPrep
1-6 Sep 98