16 Patient Data Management
Operator’s Manual 16 - 11
DICOM Print Task
Displays the DICOM print task.
Media Storage Task
• DICOM media storage task (including disc and USB devices): In iStation screen, select the
target exam and click [Send Exam], then click DICOMDIR in the menu which appears.
• Back up task (system-relevant format): Select the exam to be backed up in iStation and click
[Backup Exam].
• Send to external devices (including disc and USB devices): Select exam data or images in the
iStation or Review screen. Click [Send Exam] for the image.
• iStorage task: In iStation screen, select the target exam and click [Send Exam], then click
iStorage in the menu which appears.
• MedSight storage task:
– In iStation screen, send exam to MedSight devices.
– In Review screen, iStation screen, thumbnail area, send the image(s) to MedSight devices.
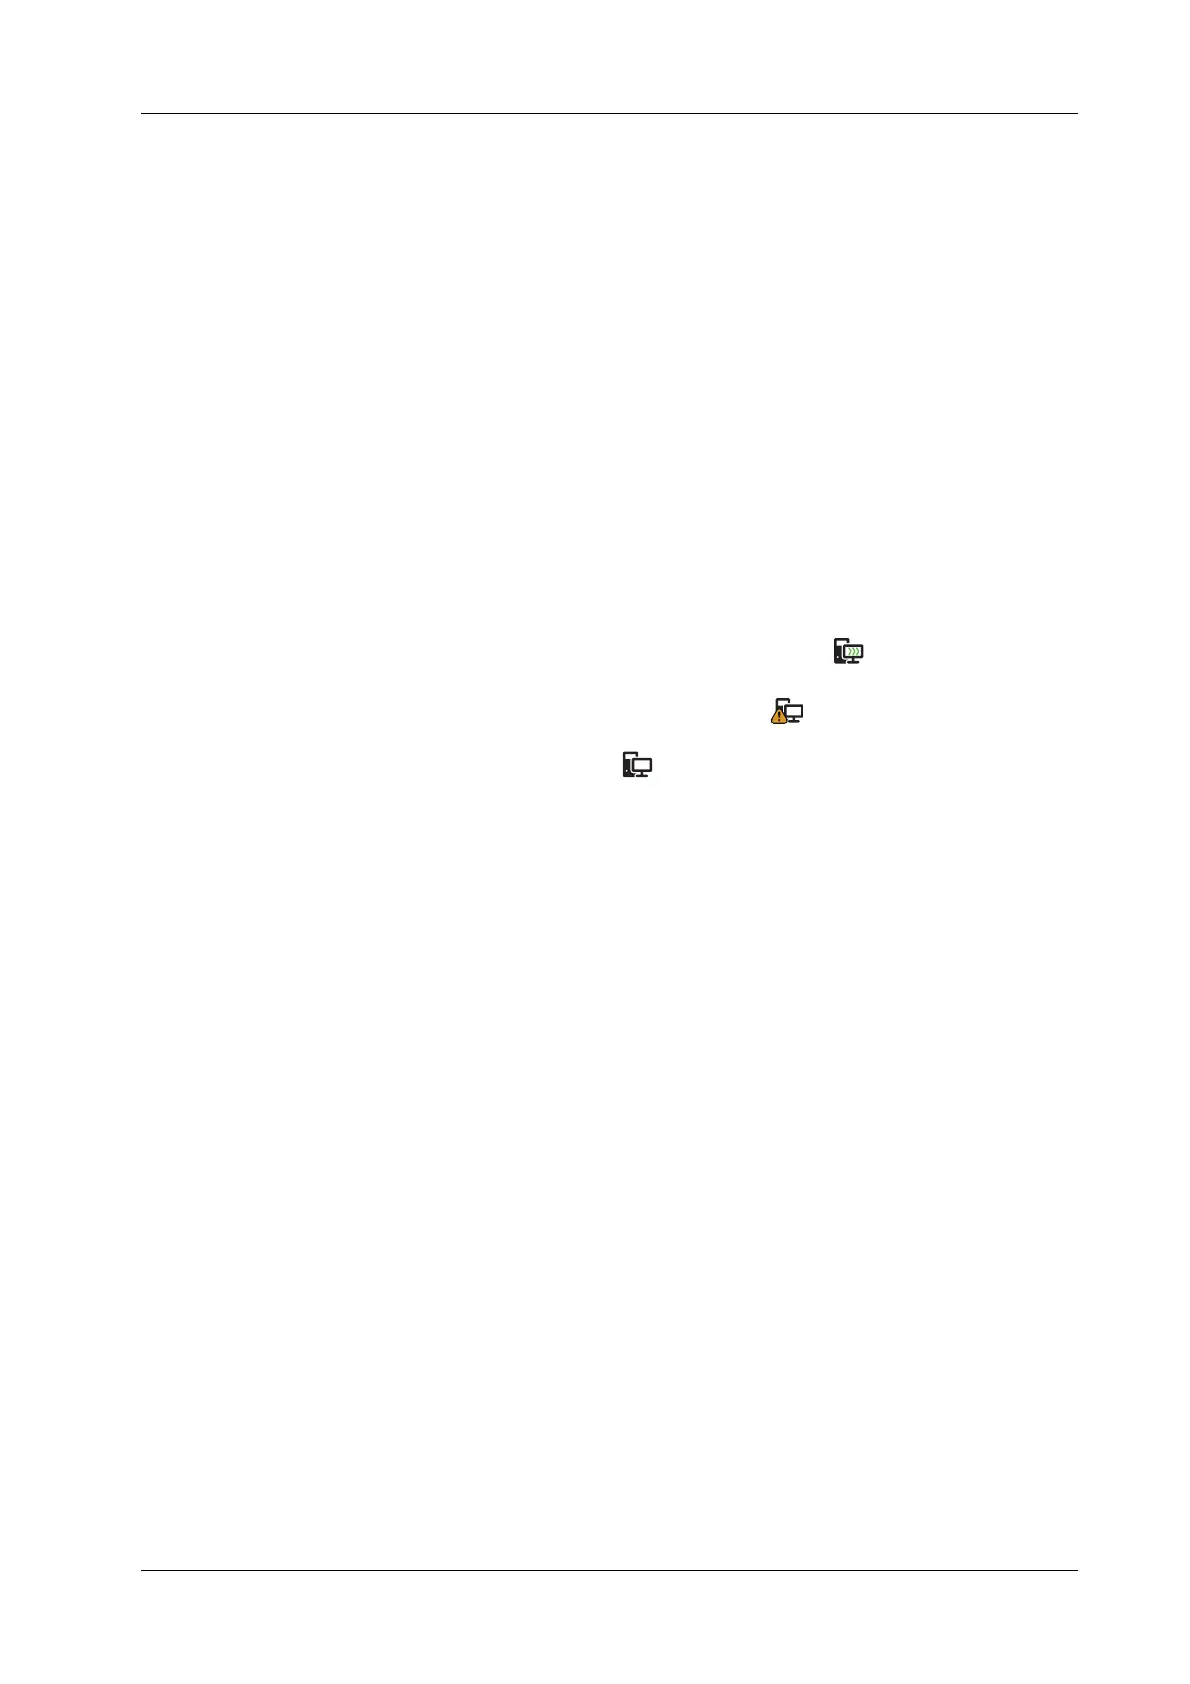
Task Status
When there are tasks underway, the task management icon displays as . Click the icon to check
the process.
When tasks have failed, the task management icon displays as . Click the icon to check the
reason for the failure.
When the task management icon displays as , it means no task is underway or has failed.
DICOM Service Setting
On the Storage Task and DICOM Print Task page, click [Service Setting] to enter the DICOM
service setting screen. For details, see “4.7 DICOM/HL7”.
Troubleshooting
If a serious error occurs, such as network disconnection or operation timeout, the system can try to
reconnect the network. The interval time and maximum retries can be set as desired. For details, see
“4.7.2 DICOM Service Preset”.
16.10 Q-Path
You can use the ultrasound system to check data on browser directly. After you have ordered
storage service of a network website service, you can check data using the website, authorized
account and password (provided by the service vendor). You can open the browser to review
previously sent DICOM data. For Q-Path settings, see “4.8.3 Q-Path Preset”.
Perform the following procedure:
1. Send stored images or worksheet reports from iStation/Review/thumbnail area to the Q-Path
server.
2. In iStation screen, click [Q-Path] to enable the function.
3. Log in to the Q-Path server through the Q-View browser to check the stored images and
worksheet reports.
4. Click [Esc] to exit the Q-View browser.