8-22 Structure and Assembly/Disassembly
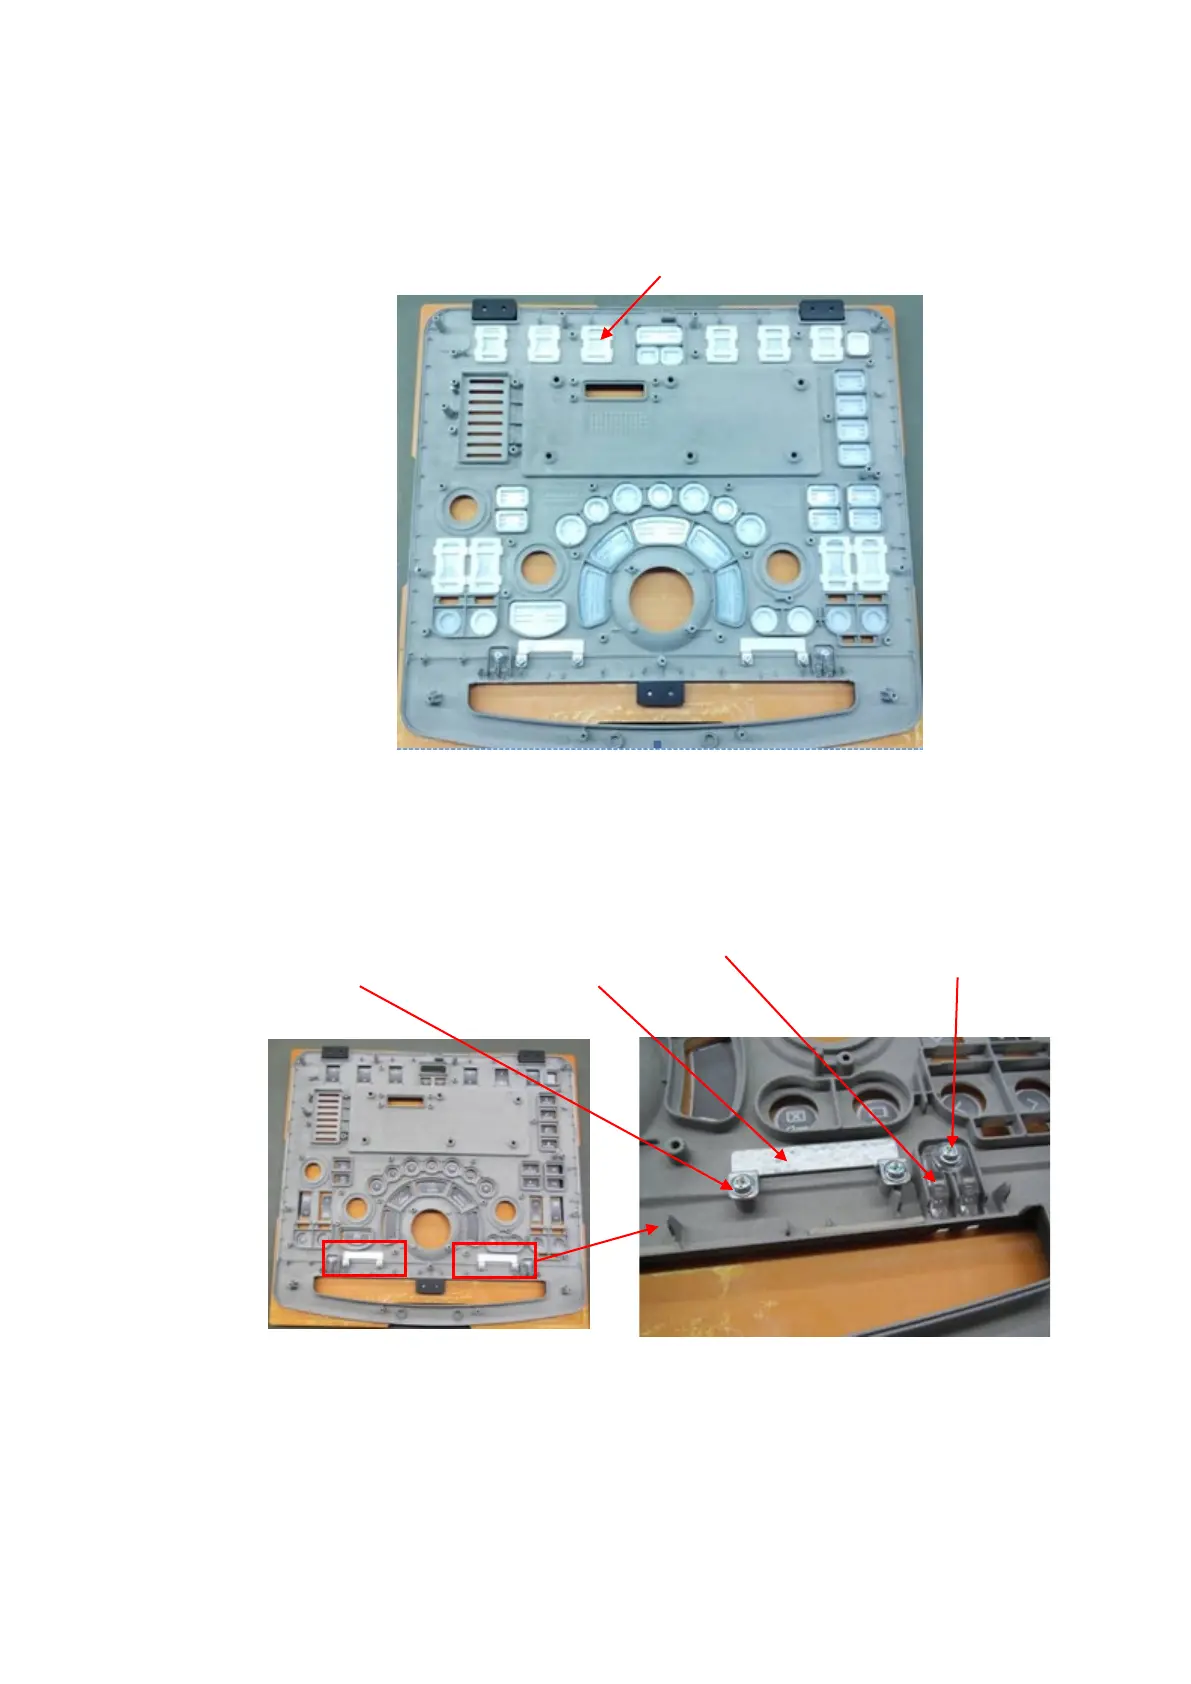
8. Disassemble caps
Remove button caps on the control panel.
9. Disassemble magnetic induction chip and status indicator.
Unscrew 4 screws (M3 X 6 cross panhead screw, 2 screws for each left and right side) from
magnetic induction clip. Take out the magnetic chip. Unscrew 2 screws (M3 X 6 cross panhead
screw, 1 screw for each left and right side) from status indicator. Take out the status indicator.
10. Disassemble silicon keyboard
Silicon keyboard is installed on the control panel PCBA via interference fit of silicon bearings
(back of PCBA). Remove the silicon keyboard from control panel.
screw (4 screws, 2 screws
for each left and right side)
induction
screw (2 screws, one screw
for each left and right side)
Disassemble button caps