System Installation 3-9
When connecting a USB memory device to the ultrasound system via a USB port, You can hear
a sound if it is connected successfully. You can see the icon
in the lower right corner of the
imaging screen.
To remove the USB memory device: Click the icon
. Press <Set>, as shown in the figure
below. Select the memory device to be removed. Click [OK] to remove the USB memory device.
There will be sound feedback when removing the USB memory device.
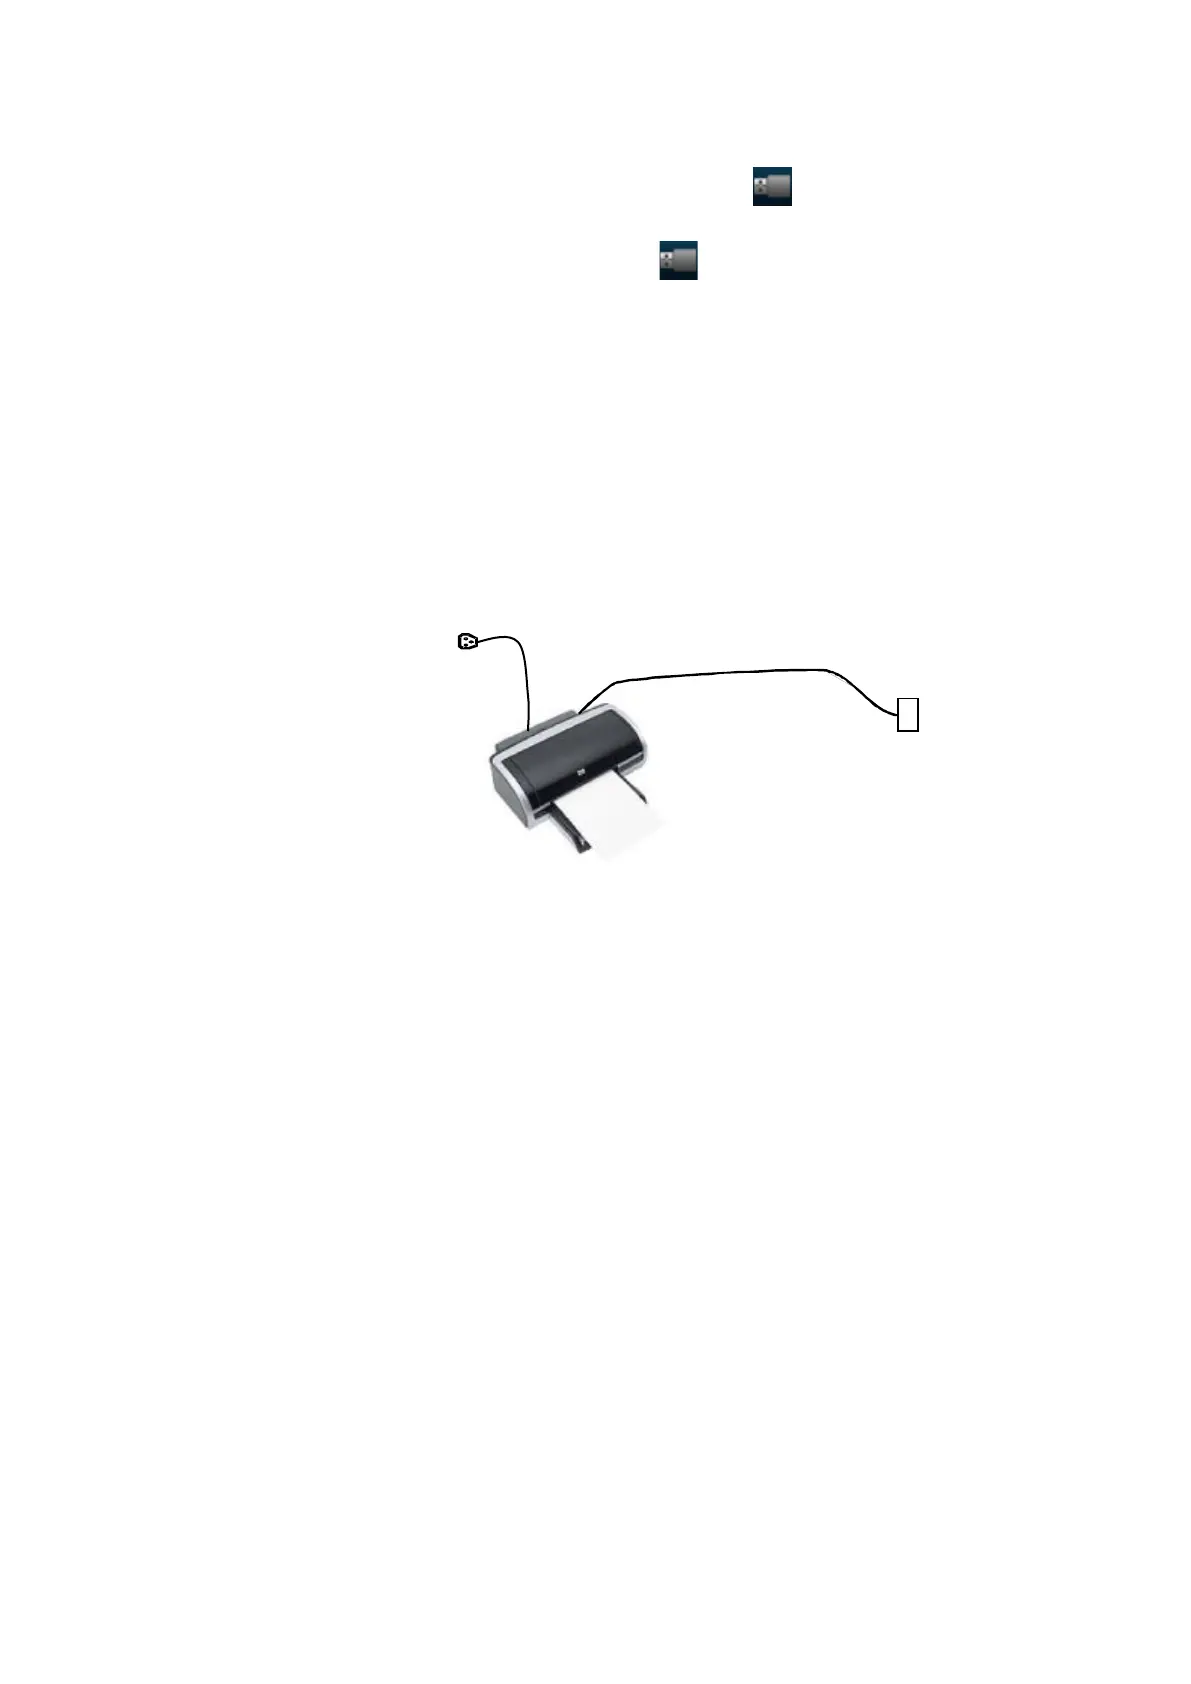
3.4.3 Graph/Text Printer
Connecting a local printer
Note: Printers listed in Chapter 2.1.4 have drivers installed already.
As shown in the figure below, a graph / text printer has a power cord and data cable. The power
cord shall be directly plugged into a well-grounded outlet.
1. Connect the data cable to the USB port on the ultrasound system.
2. Power the system and the printer on.
Installing the printer driver
Perform the following steps to install the printer driver as needed:
1. Connect the data cable to the USB port on the ultrasound system.
2. Power the system and the printer on.
3. Put the installation optical disk of the printer driver into the external DVD R/W drive.
Enter [Setup]→[Maintenance]→[Setup]→[Enter Windows], input the password. For details
about obtaining password, please refer to "6.4 Enter Windows".
The system enters the following page: