RS-232 Configuration A
endix D: T
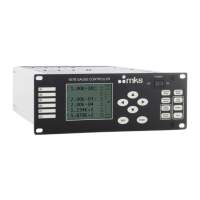
e 651 Dis
la
less Unit
120
RS-232 Configuration
Since the displayless 651 controller cannot use the Setup menu to change the controller’s RS-232
configuration, changes can be made by means of internal dipswitch settings.
Note
If a 651 controller has a front panel display, use the Setup menu to
change the RS-232 configuration, described in
Setup Menu
, page 41.
The RS-232 configuration setting defined in the Setup menu override
dipswitch settings.
Internal Switches
A dipswitch bank inside the 651 unit allows you to customize RS-232 communications
parameters. The dipswitch bank is located on the I/O board.
Opening/Closing the Type 651 Controller
1. Turn the power off.
2. Remove the Phillips screws and washers on the top panel.
Caution
Be sure to be grounded while you are working on internal
components of the 651 unit. This precaution will avoid damage to
sensitive internal components of the unit.
3. Remove the top cover by firmly pulling it up and towards the back of the unit.
The dipswitch bank is now accessible.
After changing the dipswitch settings, replace the cover on the unit and replace the
screws and washers you removed in step 2, above. After verifying that the unit is
properly reassembled, power up the 651 controller. The new dipswitch settings will be
recognized.