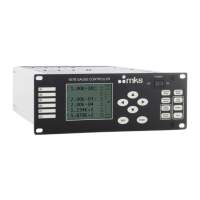
Chapter Six: Remote Operation How To Calibrate S
an of the A/D Converte
79
How To Calibrate Span of the A/D Converter
The controller’s A/D (analog-to-digital) converter converts the analog input to a digital value that
the controller uses. The span of the A/D converter is calibrated at the factory before you receive
your controller. You should perform this calibration if you receive a checksum error when you
power up the controller, or if the transducer’s readings are incorrect.
To calibrate the span of the A/D converter:
1. Apply a voltage of between +6.6 Volts and +7.4 Volts to the pressure input pins on the
transducer connector. Connect a differential voltage to pins 2 and 12 with pin 12 tied to
pin 5.
Refer to Table 11, page 36, for the transducer connector pinout. You must know the
exact voltage applied, in order to complete step 2.
2. Send the command:
Y1
value
ENTER
where
value
is the (applied voltage/F.S.) expressed as a percent. For example, if the
applied voltage is 7.0 Volts with 10 Volts = F.S.,
value
=+70
For this example,
value
= 70 and the command is:
Y1+70.00
ENTER
The controller takes the value from the command and assigns it to the converter reading
of the pressure as an analog input. In this example, the 7 Volt input = 70.00.
Calibrating the span of the A/D converter may take up to 5 seconds. To check that the
calibration is finished, enter the request
R52
(checksum error request); the controller responds
‘‘immediately.’’ The controller will respond to the request immediately after it finishes the span
calibration.
Note
If the response to the
R52
checksum command is ‘‘
1’’
, the controller is
reporting that the checksum error still exists. In that case, perform the
procedure to calibrate the span of the A/D converter again. If the error
persists, it indicates a hardware failure of the EEPROM. Contact any
MKS Service Center, listed on the inside back cover of this manual, for
assistance.