How To View and Adjust the Analog Set Point Cha
ter Five: Local O
eration
56
How To View and Adjust the Analog Set Point
The 651 controller is capable of accepting one analog set point through the I/O connector on the
rear panel. The analog set point can be configured for 5 Volt or 10 Volt full scale input. The
analog set point
display reflects the voltage percent of the actual input. For example, if the 651
unit is configured for 5 Volt full scale input, and the actual input applied is 3 Volts, the analog
set point display indicates that input by showing a value of 60%. Similarly, if the 651 unit is
configured for 10 Volt full scale input, and the actual input applied is 5 Volts, the analog set
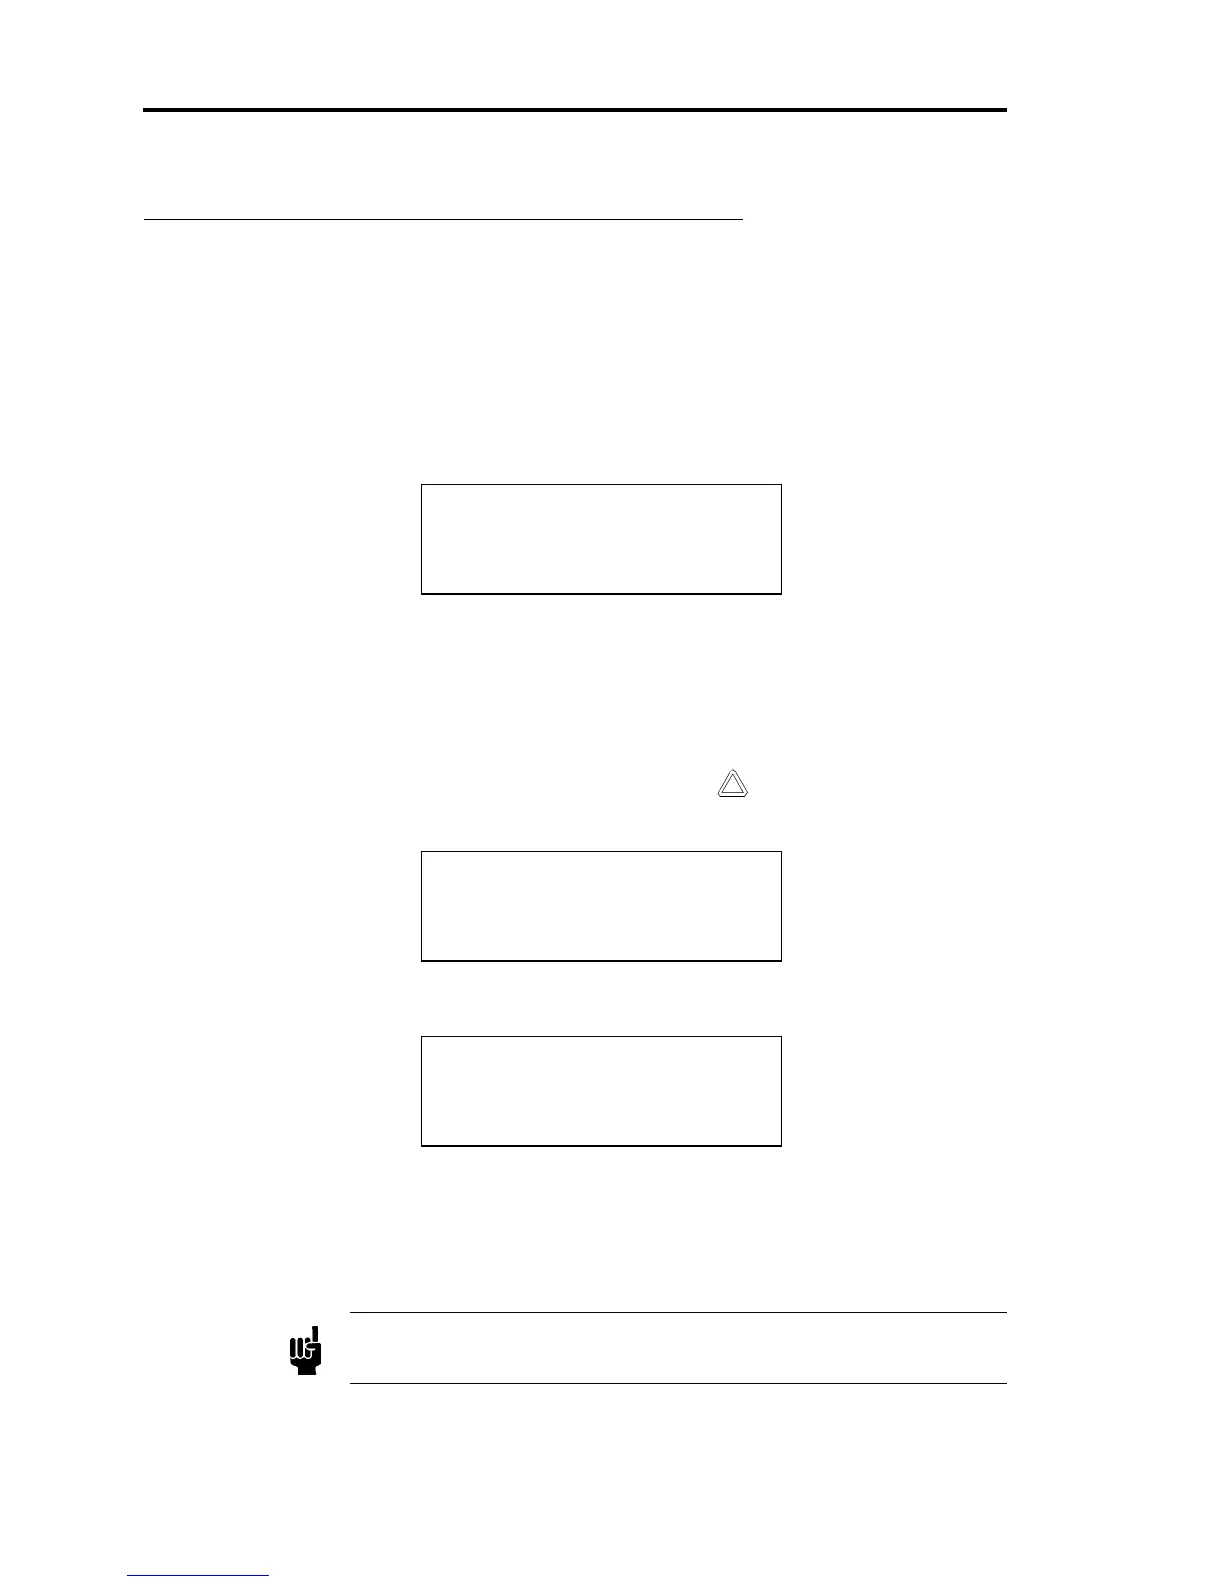
point display indicates that input by showing a value of 50%. An example of the analog set point
display is shown below.
ANALOG SETPOINT
VALUE: 50.0 %
There is no light on the front panel to indicate that the system is under analog set point control
(in fact, all lights on the front panel go out).
How To Zero the Analog Set Point
1. From the default display,
pressure
and
position
, press
[
] and the [S
TOP
] key
simultaneously for about three seconds until the following display appears.
CAUTION
CALIBRATION MODE
2. Press the [Set Point B] key. The analog set point display appears.
ANLG SP:-2.99%
LEARN+ZERO to CAL
3. Press the [L
EARN
] key and the [Z
ERO
] key simultaneously for about three seconds
until the analog set point goes to zero.
4. Press any key to return to the default display,
pressure
and
position
.
Note
The maximum adjustment for zero is 15% of full scale.