Setting Up the GALAXY GX2
GALAXY GX2
31
US
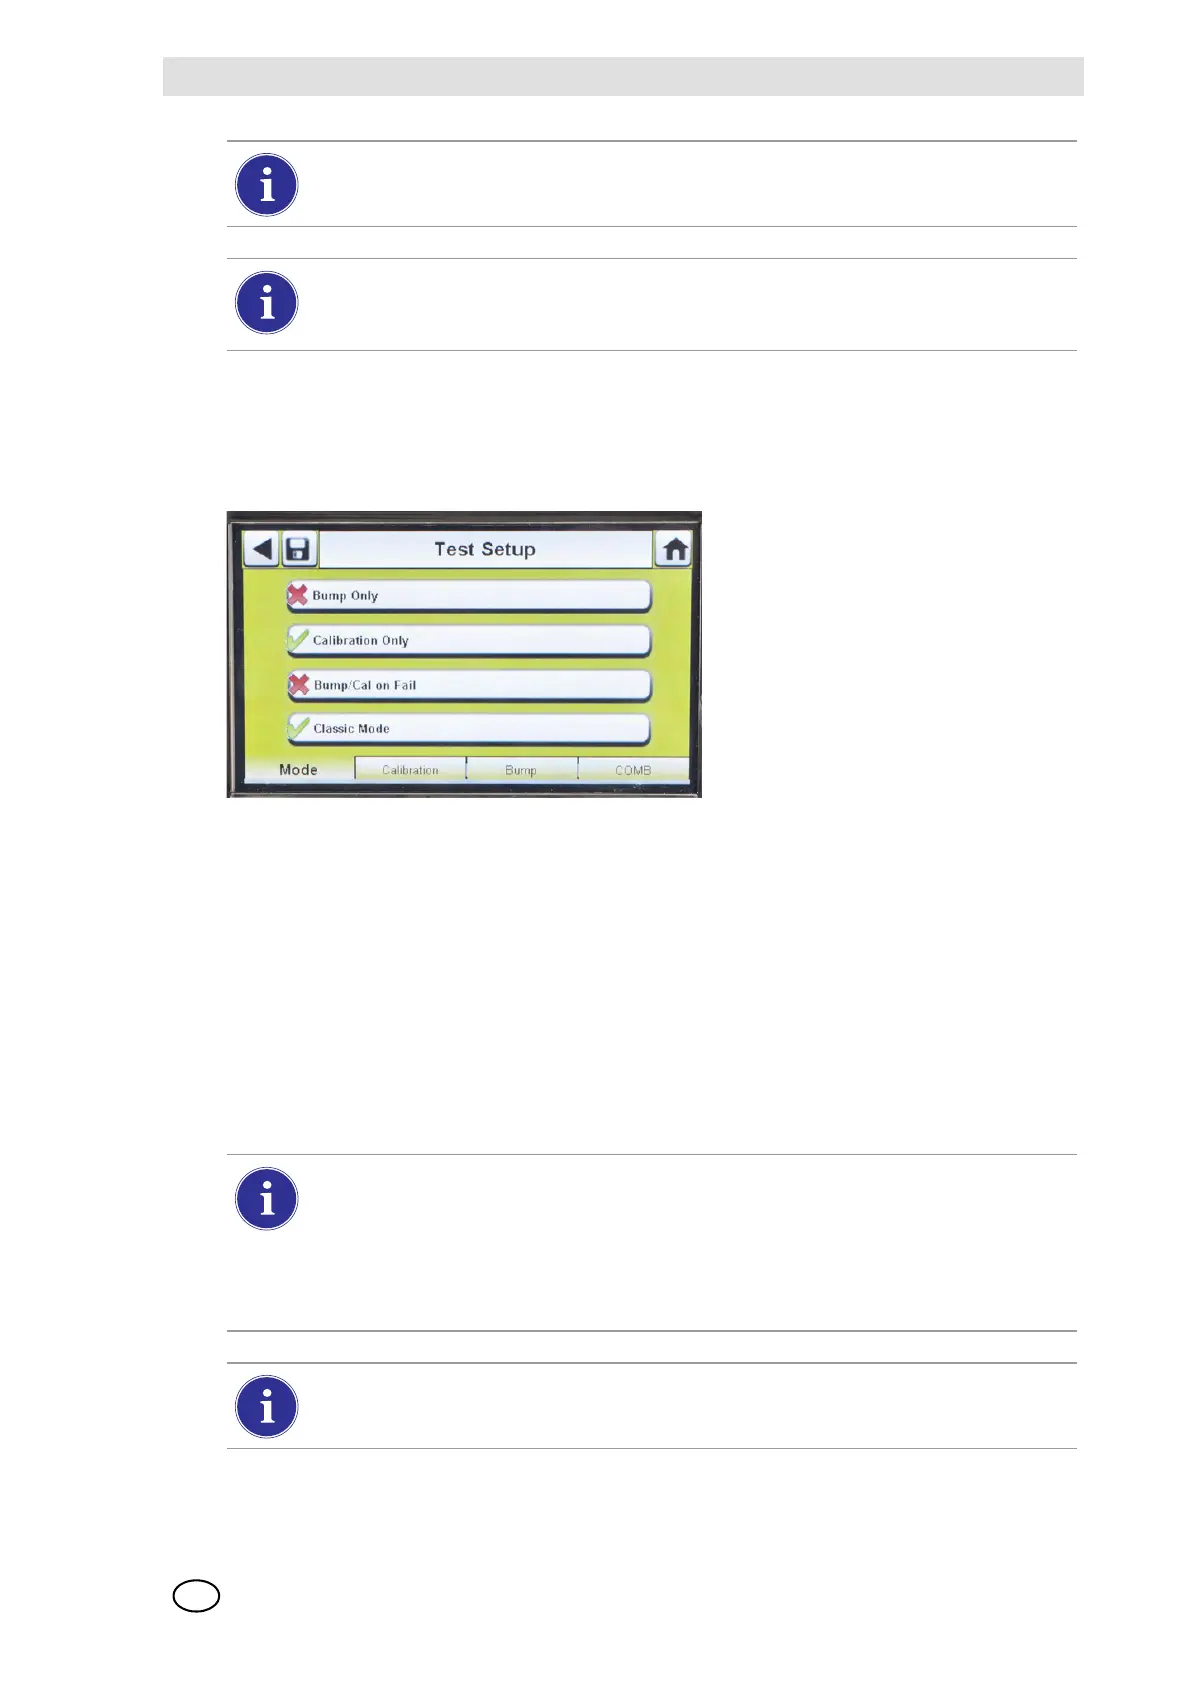
Test Setup
Select Test Setup on the GALAXY GX2 Configuration screen [ Fig. 16] to access the
Test Setup screens. There are 4 tabs that can be selected under Test Setup: Mode, Calibration,
Bump and COMB.
Mode Tab
Select the Mode tab to setup the Test Stand for Bump Only, Calibration Only, Bump/Cal on Fail,
or Classic Mode.
- Bump Only setting bumps an instrument and reports a pass or fail status.
- Calibration Only performs a full calibration on an instrument every time it is docked.
- Bump/Cal on Fail (default setting) will bump an instrument. If it fails the bump, the Test Stand
automatically performs a full calibration.
- Classic Mode (3= enabled) initiates the user-selected test mode each time an instrument is
inserted in the Test Stand. The Classic Mode feature means, "always test".
To return to the GX2 Configuration screen, select the back arrow W on the top left cor-
ner of the screen.
The GALAXY GX2 will reduce the backlight intensity automatically after a period of
inactivity. Either select a button or insert an instrument to return the intensity to the user
selected level.
Disabling Classic Mode (2 = disabled) sets the Test Stand to calibrate or bump an in-
strument only if the due date approaches. The Test Stand will read the last calibration
(or bump) date and add the GX2 Calibration (or Bump) Interval. If the setting is within
5-days of the calibration (or bump) due date, the Test Stand will begin the test. If the
calibration (or bump) due date is not within 5-days, no test will initiate, the screen will
display "Test Not Due" and the instrument will be turned off after 5-minutes.
A memory card must be used if Bump Only test is enabled and Classic Mode is disa-
bled. Otherwise, the Test Stand will bump the instrument each time it's inserted.