Section 5
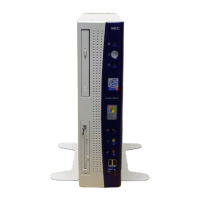
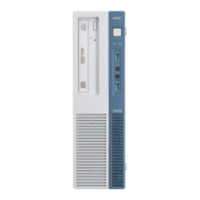
Desktop Repair
DISASSEMBLY AND REASSEMBLY
This section contains step-by-step disassembly procedures for the desktop systems. The
hard disk drive, and 3 1/2-inch diskette drive are installed and included in these disassembly
procedures. Reassembly is the reverse of disassembly. Each procedure is supported by a
simplified disassembly illustration to facilitate removal. The detailed exploded-view diagram
and parts lists for the desktop systems are shown later in this section.
A Phillips-head screwdriver is the only required tool. For complete disassembly of the sys-
tem unit, follow the disassembly order listed in Table Section 5-1. To reassemble, follow the
table in reverse order.
Individual removal procedures do not require the total disassembly of the computer. Each
of the following subsections lists the parts that must be removed before beginning the
removal procedure. To reassemble, follow the procedure in reverse order.
Table Section 5-1 PowerMate P60 Desktop Disassembly Sequence
Sequence Part See Page
1 Top cover 5-2
2 Expansion board(s) 5-3
3 ISA/PCI-Bus backboard 5-5
4 3 1/2-inch diskette and hard disk drives 5-6
5 Front panel assembly 5-7
6 Power button cover 5-9
7 Speaker assembly 5-10
8 SIMM memory 5-11
9 5 1/4-inch devices 5-12
10 5 1/4-inch device cage 5-13
11 Power supply 5-14
12 System board 5-15
 Loading...