3-26 Options
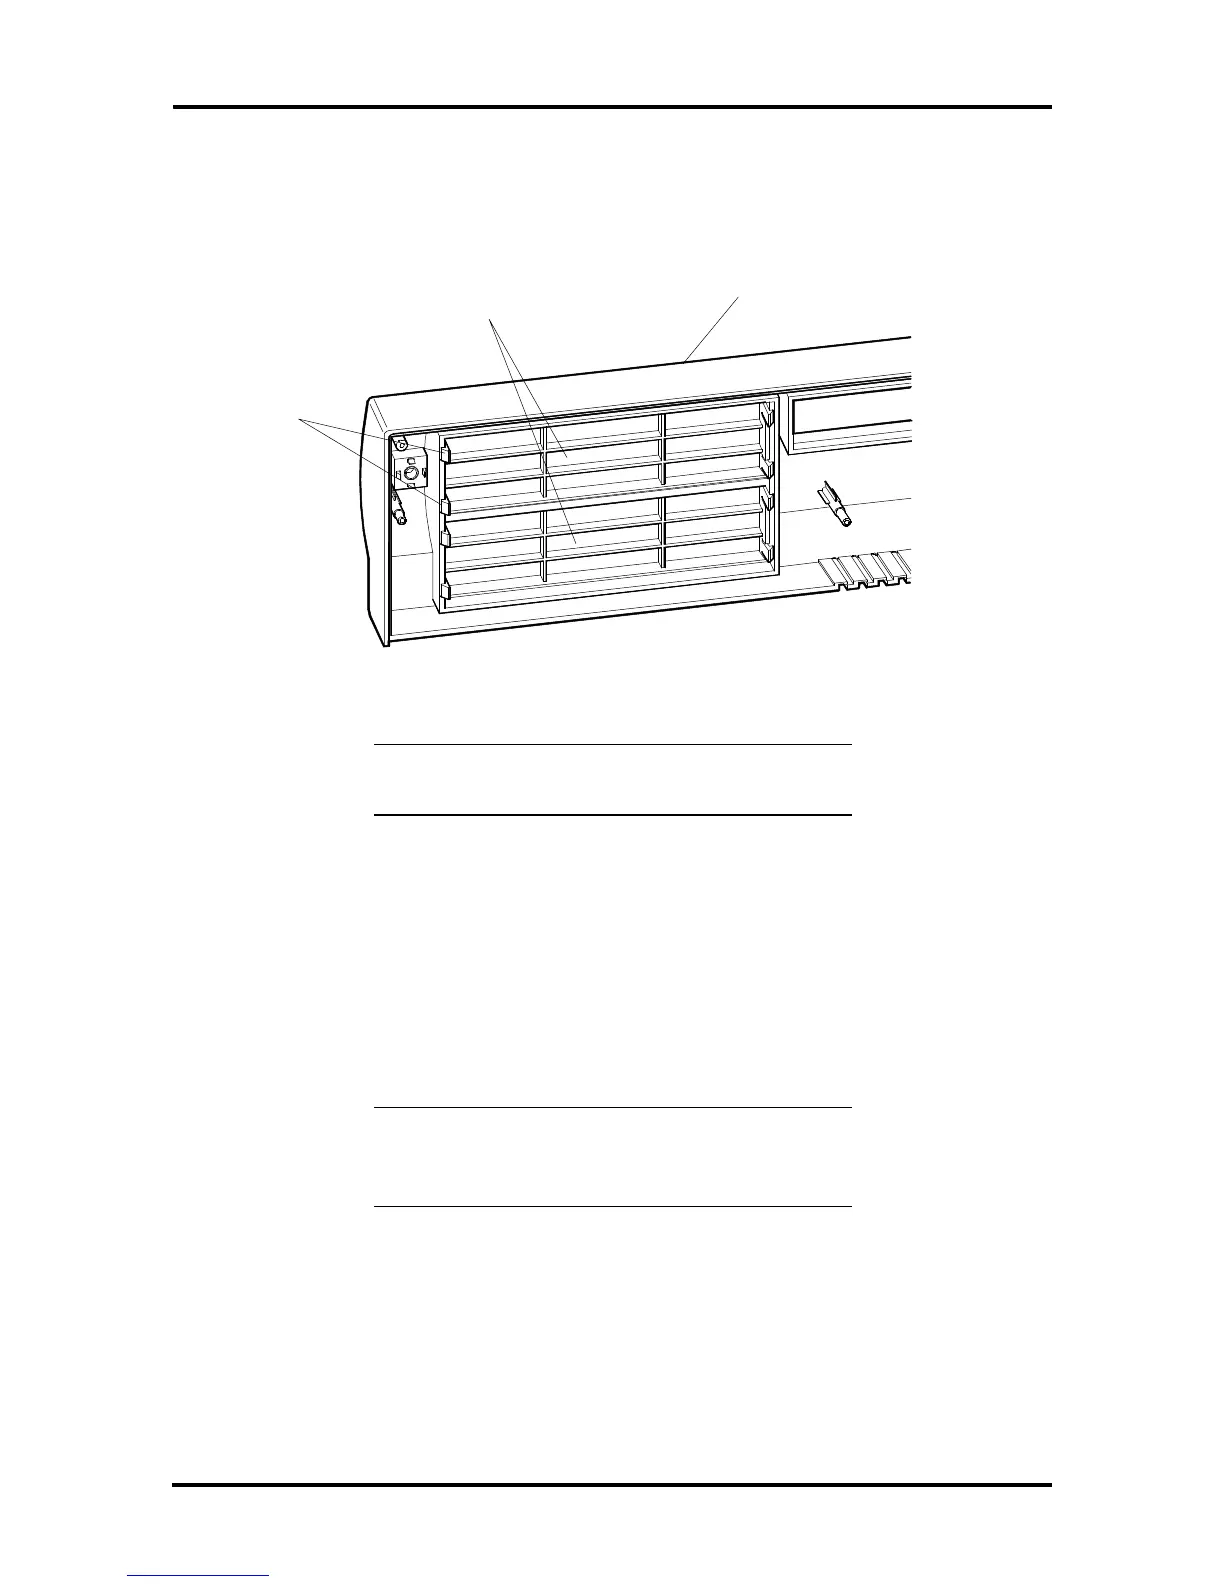
5. From the inside of the front panel, release the blank panel tabs and remove the
panel from the front panel (see Figure Section 3-26).
Figure Section 3-26 Desktop Blank Panel Removal
NOTE: The system unit chassis may also
require a slot cover punch-out to be removed.
6. Reinstall the front panel once the blank panel is removed.
Desktop 5 1/4-Inch Device Placement
Install the device into the 5 1/4-inch device slot as follows.
1. Remove the top cover, front panel, and 3 1/2-inch drive bracket as previously de-
scribed.
NOTE: When installing 3 1/2-inch hard disk
drives, a 5 1/4-inch hard disk bracket must first
be attached to the 3 1/2-inch hard disk drives.
2. Slide the rear of the device into the 5 1/4-inch slot. (Be sure that the load/release
button on the diskette drives is on the right when sliding the drive into the device
cage.)
Align the holes on the 5 1/4-inch device with the holes in the device cage.
Front Panel Cover
(inside view)
2 of 4
Tabs
Blank Panels