Desktop Repair 5-15
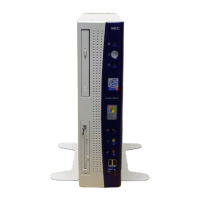
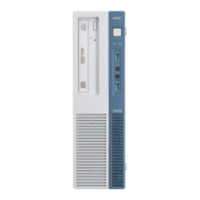
5. Remove the four screws holding the power supply to the system unit (see
Figure Section 5-25).
6. Slide the power supply toward the system board to release the two tabs at the
front, then lift it out of the system unit.
Figure Section 5-25 Power Supply Screws
System Board Removal
Remove the system board per Figure Section 5-27 and the following steps.
1. Remove the following components as previously described.
n top cover
n expansion slot boards
n ISA/PCI-Bus backboard
n 3 1/2-inch drive bracket
n SIMMs installed on the system board
NOTE: Remove the optional video DRAM
chips if installed, see Section 3, Options.
Power Supply
Screws
1 of 2
Tabs
 Loading...