154 NetApp AltaVault Cloud Integrated Storage Administration Guide
Beta Draft
Viewing reports and logs Viewing the shelf details
2. Under Monitored Appliances, complete the configuration as described in this table.
Viewing the shelf details
The Shelf Details report enables you to view information about the AltaVault hardware RAID. It is applicable only to
AltaVault hardware models; not to the virtual or cloud models.
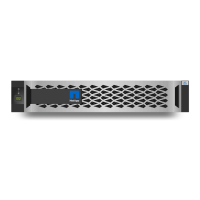
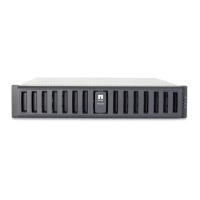
The Shelf Details displays the AltaVault enclosure ID and a visual replica of the hardware disk array that includes the
head unit and the expansion shelves.
The shelf serial number can be found on the back of the shelf. The slot number identifies the slot within the shelf.
Hover your mouse over each disk shown on the Shelf Details report to obtain the status of the disk and its serial number.
The top right LED is the power LED. If the disk is online, it is constantly green. If the disk is offline, it is amber.
For details, see the NetApp AltaVault Cloud Integrated Storage Installation and Service Guide for Physical Appliances.
The Shelf Details report provides the serial number and status of the AltaVault hardware disk array.
To identify physical location of a drive
Use the following CLI:
CLI > show hwraid disk information
To view the shelf details
1. Choose Reports > Shelf Details.
2. Click the serial number of a shelf to obtain alarm information for the RAID.
Control Description
Add Monitored Appliance Displays controls to add a monitored appliance.
Hostname or IP Address Specify a valid hostname or IP address for the monitored appliance.
API Access Code Specify the API access key to access the monitored appliance.
To obtain the API access key:
• Open a separate browser.
• Log in to the appliance that you want to monitor.
• Choose Configure > REST API Access.
• Generate the API Access key.
• Copy it into Notepad.
• Log back in to the monitoring AltaVault.
• Paste the API access key in this text box.
Add Click Add to add the peer appliance to the list of monitored appliances.
Remove Selected Appliances Select the check box next to the name and click Remove Selected Appliances to delete
it from the system.