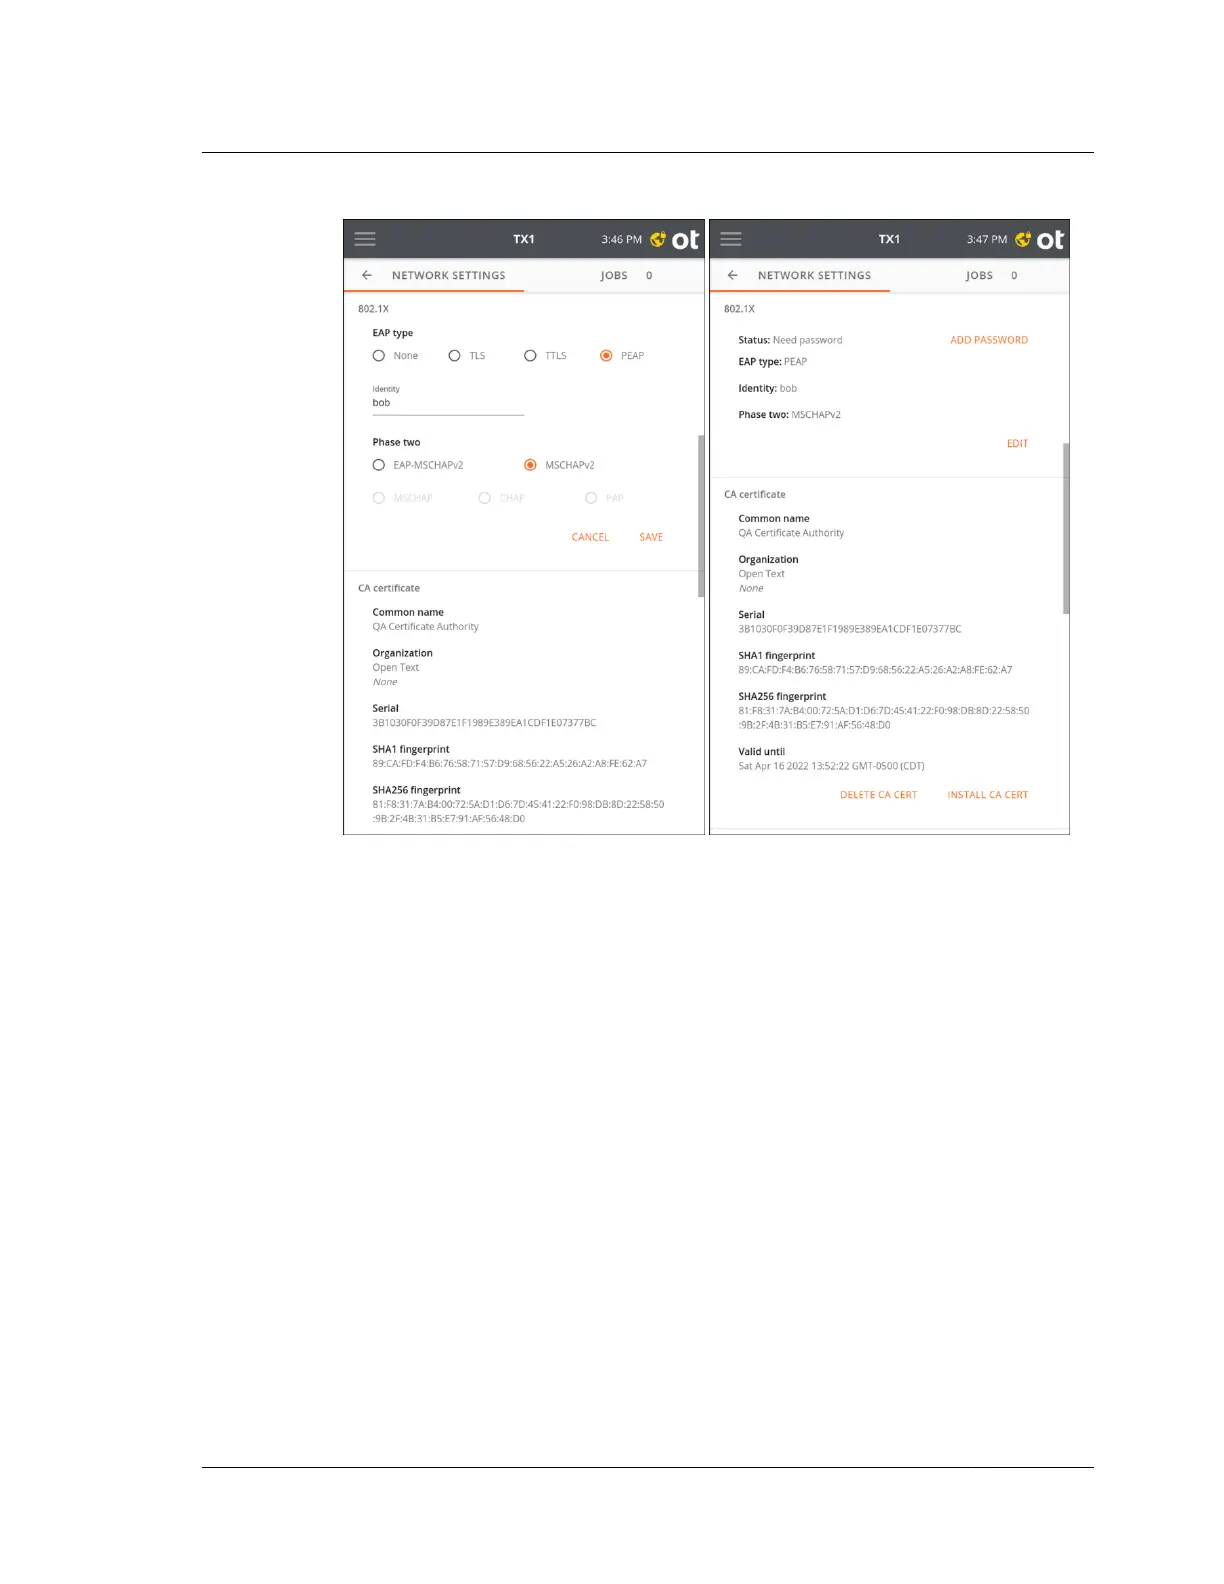
After saving the selected EAP type and Phase two internal protocol settings, a
yellow icon appears in the right side of the top navigation bar, and an Add
Password button becomes active in the settings summary area. Tap the navigation
bar icon or Add Password to enter an 802.1X passphrase/password. Tap Submit to
begin the authentication procedure.
Upon successful authentication the network lock icon will disappear and status in
the settings summary will report Authenticated.
3.2. Configuring TX1
ISTX240300-UGD-EN-1
User Guide
31