52
8.10 Initial setting 2
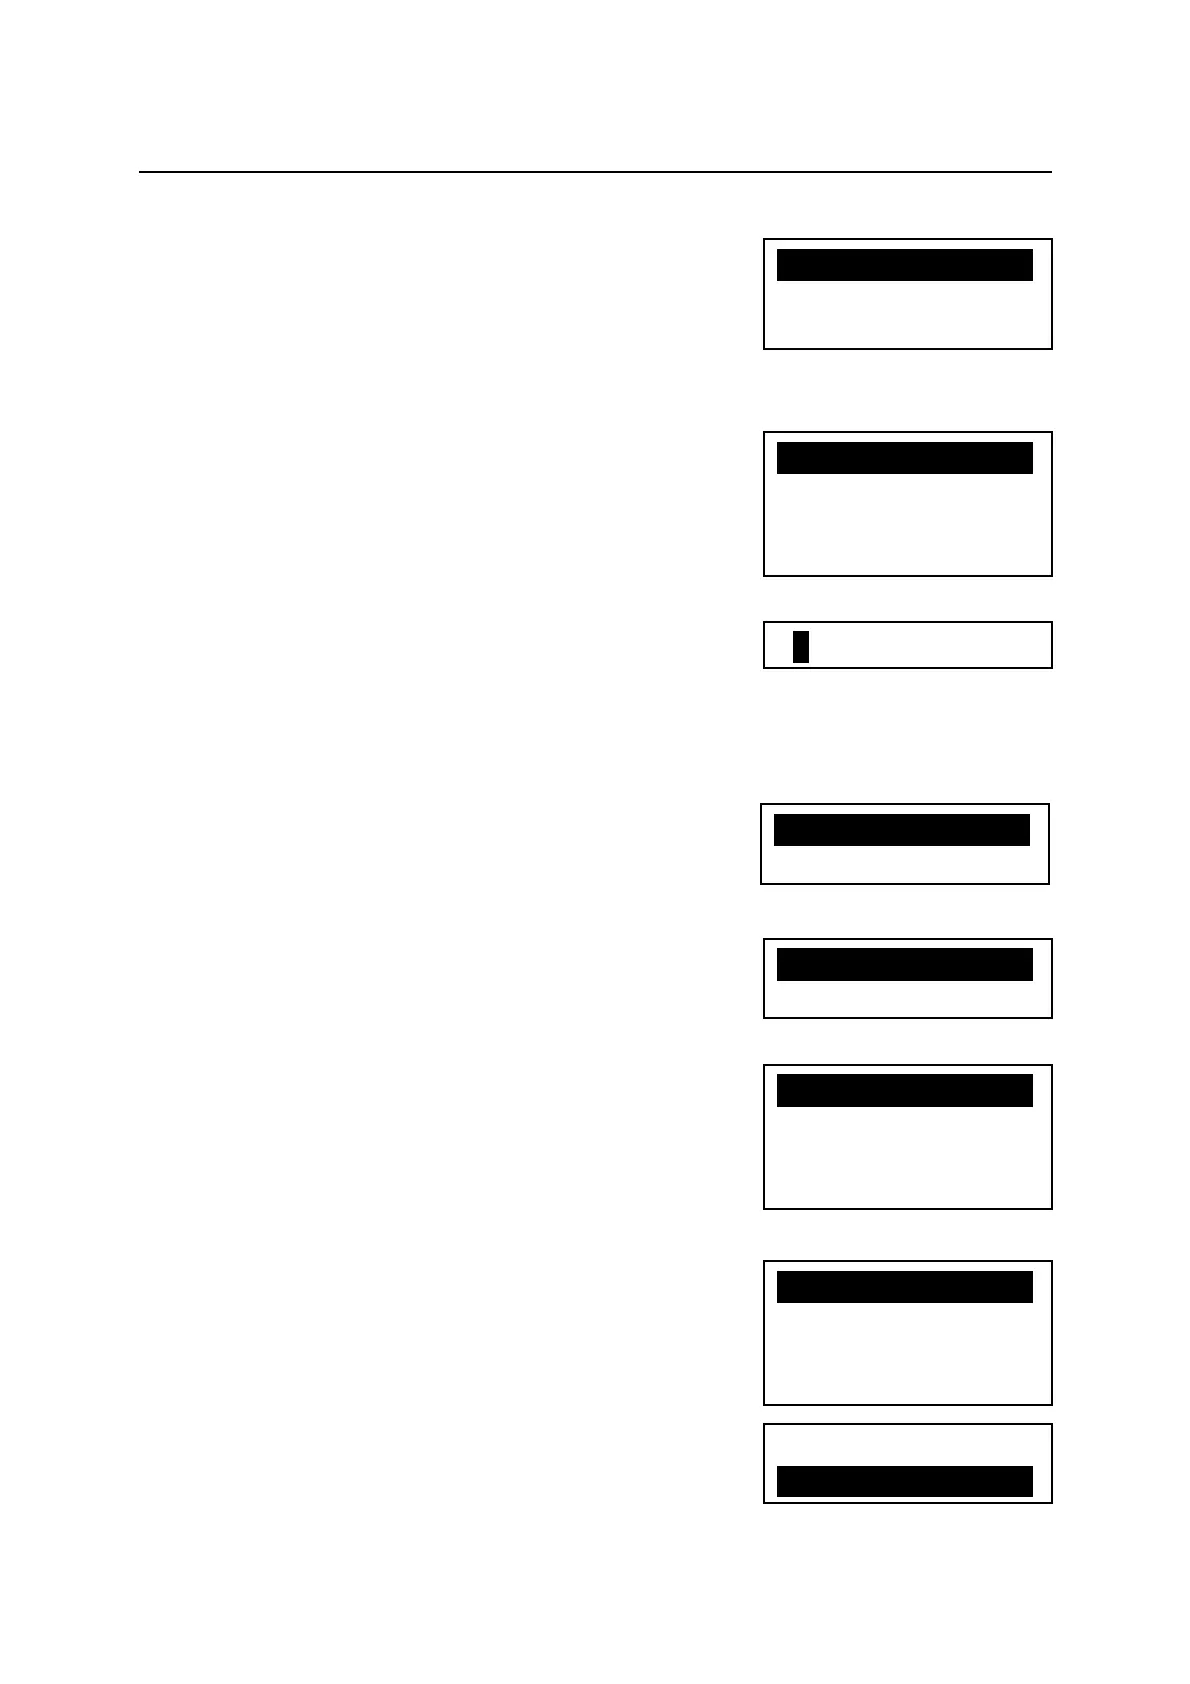
1. Selection of the Minimum Distance measurement unit
and Quick Mode : [EDM MIN DISP/QUICK]
More fine angle view is necessary, select 0.1mm,
Besides that, select 1mm/OFF.
When using Quick Mode, select 1mm/ON.
2. Selection of the Shot count: [SHOT COUNT]
Select whether the shot count for Shot distance
measurement is to be 1,3, 5 or an arbitrary count to be
entered.
3. Setting the Shot input: [SHOT INPUT]
Set the shot number for Shot distance measurement.
• The valid range of values for the shot number is from 1 to 99.
• This setting is enabled only when the shot number (Above 2.)
has been set to “4. INPUT”.
4. Selection of Laser plummet : [LD PLUM.]
Laser plumb ON/OFF is selected.
5. Selection of Long range message
: [LONG RANGE MES.]
If you need the long range message.
6. Selection of primary MEAS setting
: [PRIM. MEAS KEY]
Select whether the primary distance measurement is
MEAS SHOT or MEAS CONT or TRACK SHOT or
TRACK CONT.
7. Selection of second MEAS setting : [SEC. MEAS KEY]
Select whether the second distance measurement is
TRACK CONT or TRACK SHOT or MEAS CONT or
MEAS SHOT.
8. Selection of Minimum angle display: [MIN UNIT ANG.]
Select whether to set the minimum angle display mode to
“COARSE (5 seconds)” or “FINE (1 second)”.
01TIMES
X1.1TIMEXXXXXXX
2.3TIMES
3.5TIMES
4.INPUT
X1.1mm/OFFXXXXXX
2.1mm/ON
3.0.1mm
X1.ONXaXXXXXX
2.OFF
X1.MEAS.SHOTXXX
2.MEAS.CONT
3.TRACKSHOT
4.TRACKCONT
X1.TRACKCONTXXX
2.TRACKSHOT
3.MEAS.CONT
4.MEAS.SHOT
1.COARSE
X2.FINEXXXXXXXXX
X1.OFFXaXXXXXX
2.ON
 Loading...