75
16. Save Mode
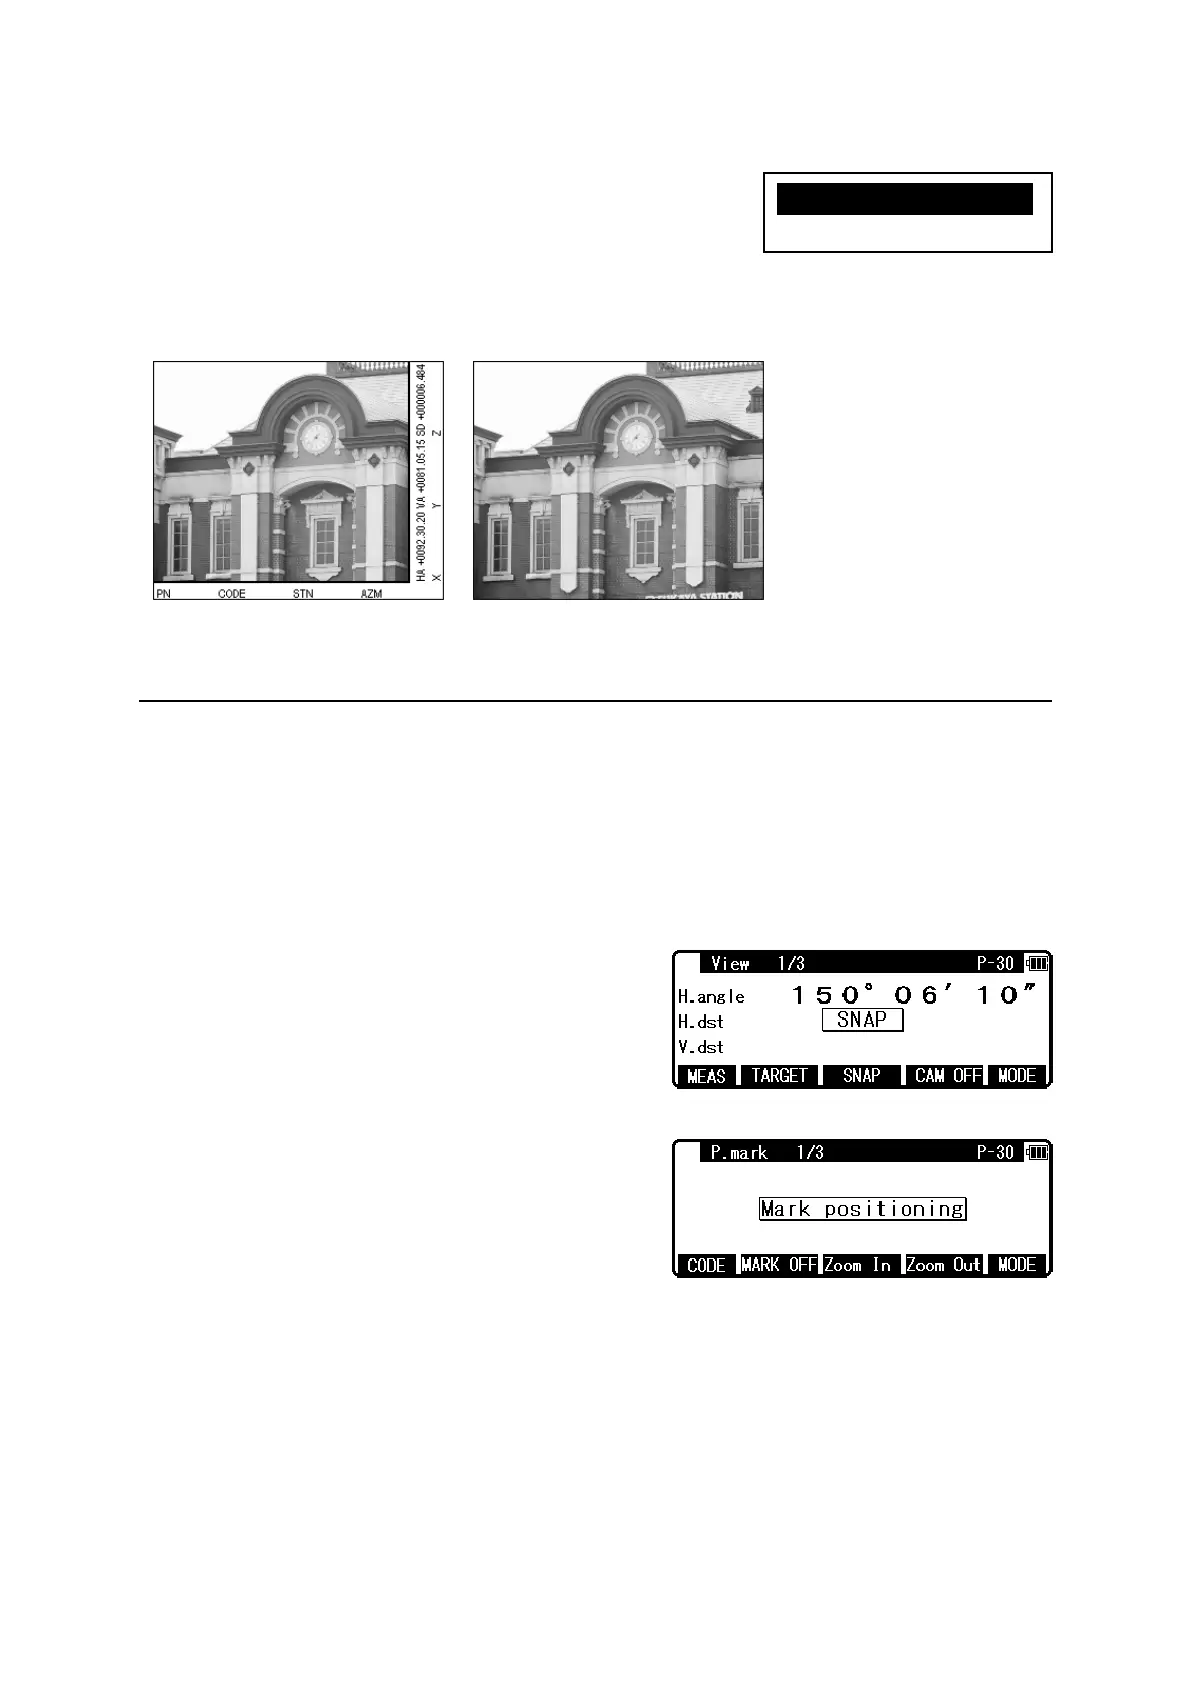
Define the kind of data to be recorded by selecting one of the
options; [Capture Only], or [Capture+Data]. The default
setting is [Capture+Data].
Example: Kinds of recorded image
10.7 Adjusting Point Mark position
The position of the Point Mark can be adjusted after the photo is taken.
[Adjustment procedure of the Point Mark position]
Both “8. Point Mark Disp” and “11. Mark Positioning” in the camera settings must be set to
ON.
Aim the target using the screen mode View1/3.
Press [F3] [SNAP] key to take a photo.
If the case that the camera setting “15. Auto Snap” is
set to ON, a photo is also taken by pressing [F1]
[MEAS] key.
The display is switched to “P.mark 1/3” a few
seconds after the shot.
[CODE], [P.MARK], [ZOOM IN] and [ZOOM
OUT] functions are available in the P.mark 1/3
screen.
[CODE] : Attribute information of up to 15 characters can be input from the keyboard and
superimposed on the image, with the same function in View mode and ReView mode.
[MARK OFF / ON] : The switch to select whether the Point Mark is superimposed on the
image or not.
Capture+DataCaptureOnly
X1.Capture+Dataa
2.CaptureOnly
 Loading...