Quantum GX2 microCT Imaging System Manual Chapter 6 | Image Acquisition 43
6.3 Set Up Automatic Image Export
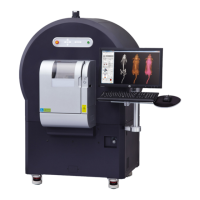
After acquisition, DICOM images can be automatically exported to a user-selected location.
1. Select Setting Automatic → DICOM Export Settings in the Database window.
2. Put a check mark next to "Export DICOM file after each scan" in the dialog box that appears.
3. Choose the File path or VOX folder option and click Browse to select a folder. Click OK.
6.4 Set the Scan Conditions
Set the scan conditions by choosing a:
Preset scan condition or specify custom scan parameter conditions in the Control Panel.
Gating option if performing a gated CT scan.
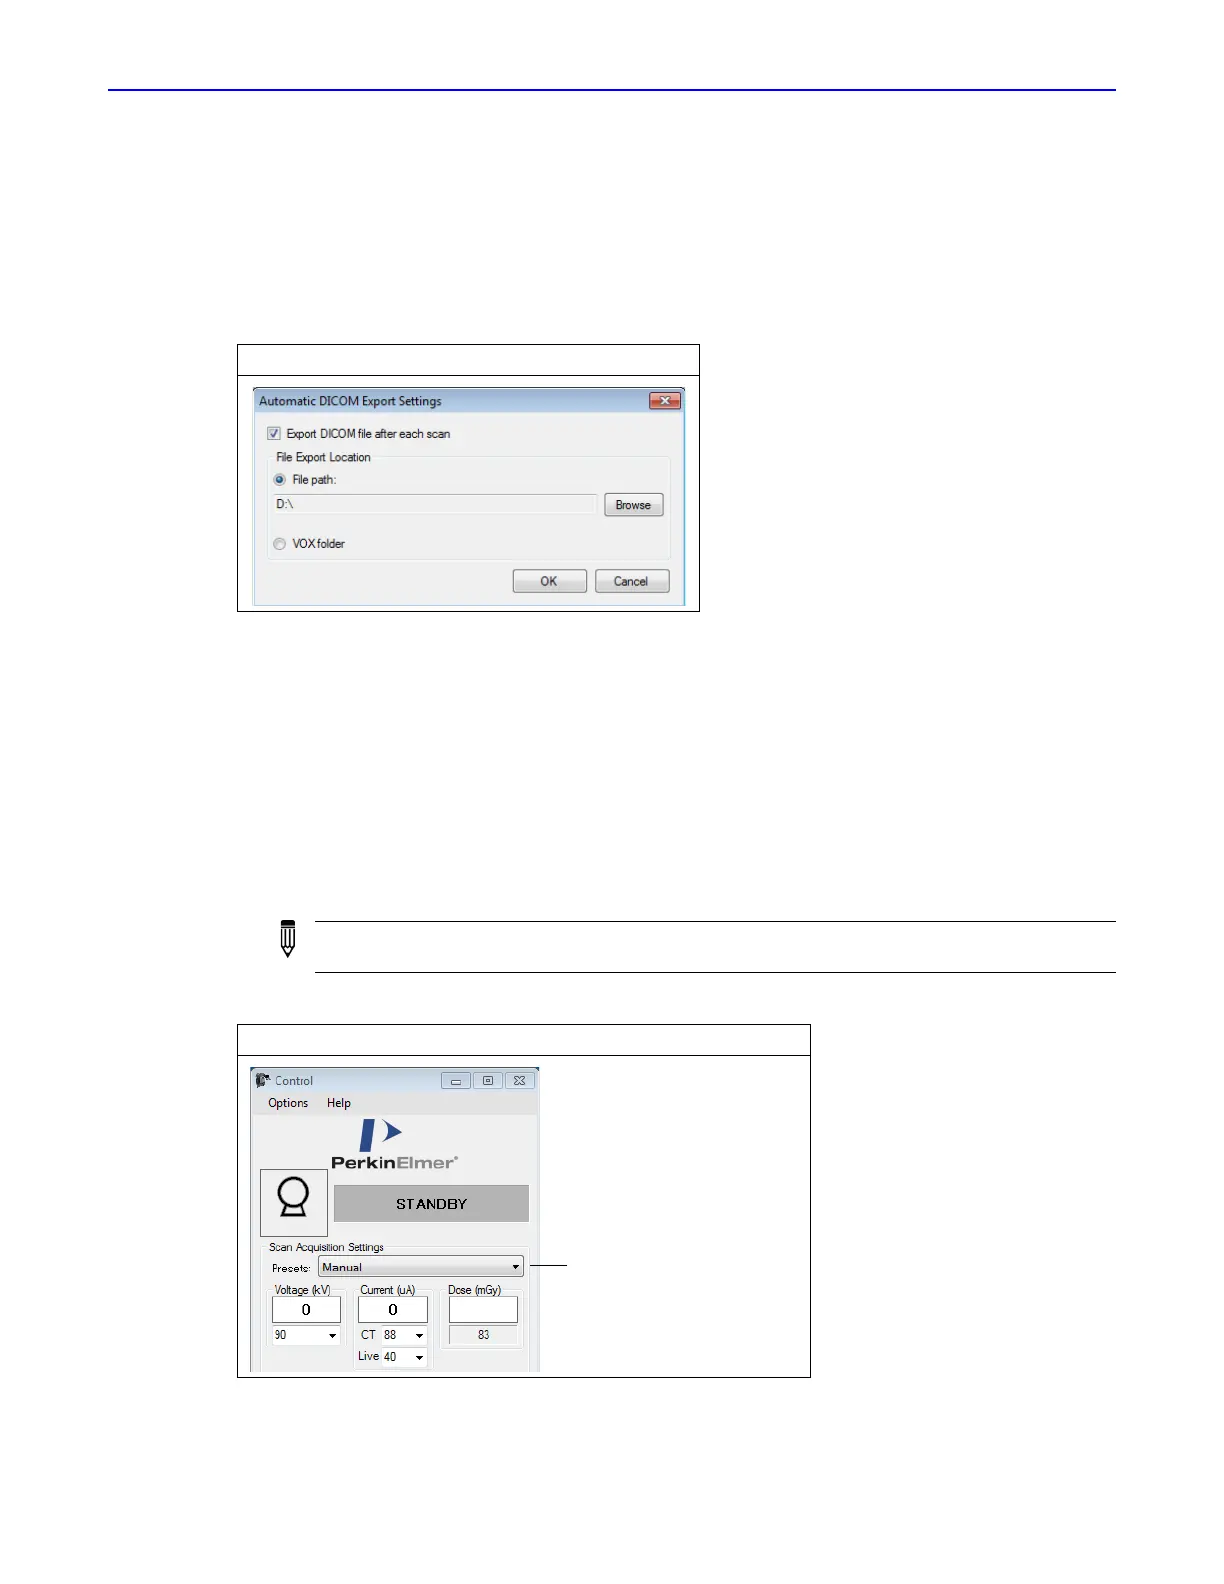
Preset Scan Conditions
1. Select a preset or custom scan setting from the Presets drop-down list (Figure 6.5).
Figure 6.4 Automatic DICOM Export Settings
NOTE: Custom scan settings saved to the system are also available in the Preset drop-down
list. See page 45 for instructions on creating custom scan settings.
Figure 6.5 Selecting a Preset Scan Condition
Choose a preset or custom
scan configuration from
this drop-down list
 Loading...