Operation
61-900040-000 Rev. Date: 01/22 3-11
Vacuum Motor - Pressing the Vacuum Motor button turns on vacuum motor. This
can be used to test the operation of the vacuum motor.
Buffer Solenoid - Touching the Buffer Solenoid button engages both buffer
solenoids. An audible click from the buffer solenoid relay inside the control box may
also be heard.
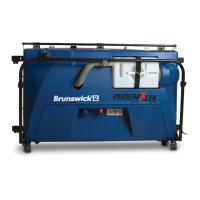
Buffer Pressure - When the Buffer Pressure
button is selected, the Buffer Pressure Test
screen, shown in Figure 3- 21 will appear
while the buffer motor and solenoids are
simultaneously engaged. A 45-second timer
counts down, allowing ample time to check
the buffer brush pressure. Pressing "Cancel"
at any time will end the test. This can be used
to test the buffer pressure. For more
information on testing the buffer brush pressure, see Section 4.2.1.2.
Buffer Motor - The Buffer Motor button activates the buffer motor. This is used to test
the operation of the buffer motor.
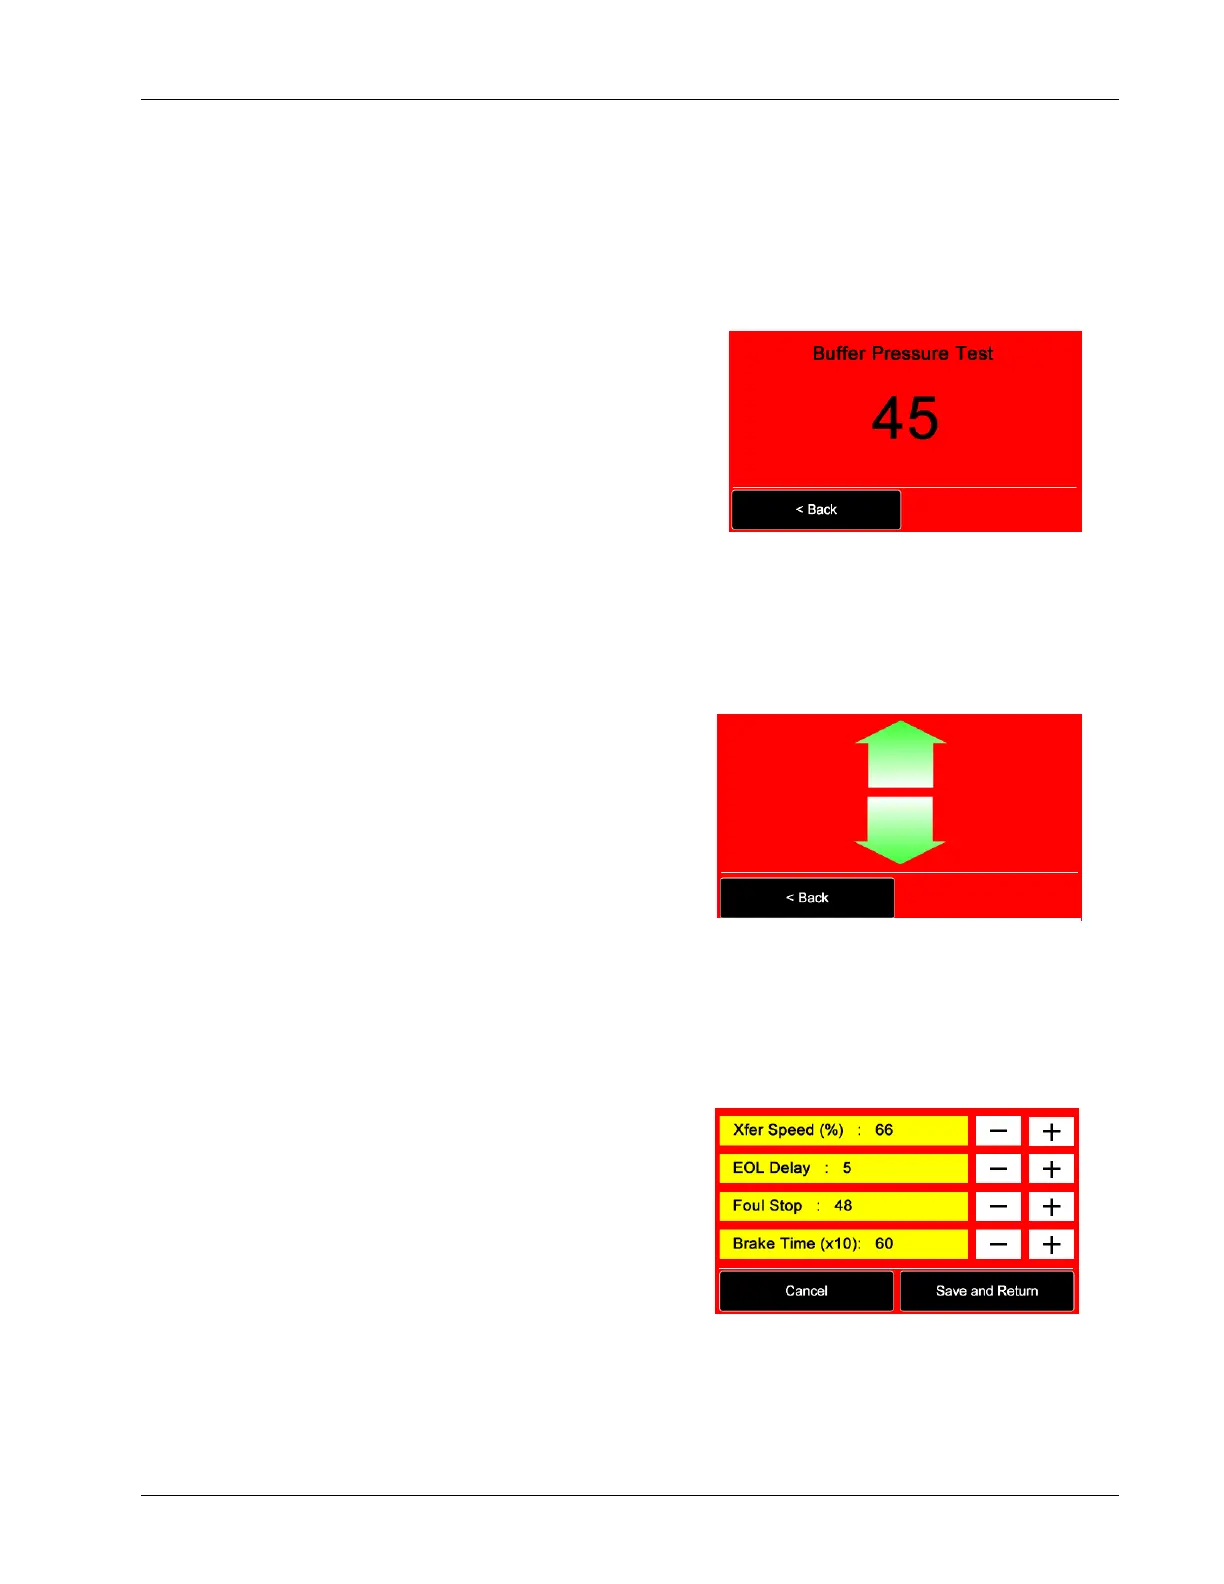
Drive Motor Test - The Drive Motor Test
screen, shown in Figure 3- 22, allows for the
testing of the drive motor. The up and down
arrows correspond to forward and reverse,
respectively. CAUTION: The machine will
move forward or reverse when the arrows
are selected. Be sure all persons are clear of
the machine to avoid injury. When finished,
press the Back button to return to the Test
screen.
Transfer Roller - The Transfer Roller button activates the transfer roller motor. This
is used to test the operation of the transfer roller motor.
Settings - The screen shown in Figure 3- 23
appears when the Settings button is
selected. NOTE: Default settings are shown.
Your machine has been configured for
maximum performance at factory and
settings may vary slightly. These four
options control the transfer roller speed, end
of lane braking delay, the foul stopping
preparation time, and the drive motor braking
application time. Each is explained in further detail below. To increase or decrease
the value of each, simply select the "+"or "-" to the right of each.
When the necessary changes are complete, select Save and Return to return to the
Test Screen. Select Cancel to discard any changes that were made and return to the