LUCAS® Chest Compression System – Service Manual
3323809-001, © 2017 Physio-Control, Inc.
51
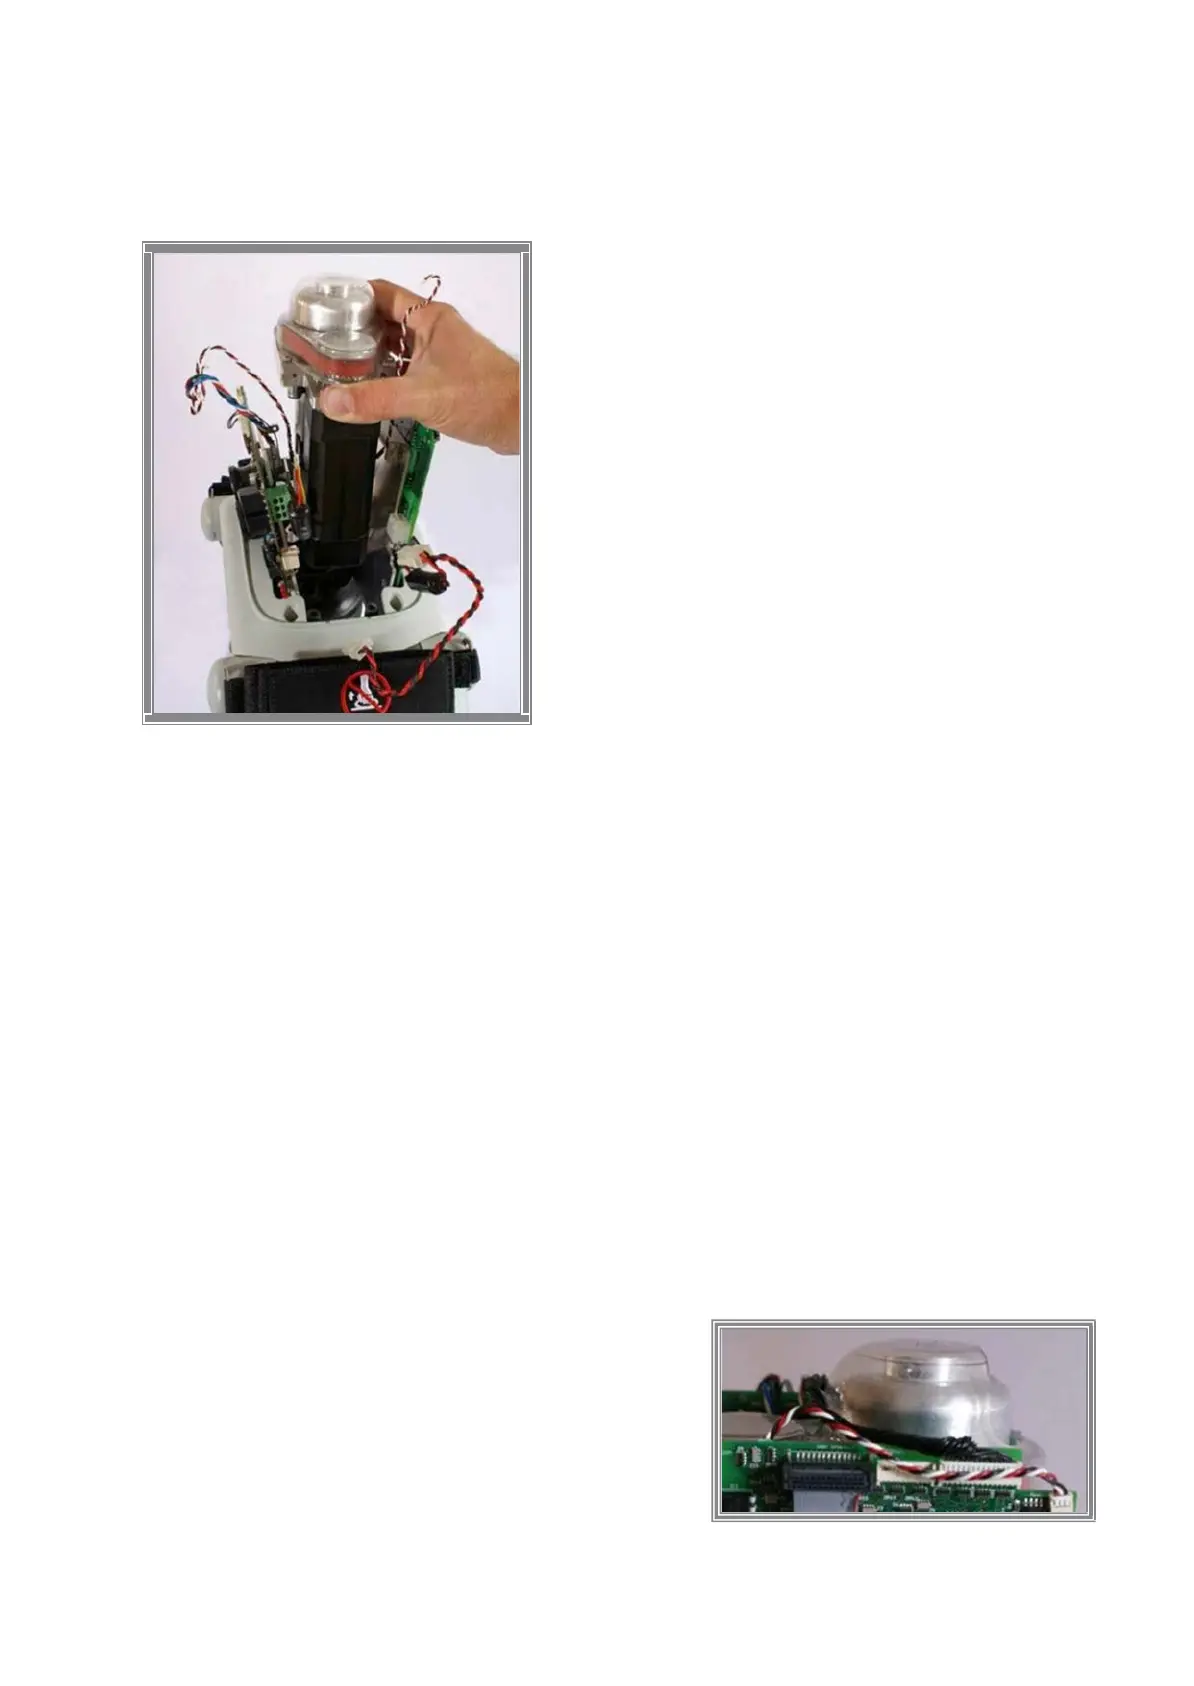
Carefully spread the PCB’s and carefully lift out the Compression Module, make sure that
no cables get stuck or harmed (especially the Pot Cables).
9.3.2. Reassembling
Carefully lower the Compression Module down between the PCB’s.
Position the PCB’s and fasten the Compression Module in the PCB brackets, use thread
lock fluid and tighten to 9.0 in-lbs / 1.0 Nm Torque Wrench Torx 10 (T10).
Put back the Fan Bracket, use thread lock fluid and tighten the two screws to 35 in-lbs / 4.0
Nm Torque Wrench Torx 25 (T25).
Fasten the Compression Module with four screws, use thread lock fluid and tighten to 35
in- lbs / 4.0 Nm Torque Wrench Torx 25 (T25).
Unscrew the two screws that are loose, apply thread lock fluid and tighten to 35 in-lbs / 4.0
Nm Torque Wrench Torx 25 (T25).
Re-connect all cables according to picture in Section 9.3.1 and fasten the Power Cables with
new cable ties.
For LUCAS 2.0 and LUCAS 2.1, make sure that the Protective Pot Cable is on the outside
of the Communication Cable.
Re-install the Hood, the Bellows, and the Suction Cup.
9.3.3. Test
Perform a Function Check according to Section 10.