Setting up a wired network connection
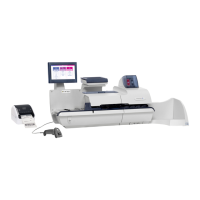
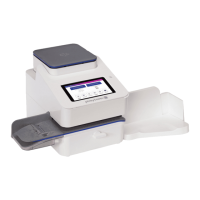
Use a network cable to connect your SendPro C Lite, SendPro C, SendPro+ device to the Pitney Bowes
Data Center.
First, determine the connection type:
1. Tap Settings on the toolbar.
2. Tap Wired.
3. Check the selected connection type.
4. If your connection type is DHCP, follow the steps for DHCP. If your connection type is Static IP,
follow the steps for Static IP.
DHCP
1. Select DHCP.
2. Tap Connect.
3. If it does not connect, unplug the power cord.
4. Wait 2 minutes. The screen should turn off after 10 seconds.
5. Plug the power cord back in directly into a wall outlet.
6. Quickly tap and release the power button to turn the device back on.
7. Tap Settings on the toolbar.
8. Tap Wired (Ethernet).
9. Tap the DHCP radio button.
10. Tap Connect.
Connectivity information
Pitney Bowes Operator Guide February 2021 46