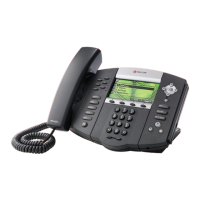
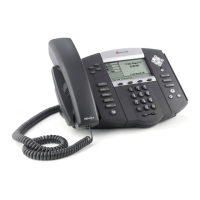
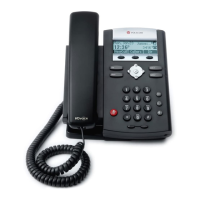
End User 36
Privacy
Use this menu item on the User — Profile page of the Business VoiceEdge Online portal to configure your
privacy settings for Attendant Extension Dialing Privacy, Auto Attendant Name Dialing Privacy, and Phone
Status Privacy. You can also choose which enterprise or group members can view your phone status
regardless of your Phone Status Privacy setting.
By default all user names and numbers appear in Group and Enterprise directory listings. These listings are
accessible via the User — Utilities menu page and the Call Manager Group/Enterprise tab. The Profile —
Privacy menu page allows you to eliminate your name from these directory listings.
Note: Enabling Privacy hides your name and number from other users in your own group/enterprise and from group administrators.
However, it does not hide it in the LDAP or Outlook listings, nor does it remove it from user’s personal directories.
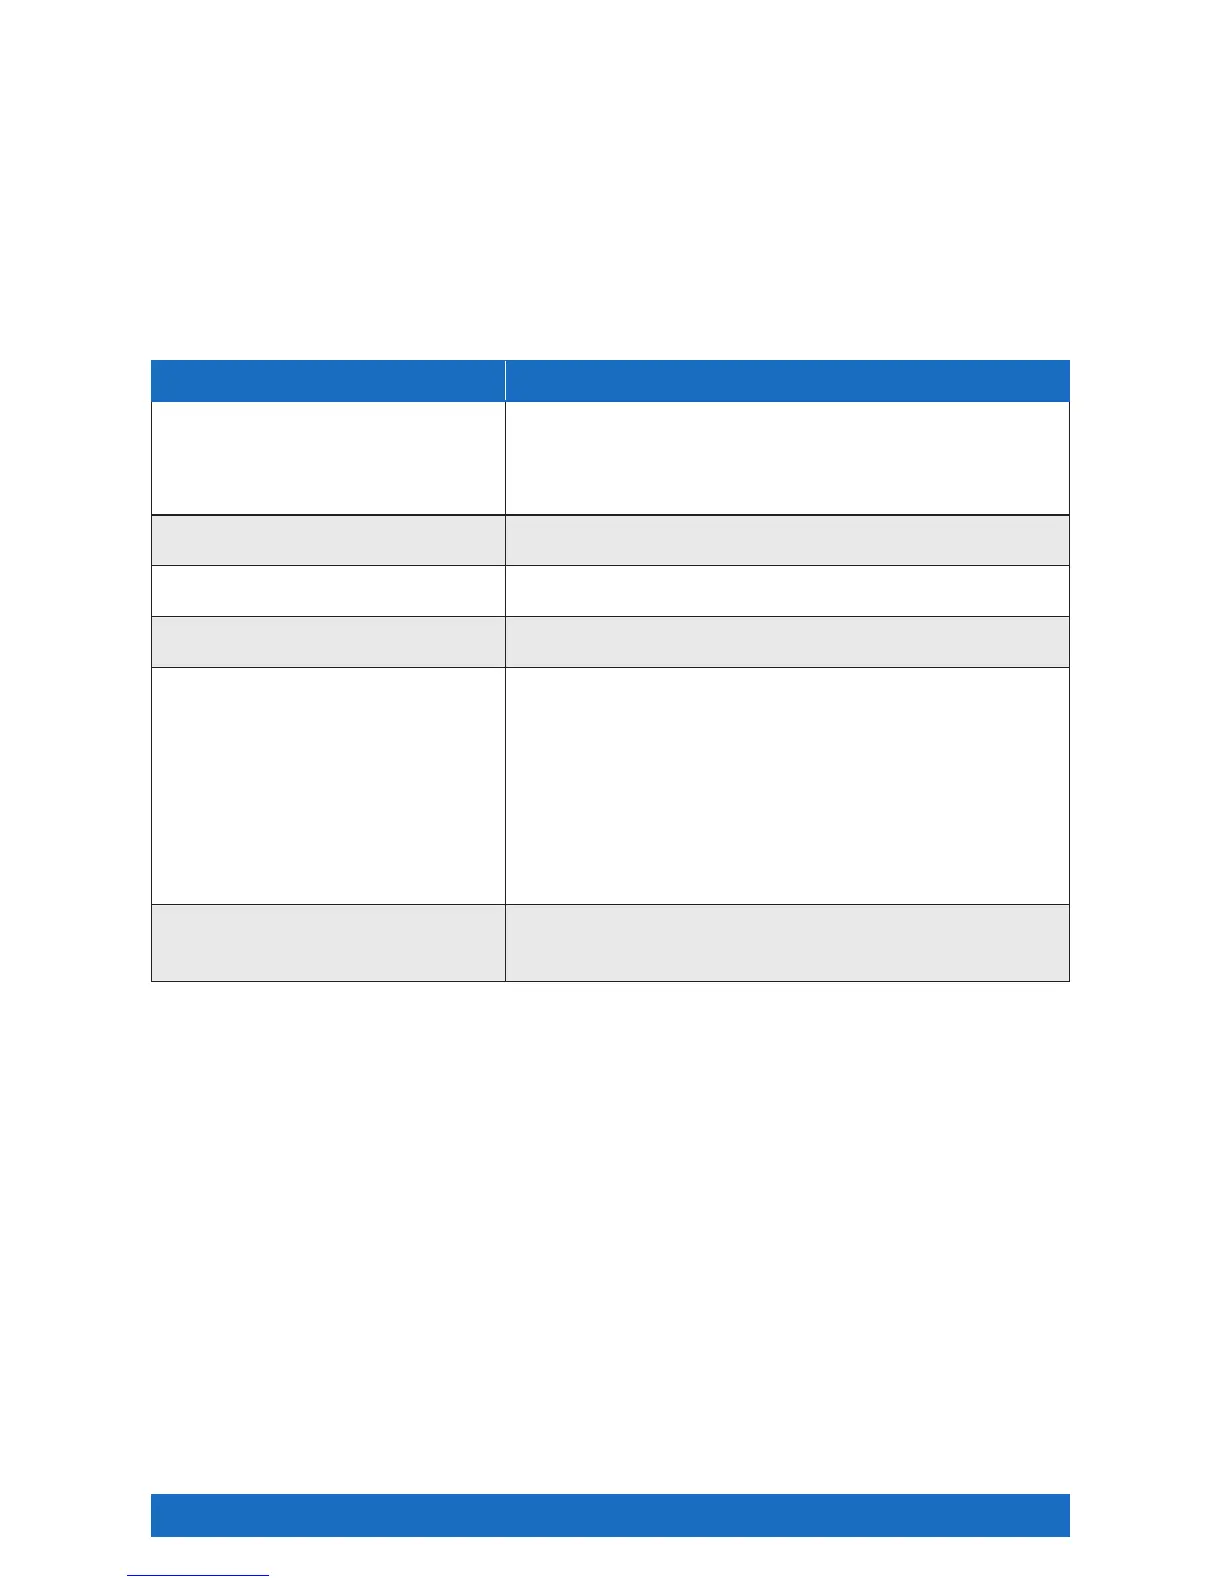
Steps Details
Enable or disable Directory Privacy. To turn on your privacy status, select Enable Directory Privacy. This
prevents the users in your group or enterprise from seeing your phone
status. With privacy enabled, when another user does a directory listing,
your name and information do not appear. With privacy disabled, your
name appears as usual.
Enable or disable Auto Attendant Extension
Dialing Privacy.
To exclude yourself from Auto Attendant extension dialing, select Auto
Attendant Extension Dialing Privacy.
Enable or disable Auto Attendant Name
Dialing Privacy.
To exclude yourself from Auto Attendant name dialing, select Auto
Attendant Name Dialing Privacy.
Enable or disable Phone Status Privacy. To exclude yourself from Phone Status monitoring, select Phone Status
Privacy.
Select the users authorized to monitor your
phone status.
You can select a group of users allowed to monitor your phone status
regardless of the Phone Status Privacy setting.
This page includes an advanced search mechanism to filter the display
of entries. To perform a basic search, click “Search”. The list appears.
• To move one or more users from the Available Users box to the
Monitoring Users box, select the user or users, and click “Add>”.
• To move all numbers from the Available Users box to the
Monitoring Users box, click “Add All>>”.
Move the users you want to allow to monitor your phone status from the
Available Users table to the Monitoring Users table.
Save your changes. Click “Apply” or “OK”. Apply saves your changes. OK saves your
changes and displays the previous page.
Click “Cancel” to exit without saving.
 Loading...