62
Maintenance
e. The tube assembly is now ready for use:
6. Renew all the reagent tubing.
Important Note: To avoid any contamination, ensure that each tube guide is always
used for the same reagent as it was previously used for. Under no circumstances should
they be interchanged.
Apply the following procedure for one reagent, then repeat for each reagent in turn. For
easier access, start with the reagent pump on the far left (closest to the calibration
pump).
a. Locate the inlet port (nearest to you) and outlet port (farthest from you) of the
pump. Be aware that there is an additional port on each pump between the inlet
and outlet ports but which is not to be used. Disconnect the inlet tubing and the
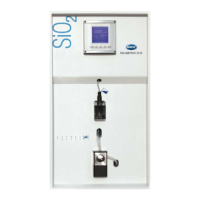
injector tubing from the pump. Pull the injector tubing out of its position in the
photometric cell (item no. 5 in Figure 2 on page 15) and discard it
b. Mount the newly prepared injector on the outlet port of the pump and screw in
place. Slide the other end of the tubing through the panel cut-out at the front but
do not yet connect to the photometric cell
c. Mount the newly prepared inlet tubing on the inlet port of the pump and screw in
place
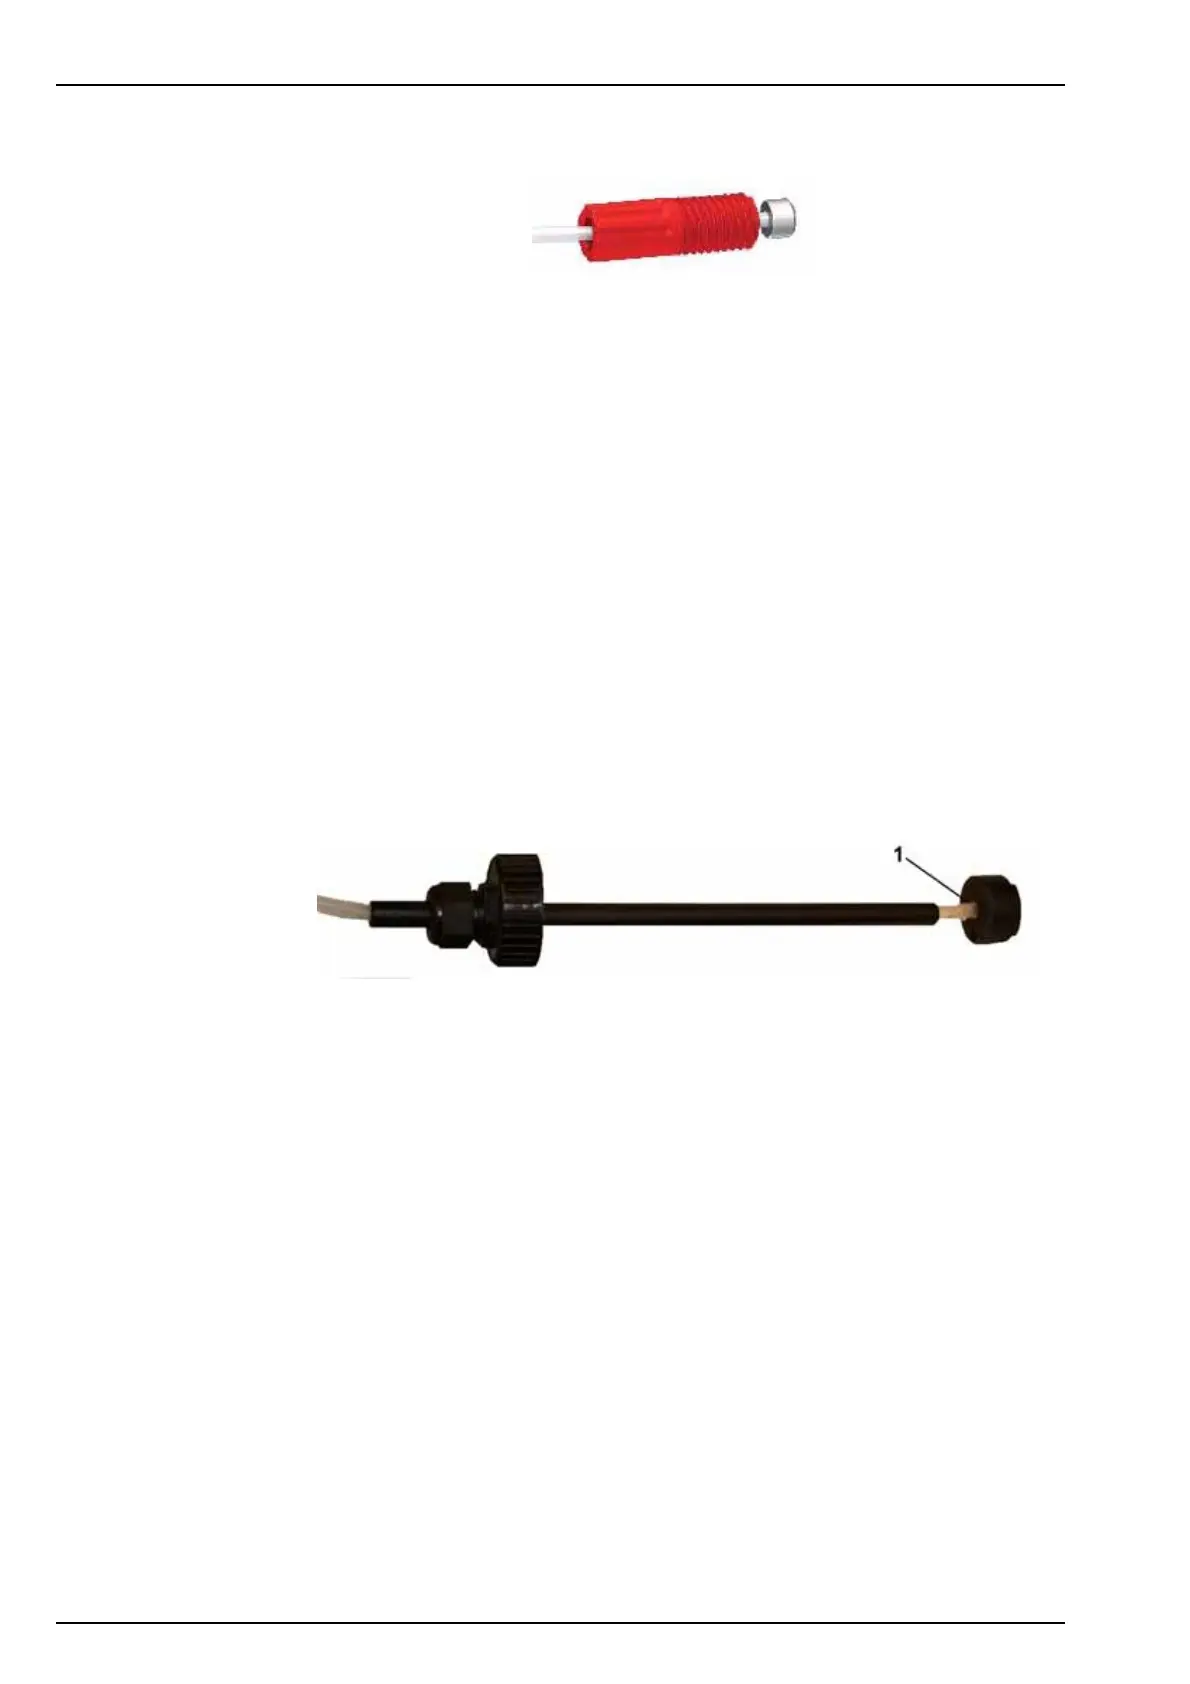
d. Retrieve the old inlet tubing and the tube guide from the beaker of water
e. Unscrew the plastic fitting from the weight (position 1 in the illustration below) and
put the weight to one side on a clean tissue
f. Once the weight is removed, pull all the old reagent tubing out of the tube guide
and discard
g. Slide the newly prepared reagent tubing through tube guide
h. Place a new fitting (part no. 589=010=015 from the maintenance kit) on the end of
the tubing and screw into the weight
i. Take the same sticker as the original one (part no. 625=065=025 from the
maintenance kit) and place it around the reagent tube approximately 10cm from
the tube guide
j. Place the tube guide assembly back in its canister and screw down securely
k. Repeat these steps for the next reagent pump until all four have been completed
7. Change the magnetic stirrer in the photometer cell by first removing the 4 screws from
the photometric cell cover. Put the screws to one side. Lift off the cap and then remove
the old magnetic stirrer in the bottom of the cell.
Take a new stirrer (226=003=013 from the maintenance kit) and place in position at the
bottom of the cell.
Replace the photometric cell cover and secure with the 4 screws.
8. Place the ends of the injectors into the top of the photometric cell as far as they will go
without forcing them.