Powered by Safety
®
15
Installation
01.4IB.48041
5. With the probe installed, tighten the head
of the Allen set screw. This is performed
with a 1.5mm hex driver. The set screw
should be torqued to approximately
5 inch-lbs.
Figure 12 Secure Probe by Tightening Allen Key
6. Validate that the probe is properly secured
into the lug by gently tugging on it. At this
point the joint can be carefully dressed, if
required, while ensuring the probe is not
abused.
Figure 13 Correctly Installed Probe and Lug
c. route fiBer-optic proBe
Proper routing of the probe is important to
facilitate proper installation of BriteSpot® Plus.
The optical fiber has some general guidelines
that must be followed during installation:
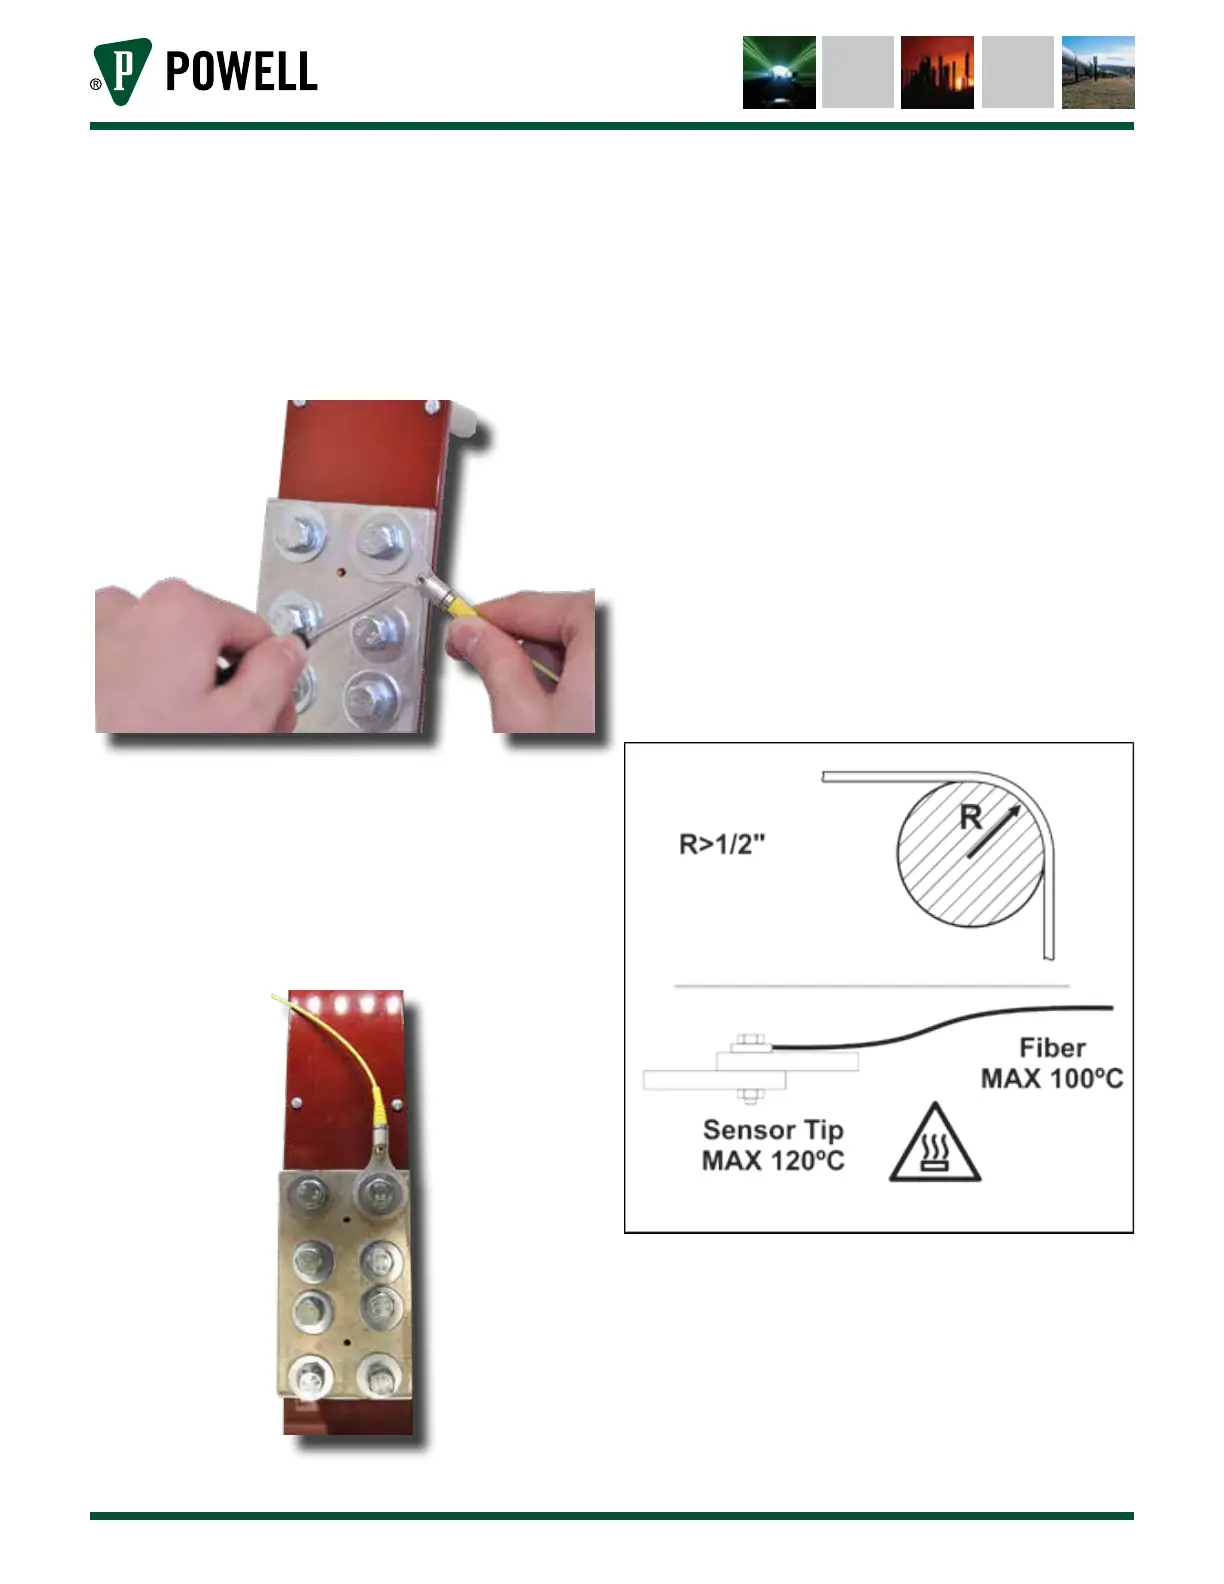
1. Ensure that bend radii are greater than
1.3 cm (½”). Bends smaller than this will
cause a loss in optical signal.
2. Keep exposed sections of the fiber away
from excessive temperatures. The tip has
been designed to allow for temperatures
up to 120°C (248°F) and the fiber for
temperatures up to 100°C (212°F).
Temperatures in excess of these could
cause premature failure of the fiber.
Figure 14 Fiber Limitations
Securing the fiber along its routing path
is best done with non-conductive tie-
wraps at even intervals every 1-2 m (3-6 ft)
depending on the types of features that
must be navigated. Use electrical tape
as a temporary attachment to assist in
installation as indicated in Figure 15. When
securing tie-wraps, ensure that fiber is not