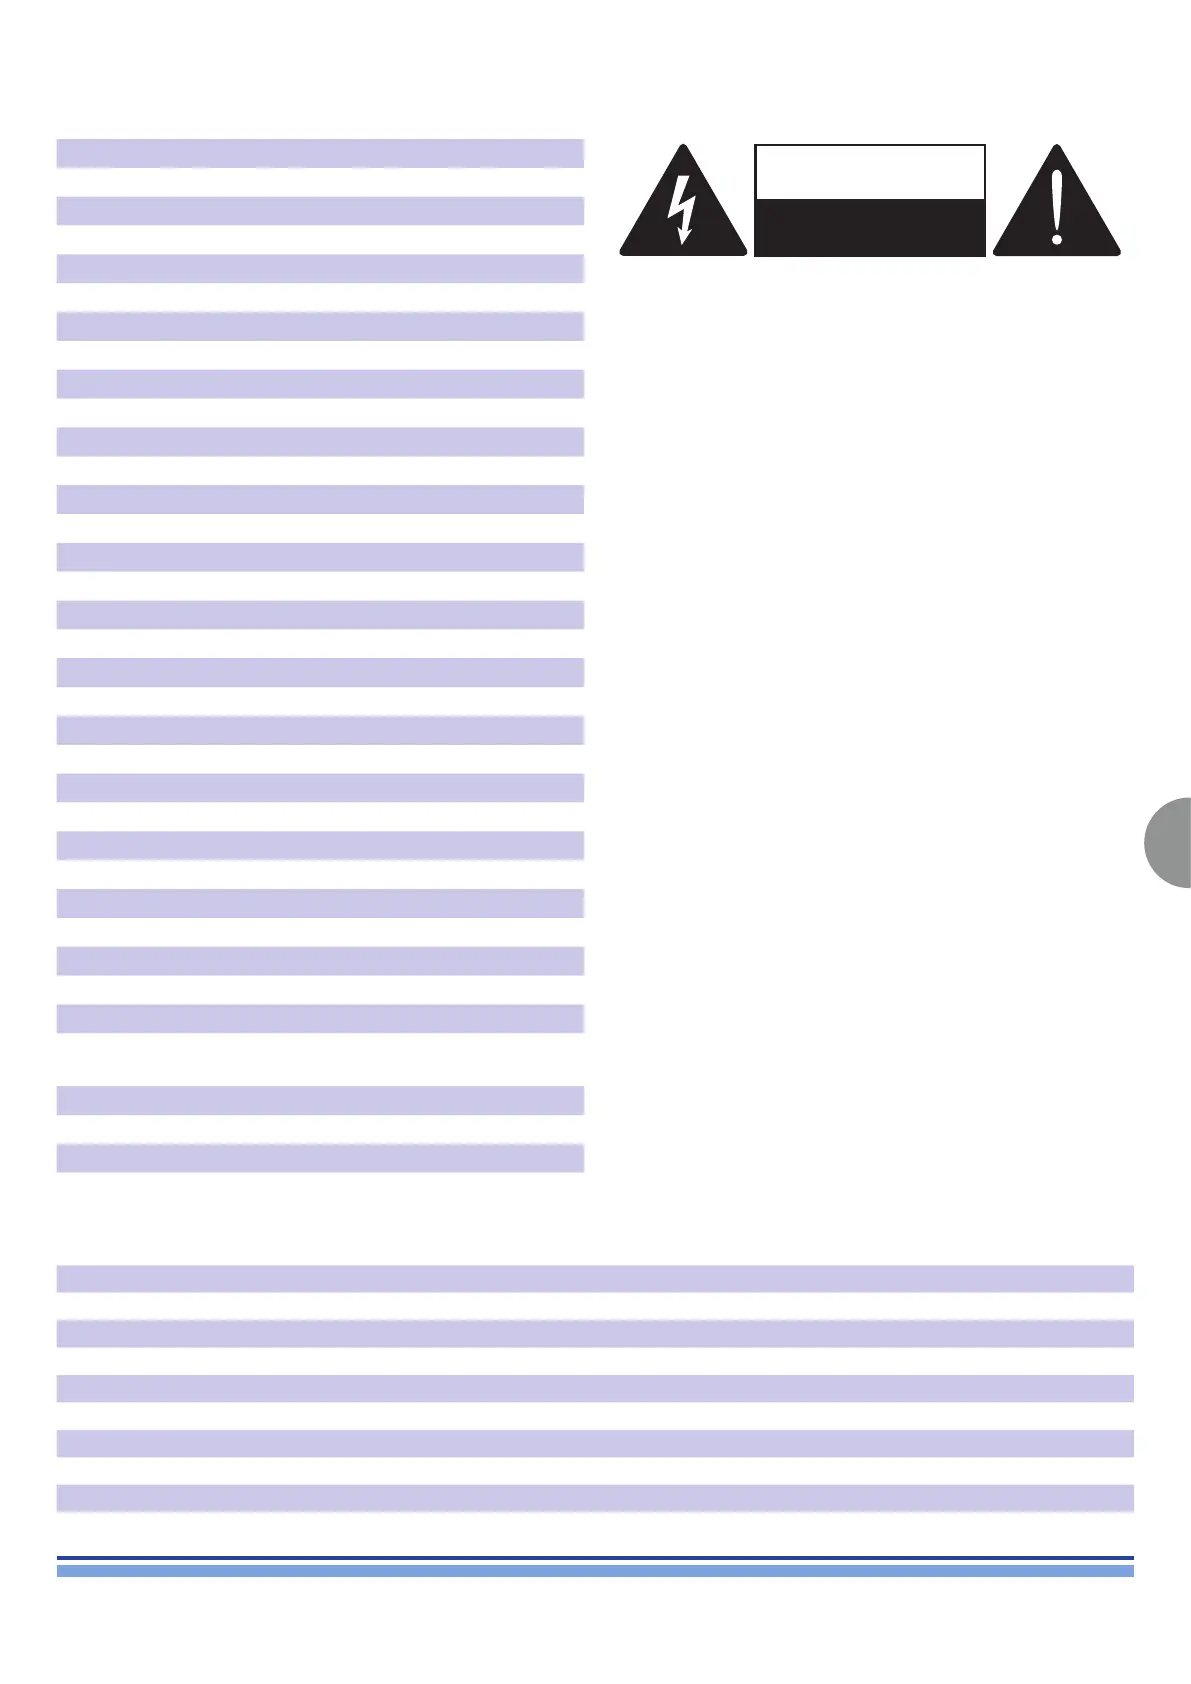
CAUTION
RISK OF ELECTRICK SHOCK
DO NOT OPEN
WE RECOMMEND THAT ALL SERVICE OPERATIONS
ARE CARRIED OUT BY A TECHNICIAN IN THE MANNER
DESCRIBED IN THIS GUIDE.
IF NOT EXPLICITLY STATED OTHERWISE, DISCONNECT THE
AMPLIFIER FROM THE MAINS BEFORE OPERATING THE
AMPLIFIER.
WARNING! INTERNAL CAPACITORS BANK COULD BE CHARGED
AND HARMFUL: TAKE CARE OF COMPLETELY DISCHARGE
INTERNAL CAPACITORS BANK BEFORE HANDLING THE DEVICE
This technical document aims to be a support guide in repairing
and low-voltage testing the X8 power amplier.
The troubleshooting approach will help you characterize the kind
of fault you incur. A recovery method and the related assembly
outline detail is thoroughly explained for the most common faults.
The components to be replaced are clearly shown to help their
identication. At the end of this guide you can nd a detailed
list with the description and the respective Powersoft internal
reference code of the spare parts.
Always use an anti-static wrist band while servicing the amplier.
This documentation contains proprietary information which is the
sole property of Powersoft S.p.A.
These documents are condential and reserved and may not be
disclosed, reproduced and shared with third persons or used
without the express written permission from Powersoft S.p.A.
Should the service centre agreement between the two companies
be interrupted these documents must be returned to Powersoft
S.p.A. Italy or proof of their destruction be provided.
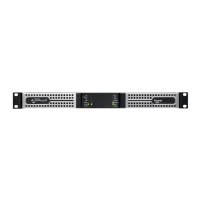
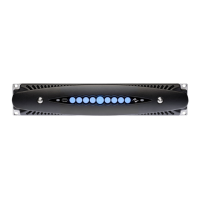
X8 | SERVICE MANUAL
Data are subject to change without notice.
For the latest release please refer to the online version available on
www.powersoft-audio.com.
INDEX
Tools:
LED Congurations and Further References
4
1.
Removing the Amplier’s Cover
8
AC Wiring Diagrams
9
2.
Removing The Slot Ethernet Board
10
Dante Board FW reset procedure
10
3.
Removing the Wi-Fi Module
11
4.
Removing the X/Front
11
5.
Extracting the Modules
11
6.
Removing the DIGI and ADLINK Boards
14
Flat Cable Replacement
15
SD Card Removal
16
7.
Front Panel Disassembly
16
8.
Power Supply Verication Procedure
17
Replacing the Fuses
20
Internal Mains Connection
20
9.
Amp Modules Verication
21
10.
Replacing the Fans
23
Fan PWS
23
Fan AMPS
23
11.
Updating the Software
23
Formatting a FAT32 USB Pen Drive
23
Updating the FW via Pen Drive
24
Installing the Serial Number and Mac Address
25
Extracting the Log Files via Pen Drive
26
Extracting the Log Files via SD Card
26
12.
SD Card Recovery Procedure
26
13.
Soft Reset - Resetting the IP Address
27
14.
Hard Reset
27
15.
Testing the Unit via Armonìa
27
16.
Reworking Screws
30
17.
Final Checklist
30
18.
Restoring the Amplier to its Factory Settings
(Copying the PAM les)
32
19.
Troubleshooting Diagrams
33
20.
Repair Kit List
38
Appendix A: X Series Front Panel
39
Index:
T10 Torx Screwdriver
T20 Torx Screwdriver
M5 Socketed Hex Screwdriver
M7 Socketed Hex Screwdriver
6mm Hex Screwdriver
Long Nose Pliers
Required Instrumentation Q.ty Example/Comments
Dual stabilized power supply 30 Vdc 5 A 2 APLHA Electronica mod. AL852D or equivalent
Digital Oscilloscope 50 Mhz 1 TEKTRONIK TBS – 1052B-EDU or equivalent
Signal generator 1 Rigol DG1022, Feeltech FY3200S
Variac 1 Toroidal 3 KW (Mono phase)
Dummy load 1500 W 8 Ohm 1 TE CONNECTIVITY / CGS TE1500B10RJ Resistor
Soldering Station 1 WELLER PU81 + WSP80 or equivalent
SMD rework soldering station 1 GORDAK 952 or equivalent
Digital Multimeter 1 FLUKE 179 or equivalent
Pc with at least 1 eth board 1
Any evidence of tampering by unathorized personnel results
in immediate termination of the warranty.