EasyManuals Logo

powersoft X8 User Manual

powersoft X8
45 pages
To Next Page IconTo Next Page
To Previous Page IconTo Previous Page
Page #11 background imageLoading...
Page #11 background image
11
X8 | SERVICE MANUAL
INDEX
4. Removing the X/Front
By means of a T10 Torx Screwdriver, remove all 4 screws
highlighted on (Fig. 8)
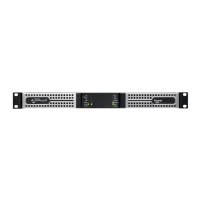
(Fig. 8)
(Fig. 9)
Unplug all four cables portrayed on (Fig. 9).
5. Extracting the Modules
(Fig. 10)
Unplug all 10 MicroMatch cables as portrayed on (Fig. 10, 11)
(Fig. 11)
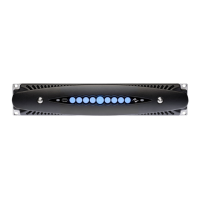
3. Removing the Wi-Fi Module
(Fig. 7)
Locate the Wi-Fi module on the left side of the front panel.
Gently pull the Wi-Fi Module outwards and remove it
from its slot. (Fig. 7)
Removed Wi.Fi Module

Table of Contents

Other manuals for powersoft X8

Questions and Answers:

Question and Answer IconNeed help?

Do you have a question about the powersoft X8 and is the answer not in the manual?

powersoft X8 Specifications

General IconGeneral
Channels8
Signal to Noise Ratio> 112 dB
Damping Factor> 5000
Power SupplyUniversal switching power supply (100-240V, 50/60Hz)
NetworkingEthernet
DSPYes, with FIR filters
Load Impedance4Ω, 8Ω
Input Impedance20 kΩ balanced
Cooling SystemVariable speed fan
Frequency Response5 Hz - 30 kHz

Related product manuals