360 Repairs
37
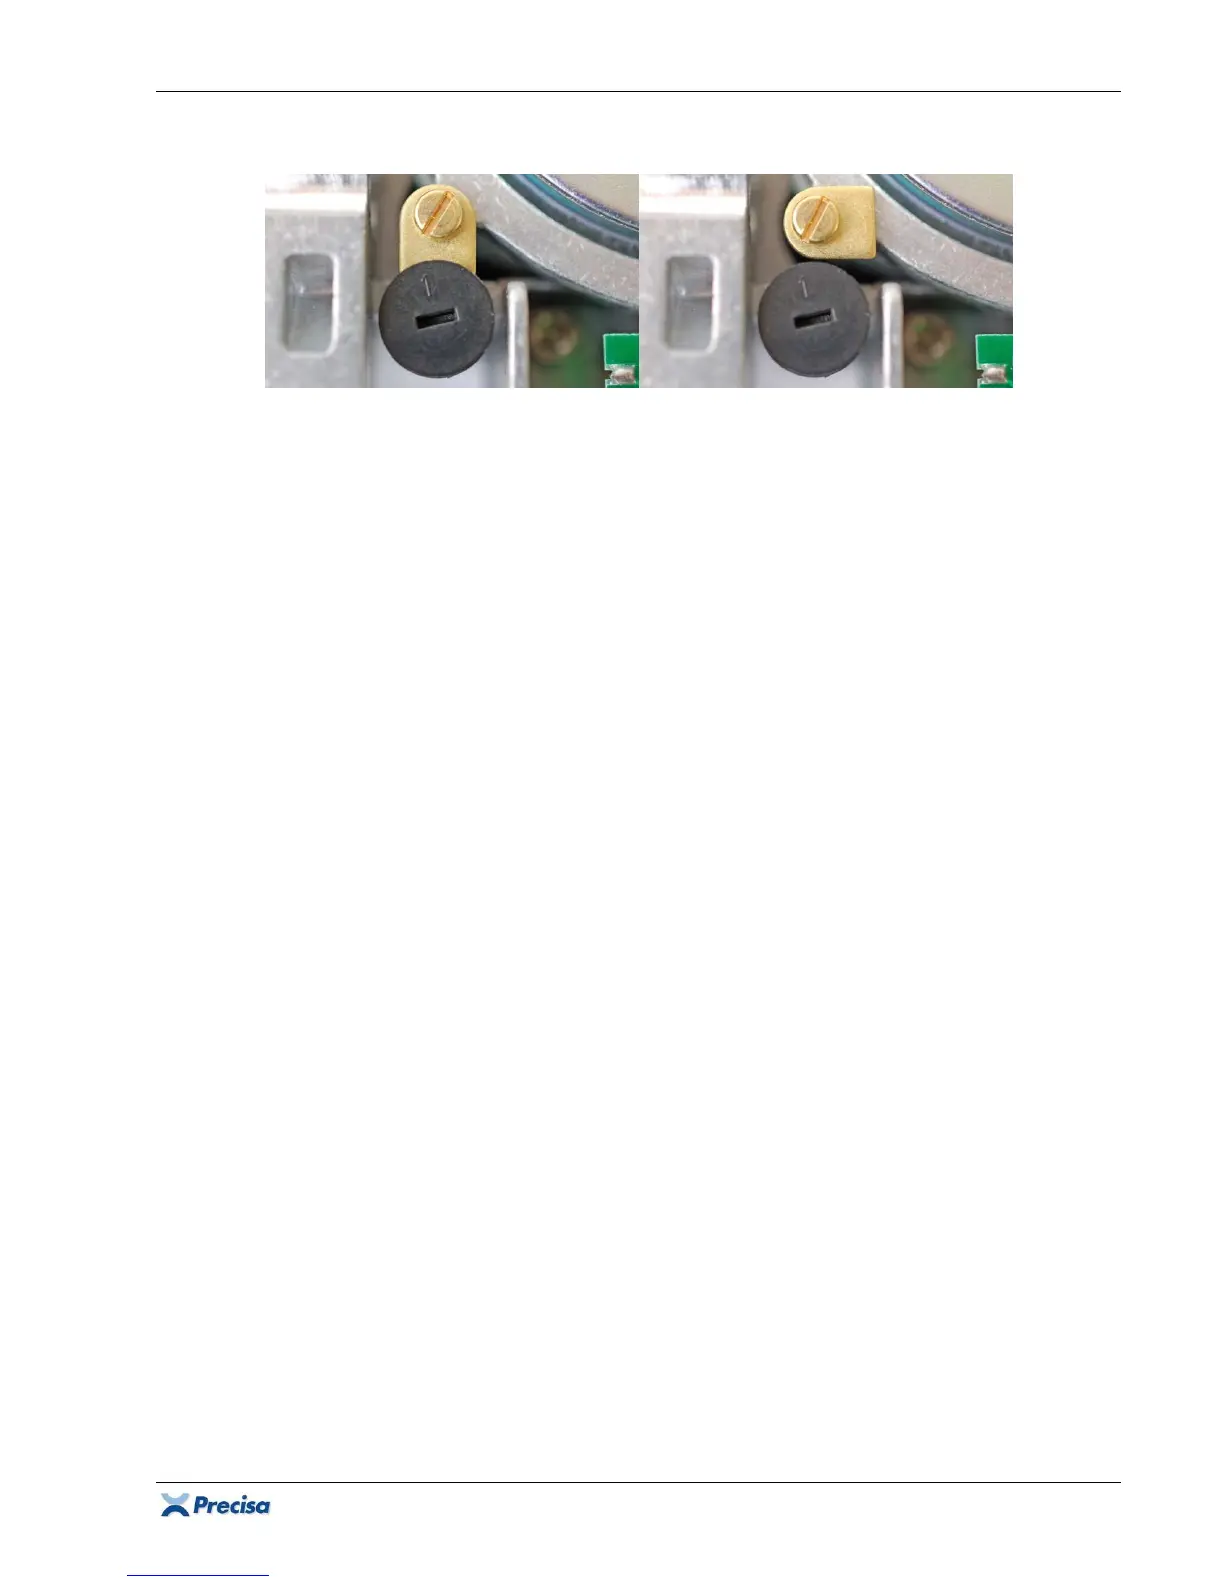
2.4.5 Removing the balance arm
1. Unscrew the brass screw from the stopper, turn it inwards ca. 90° and gently re-tighten the
brass screw.
2. Unscrew the 4 screws (27) from the vertical flexures (6) and remove them together with its
round bases (34) and spring washers (32).
Note:
Since the lug of the floating sensor is firmly attached to the balance arm, the floating sensor
must be unscrewed to dismantle the balance arm and gently tilted to the rear:
3. Unscrew the screw (21) from the connection board (11).
4. Unscrew the 3 screws (24) of the floating sensor and gently tilt the floating sensor to the rear.
5. Remove the two inner assembly pins [9], i.e. unscrew them from the balance arm.
6. Remove the two outer assembly pins [9], i.e. unscrew them from the chassis.
7. Remove the two assembly jigs [7] and [8].
8. Carefully tilt the balance arm over the pot and the floating sensor and take it out.