Grounding
_____________________________________________________________________________________________________________________________________
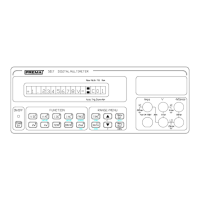
2-4
Before connecting the unit to power, you should make sure that it is set to the right
voltage (indicator and fuse).
The voltage selection switch with integrated fuse is located right under the power
connector, where you can also read off the current voltage setting; a setting of
"220V" represents an AC voltage from 220V to 240V, "110V" represents a voltage
from 100V to 120V.
Switching the AC Voltage is done as follows:
)
1. Unplug the unit.
2. The clamp for the fuse is located between the plug and the power selector and
must be removed. For a setting of "110V" you will need a fuse rated at 0.4A;
for "220V" you’ll need a fuse rated at 0.2A.
3. Place the necessary fuse in the clamp and push the clamp back in.
4. Turn the cylinder with the voltage indicators once left or once right to the de-
sired setting, so that the voltage that is currently set is indicated by the white
arrow on top.
The indicators are used as follows:
Setting Voltage Range
110 V 90 V
RMS
to 130 V
RMS
220 V 180 V
RMS
to 265
RMS
Table: Main Voltage Ranges
2.6 Grounding
In order to protect the user, the unit’s case is grounded through the grounding lead of
the power cable. To ensure proper grounding, the power cable should always be con-
nected to a properly grounded power connector.
The unit case is galvanically separated from the measurement connectors and inter-
face ports.
The back of the unit is equipped with a grounded screw, identified by the
sym-
bol, where the user can connect a separate ground line (rack mounting bracket).