125
MBOX® USER MANUAL
Because there is specic content for this tutorial, the texture width and height here are set to match: 900 x 900. The
display width and height are the pixel size of the output that the conguration will be use on. Again, this needs to be
pre-set to maintain a pixel-accurate relationship between the image remapping conguration data and the output’s
pixels.
Note: Pre-setting a conguration’s display size doesn’t mean that the conguration cannot be used on an output with a
different size, however its origin will be offset from the origin of the output. However, unlike with the texture, it’s not as
easy to move the entire conguration on the output.
Step 4. When editing the image remapping conguration in a live session, any edits made to the conguration will be
saved automatically. Therefore, there’s no need to save anything unless the application being used is in le
mode.
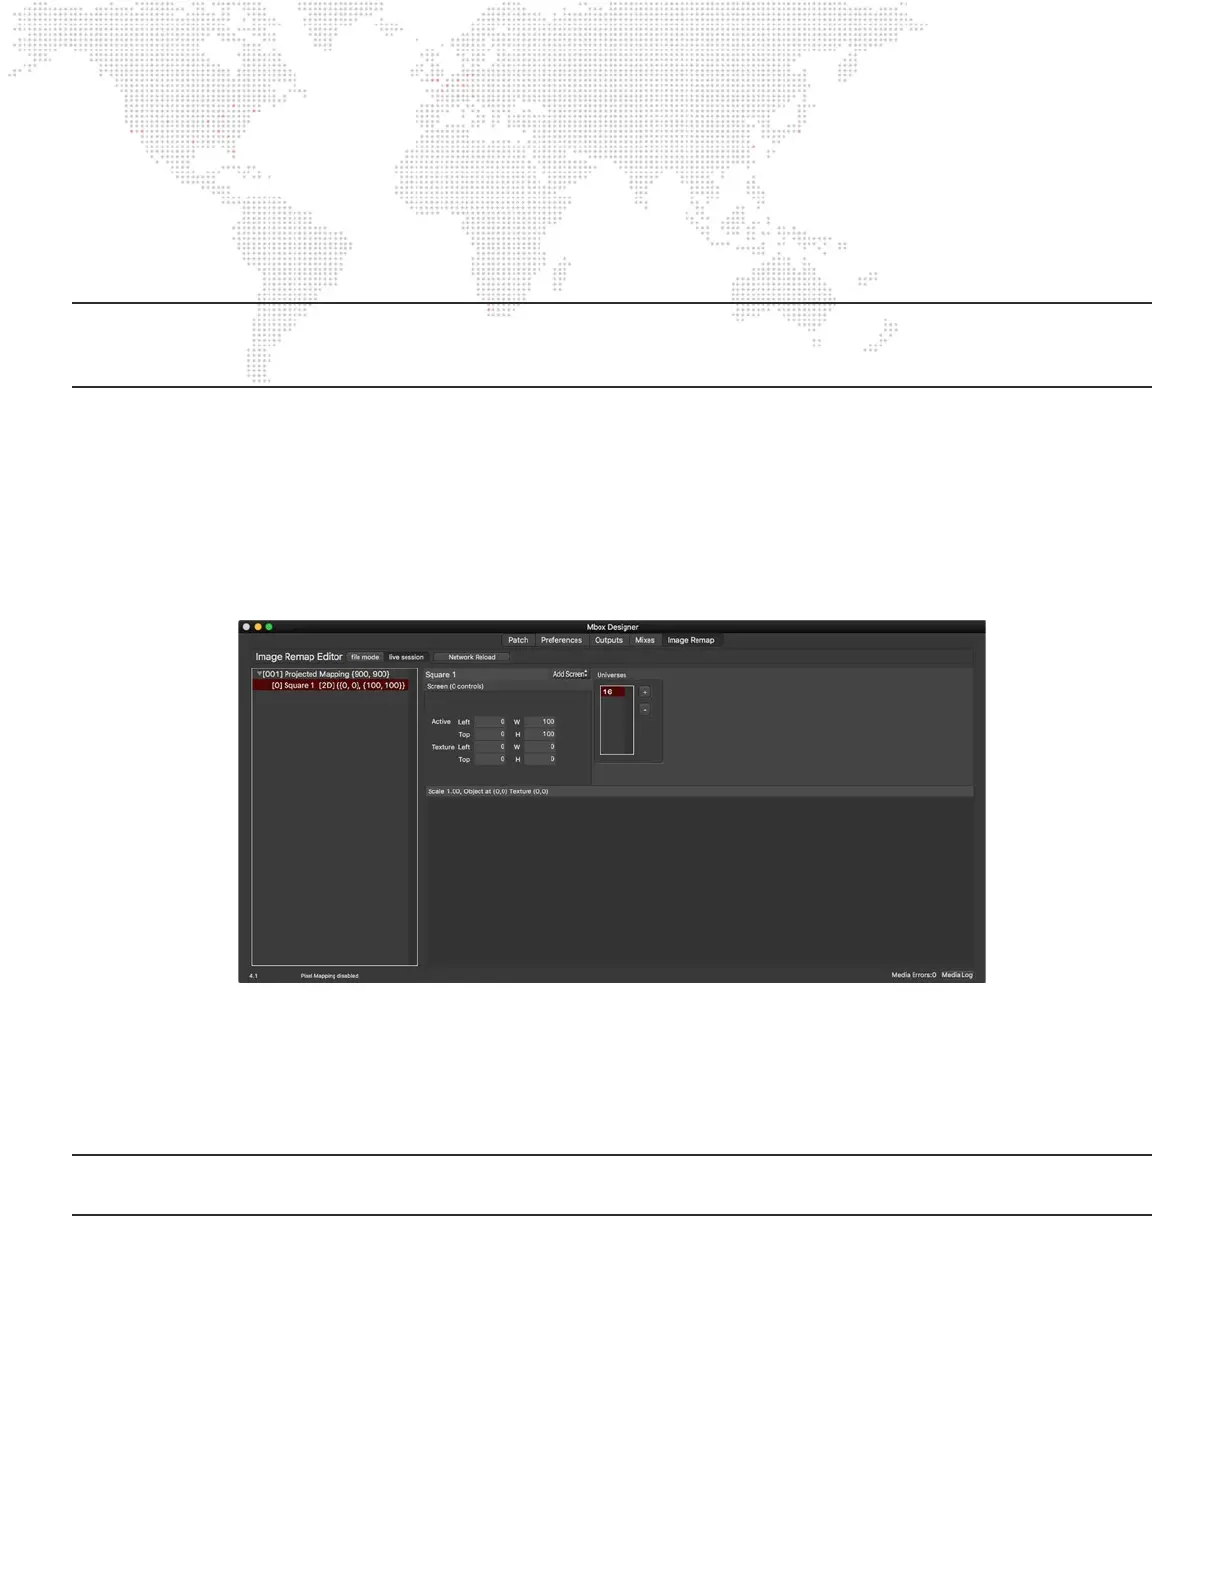
Step 5. With conguration [001] still selected, click on the Add button again and choose Add Screen from the list.
There will be a small disclosure arrow visible to the left of the conguration’s entry in the listbox. Click
on this arrow to expand it. The conguration now has one screen (Screen index [0]). When the screen is
selected, its properties will be visible on the right side of the window.
Step 6. With the rst screen selected, take a look at the application’s preview area. Before any screen objects were
added, it was blank, with only a dark gray background. Press [⌘⇧0] to automatically scale the preview to
t the preview area. The view should now show a light green square at the top-left of a dark gray rectangle
in the preview area. Pressing [⌘-] on the keyboard will reduce the scale of the view in the preview area,
whereas pressing [⌘+] scales it up. Clicking and dragging will pan the view.
Note: The text eld at the top of the Preview area shows the current scale of the view and information about the
selected screen object.