25
©2006 Sunrise Medical
POWER BASE SECTION
1. Remove Cotter Pin that holds the Large Freewheel
release lever to the freewheel release on the
gearbox.You will now have access to the 5 bolts that
hold the motor to the mount.
Tip: Use 9 inch diagonal cutters to clip the heads
from the cotter pins for easy removal.
2. Loosen the bolts using a 10mm wrench or ratchet
3. You will now be able to remove the motor assembly
from the chair.
1. Operation complete – reverse steps to re-assemble.
Note: Always use a new cotter pin.
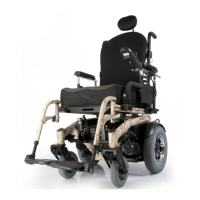
Motor Removal and Replacement Rhythm
Raise the chassis of the chair on a stable platform so
that all wheels are off of the working surface.
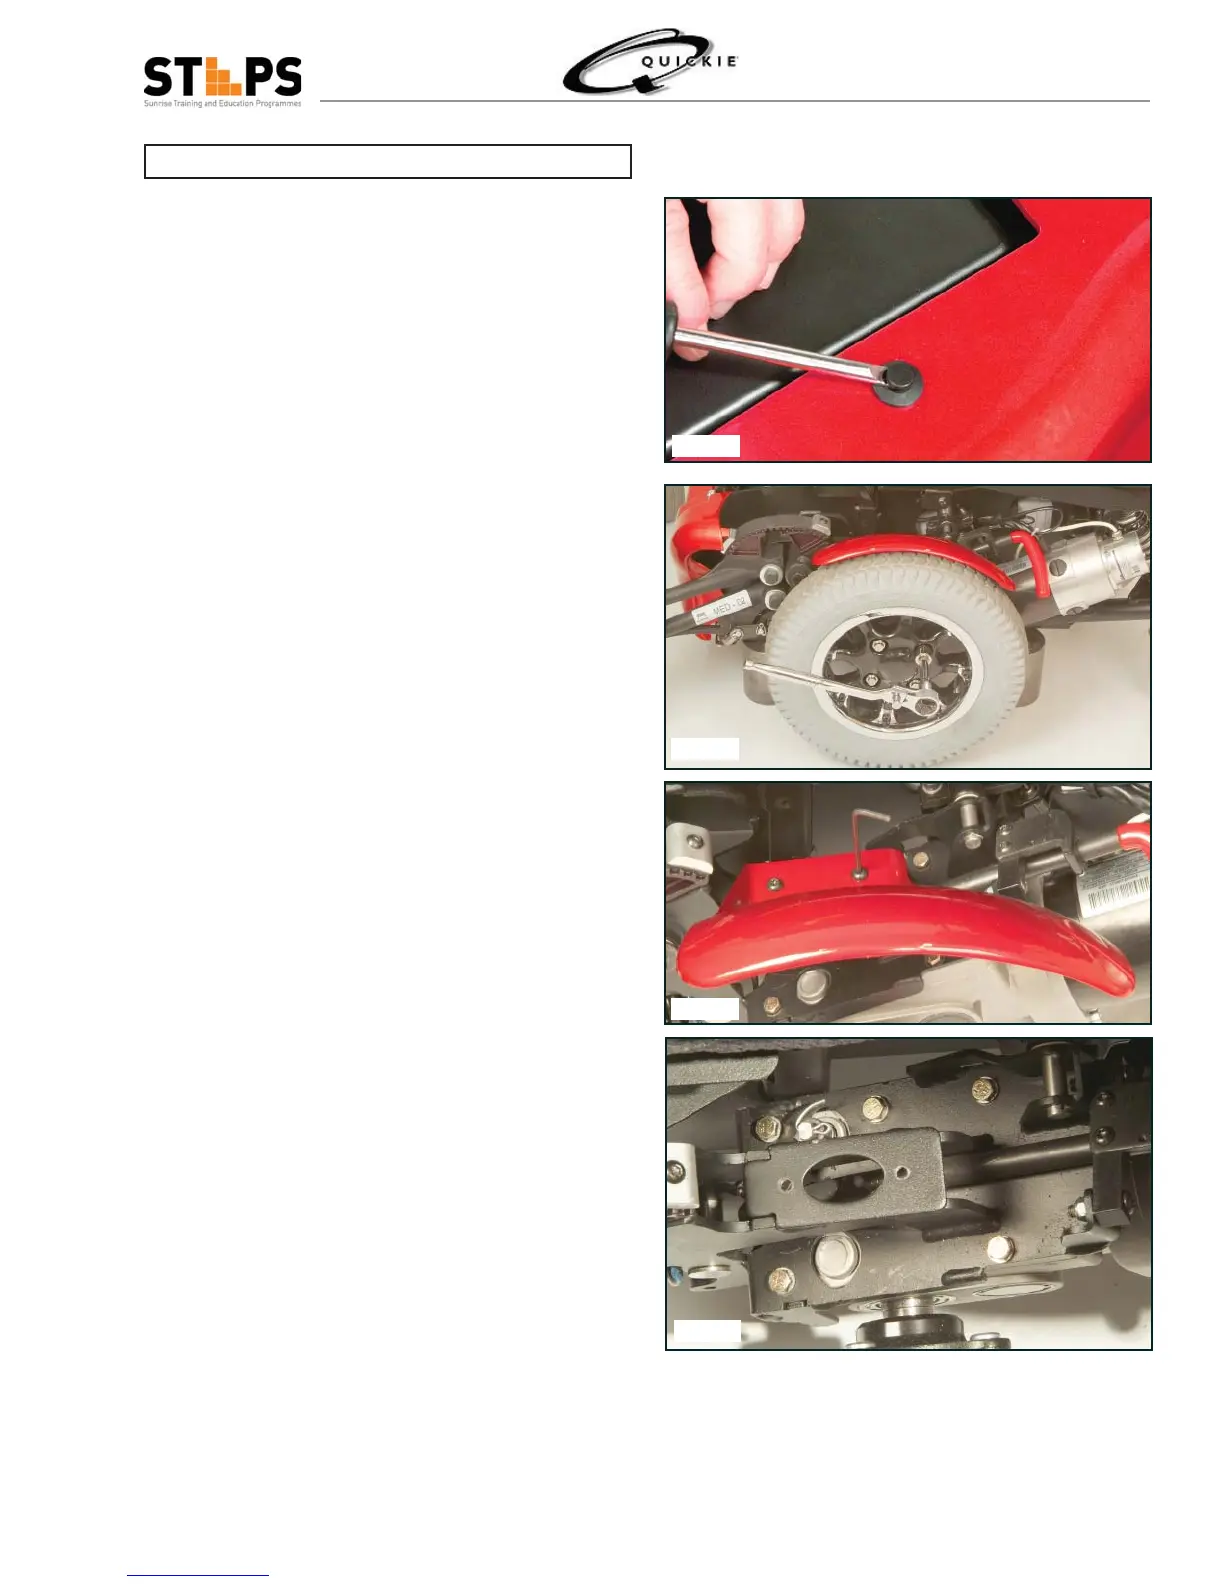
Lift the center pad of the fasteners that secure the side
shroud to the chair. Remove the fasteners (fi g 1.29)
and after disengaging the side shroud from the front
shroud, remove the side shroud and set aside.
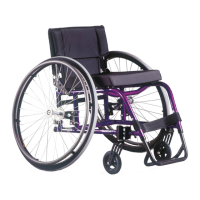
With the motor release engaged, loosen and remove
the drive wheel securing lug nuts and the drive wheel
(fi g 1.30).
Fig 1.29
Fig 1.30
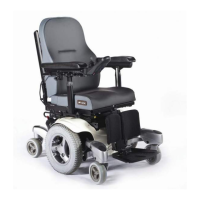
Fig 1.31
Use a 4mm allen key to remove the two fasteners that
secure the drive wheel fender (fi g 1.31). Remove and
set aside the fender.
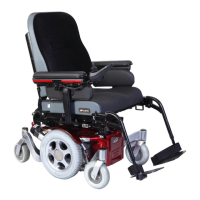
Fig 1.32