Kiaro! 200 Maintenance Utility
Kiaro! 200 User Guide 85
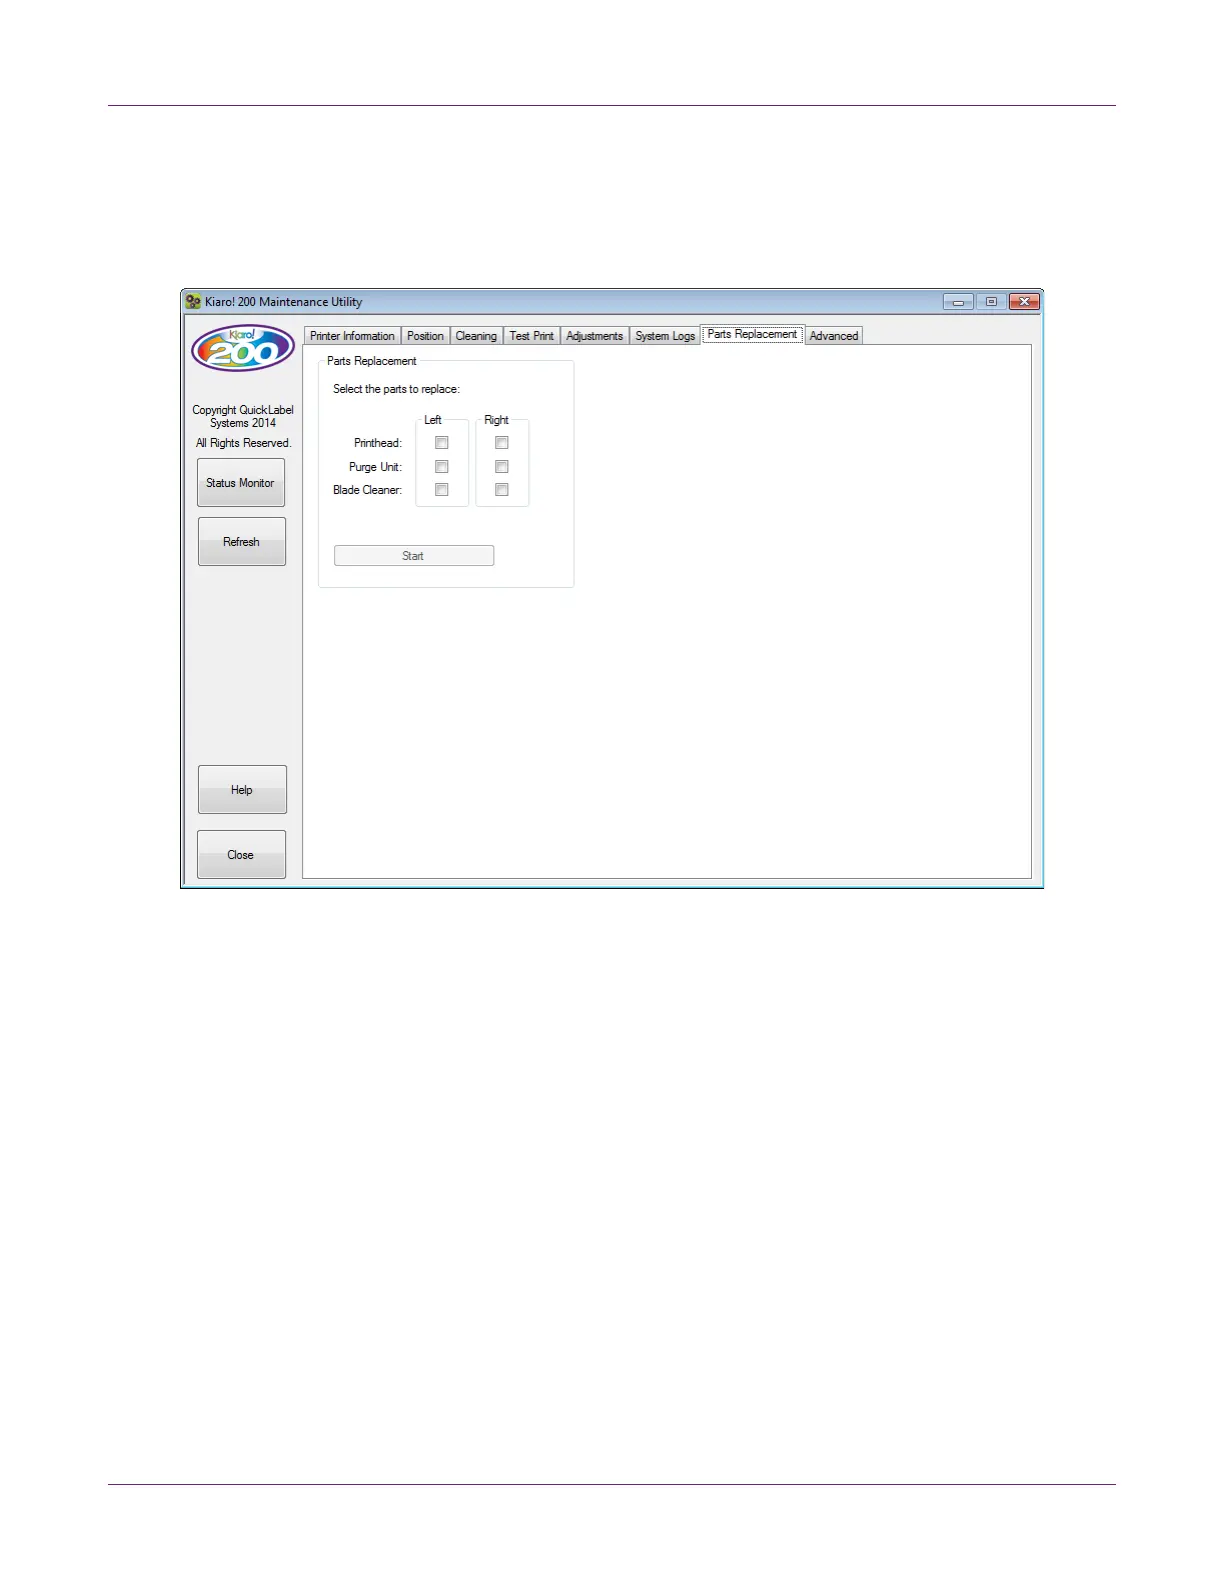
Parts Replacement Tab
Use the Parts Replacement tab to replace printheads, purge units, and blade
cleaners.
Replacing the Printhead Assembly
Use the following procedure to replace the printhead assembly. This process will
replace the printhead for each color.
Note: Wear protective gloves to prevent ink from staining your hands during this
procedure.
1 Launch the Kiaro! 200 Maintenance Utility.
From the Windows Start Menu, choose Start > All Programs > QuickLabel
Kiaro! 200 > Kiaro! 200 Maintenance Utility. A language and printer prompt will
open.
Select a display language and the Kiaro! 200 printer you want to connect to.
Choose OK.
2 Choose the Parts Replacement tab.
3 Select Printhead. Choose whether to replace the left and/or right printhead.
4 Choose Start. Follow the on-screen instructions to complete this procedure.