Alternatively, you can integrate an external MCU, which provides additional capabilities. For more
information on alternative network topologies, see the Administrator Guide for Scopia XT Series or
contact your system administrator.
If your system administrator enabled encryption in your system and your call is secured, an icon showing
a padlock appears on your display. For more information, see Administrator Guide for Scopia XT
Series.
Important:
Using encryption is subject to local regulation. In some countries it is restricted or limited for usage.
For more information, consult your local reseller.
Procedure
1. Call the first participant (see Dialing a Number Directly from the Endpoint on page 37 or
Dialing a Number from the XT Series Web Interface on page 39).
Important:
Your organization may also have implemented a dial plan, which defines various dial
prefixes to determine the characteristics of a call. For example, you may be able to dial 8
before the videoconference number for a lower bandwidth call, or 6 for an audio-only call.
For more information on the dial plan in your organization, contact your system
administrator.
2. You can add participants in one of several ways:
•
Call the next participant by pressing
on the XT Remote Control Unit.
•
Answer an incoming call from a participant dialing in to the meeting.
•
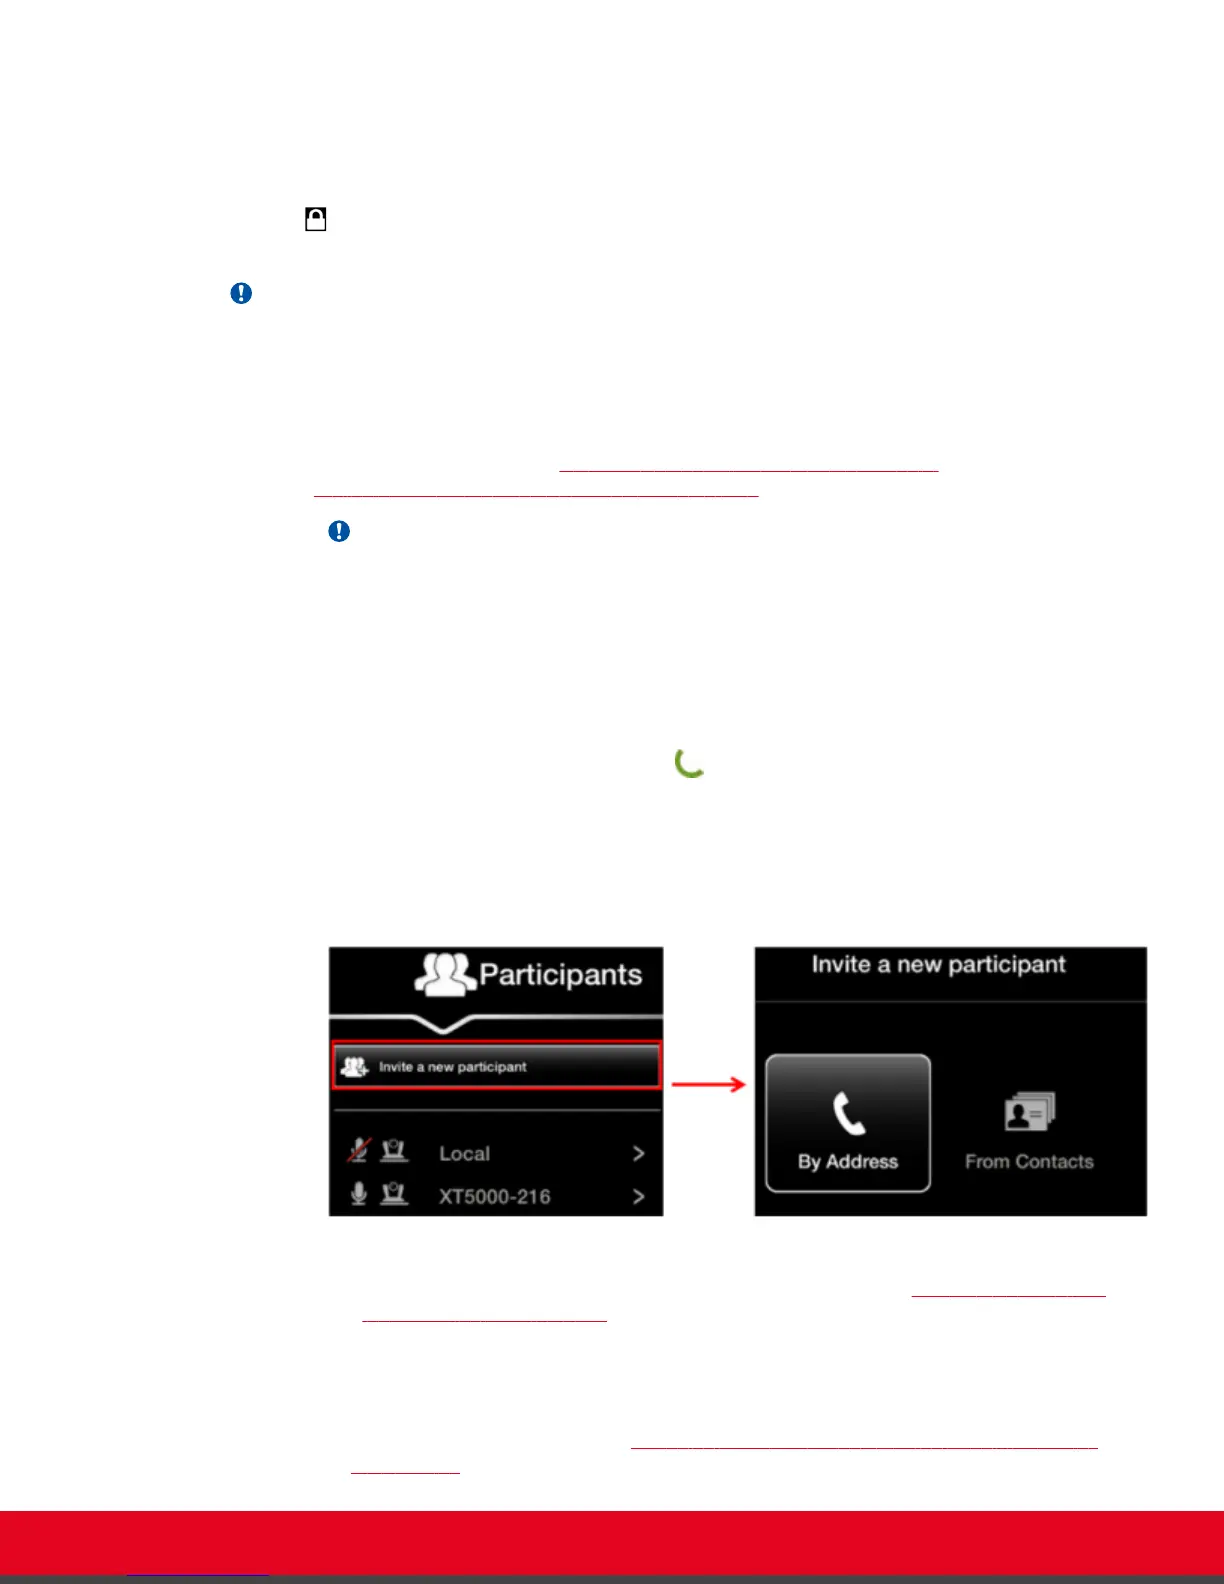
Press ok/menu on your XT Remote Control Unit to access the videoconference menu,
and select Participants > Invite a new participant. Enter the participant's number, or
select a contact from your phone book, and press ok/menu.
Figure 51: Inviting a participant
•
From the web interface, call the next participant as described in Dialing a Number from
the XT Series Web Interface on page 39.
3. Repeat steps according to the number of participants allowed in your system.
4. Continue with:
a. To choose the video layout, see
Changing the Video Layout from the Scopia XT Series
MCU Edition on page 73.
User Guide for Scopia XT5000 Series Version 3.2 Hosting Videoconferences with the Built-in MCU | 72