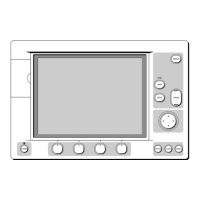
3-32 Raychart 425 Chartplotter
➤ To access the track controls:
1. From chart mode, press the
PAGE key to display the chart set up func-
tion bar (Figure 3-50):
Figure 3-50: Set Up Function Bar
2. Select TRACK SET UP to display the Track function bar (Figure 3-51):
Figure 3-51: Track Set Up Options
The following instructions assume that the track functions are displayed.
Setting up a Track
Use the track functions to switch the track on and to specify the interval at
which track points are placed. The time interval between track points can
be set to 1s, 10s, 30s, 1min, 10min or 30 minutes. The distance spacing
between track points can be set to 0.05nm, 0.1nm, 0.5nm or 1nm. The
maximum track length is 2000 points. When this limit has been reached,
track points continue to be placed, but the oldest points start to be deleted.
Track points continue to be placed until the track is switched off. The
current track is retained even when the unit is powered off.
Setting a short time interval between track points is best suited to
navigation within a close or complex environment, eg. an estuary or
marina whereas, in contrast, a greater distance interval is best suited to a
long haul voyage.
When complete, a track can be converted to and saved as a route
(SmartRoute).
Refer to the track interval setting guide (Figure 3-52) to determine the
best setting for your planned voyage; this is particularly important if you
wish to use SmartRoute to convert the track to a route.
D4694_1
 Loading...