Chapter 5: Installation 5-13
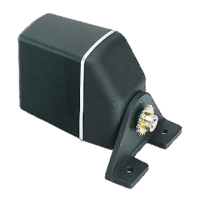
3. Use a suitable junction box to connect to NMEA equipment if
required.
4. Cut any unused cores short or insulate and tape back.
Note: If the power connections are accidentally reversed, the system will
not function. Use a voltmeter to check that the input power leads are con-
nected with the correct polarity.
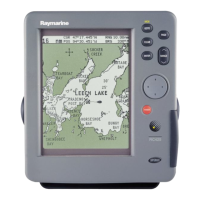
5.6 System Check and Initial Switch On
When installation is complete and all connections have been made,
re-check the installation before using the system for navigation. If
problems occur, refer to Chapter 6:Maintenance & Fault Finding.
EMC Conformance
Always check the installation before going to sea to make sure that it is
not affected by radio transmissions, engine starting etc.
System Check
Before performing the functional test, check that:
• All connections are clean and tight.
• All cables are secured and protected.
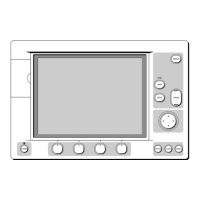
Initial Switch On
To switch on the chartplotter, press and hold the POWER key until the
unit beeps.
If necessary, adjust the lighting and contrast (see Chapter 2).
If required, change the default language settings as follows:
1. Press the
PAGE key to display the setup function bar.
2. Using trackpad left/right, select the
SYSTEM SET UP function and press
ENTER.
The
SYSTEM SET UP menu is displayed, listing the parameters and
their current settings (Figure 5-6):
 Loading...