35
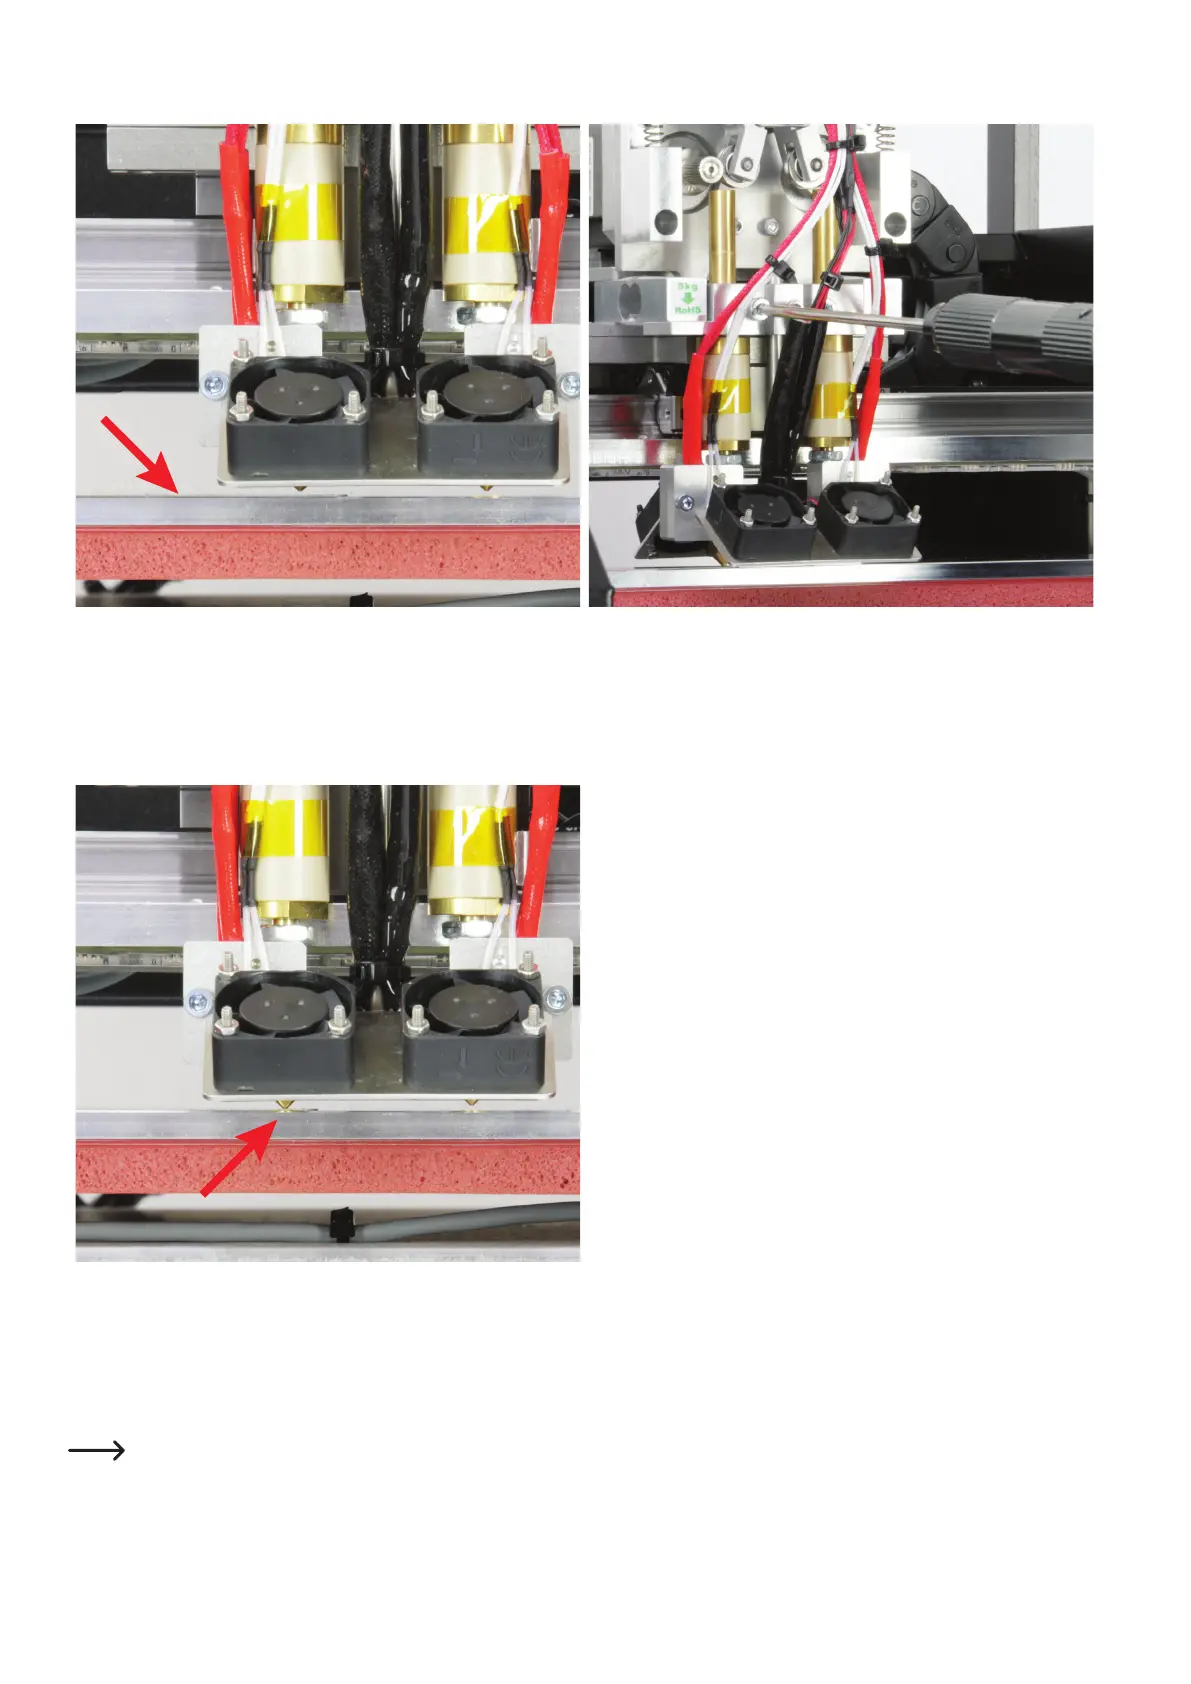
Setting the left extruder (extruder 0)
Take a 0.3 mm strip of a feeler gauge and carefully push it between
theleftextruderandtheprintingplate(seearrowinthegure).
Hold the left extruder at the top at the inlet and carefully release the
left screw of the extruder holder.
Carefully lower the extruder to the strip of the feeler gauge.
Before you tighten the extruder screw again, the left extruder must be
applied loosely to the calibration strip (0.3 mm).
Then tighten the left screw of the extruder holder again and remove
the calibration strips.
Switch off the heater of the two extruders and the printing plate and
let them both cool off.
Attention! Never touch the hot extruder or the printing plate dur-
ing the settings! There is a danger of burns!
No force must be applied to the printing plate, since this can
change its position.
Once this setting and a subsequent head bed scan have been performed successfully, the Repetier-Host software can be used to
determine the proper position of the smallest distance.
For this, observe chapter “19. a) Determining the highest position of the printing plate".