41
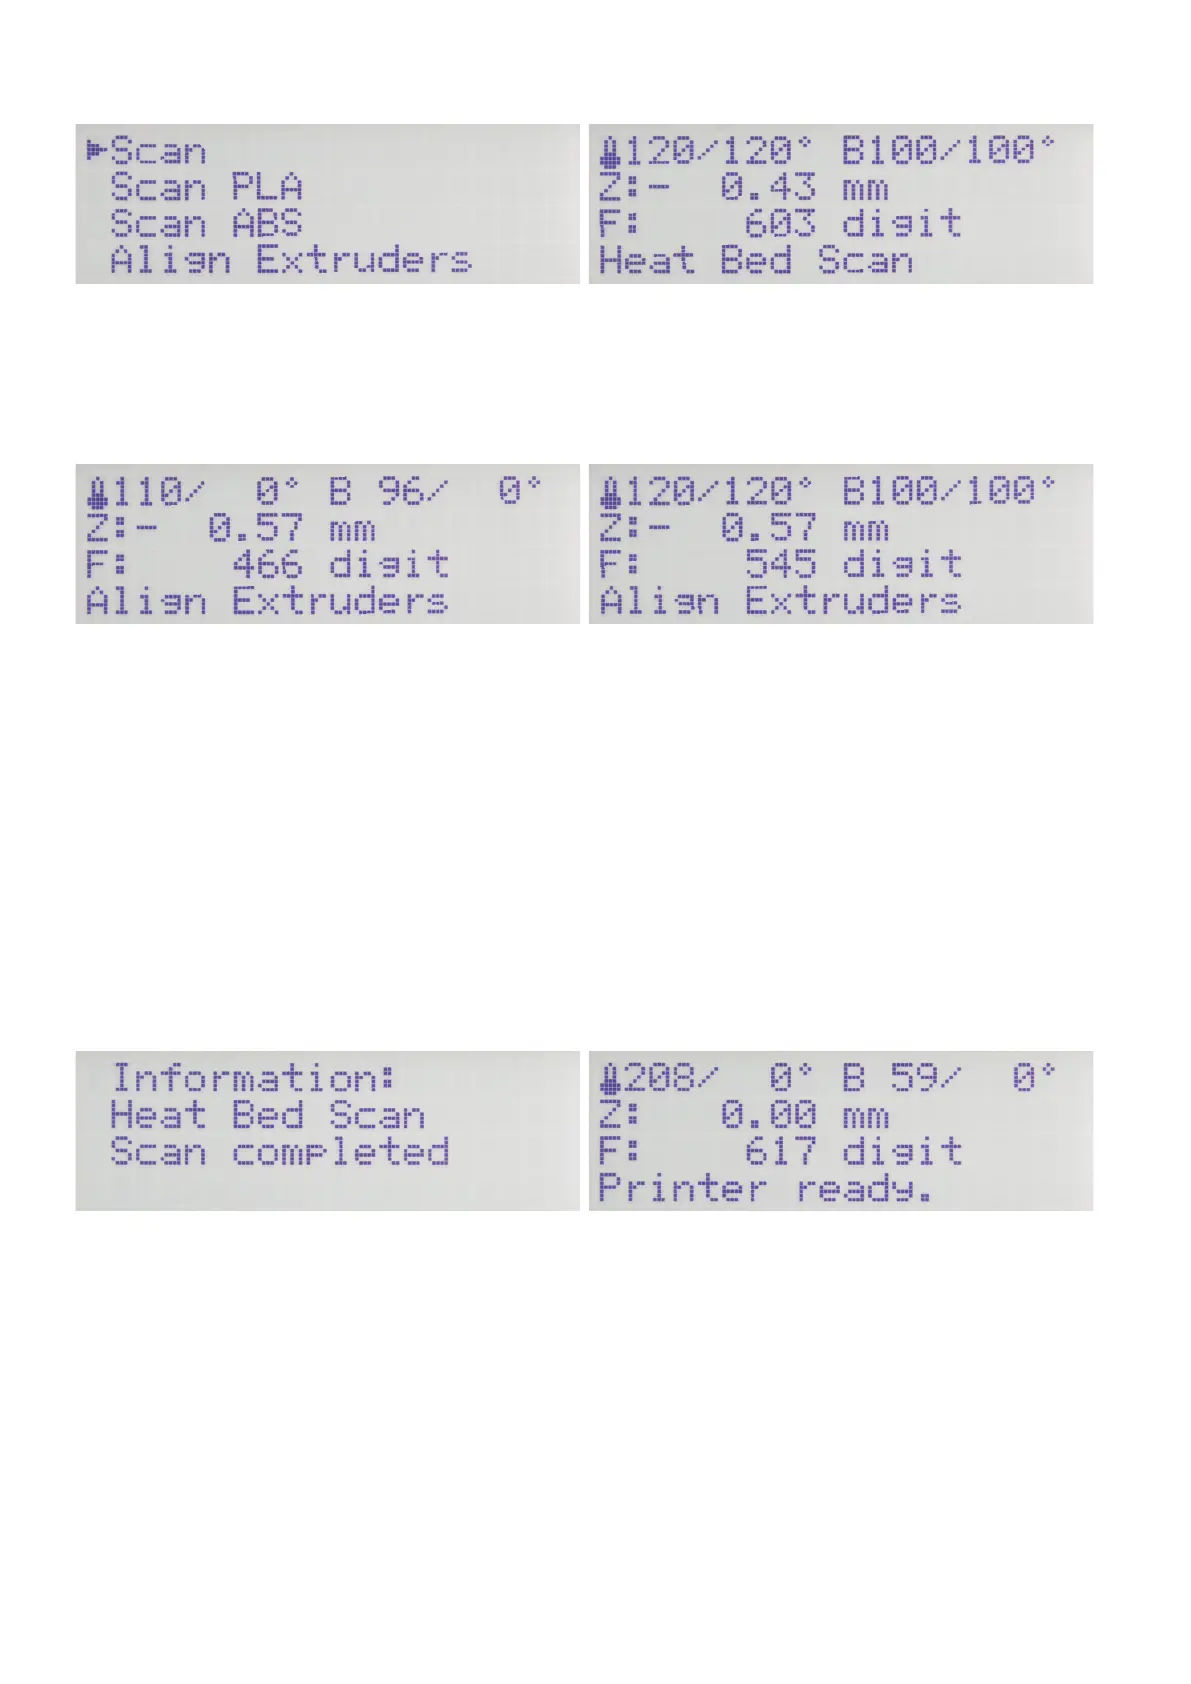
Push OK, to select "Scan" and start the heat bed scan this way. Push
the direction button "left" 3 x to return to the main menu.
The status display of the main menu shows "Heat Bed Scan". The
geometry of the printing plate is now measured automatically. This
process will take a while.
Aligning the right extruder
After the measurement has been performed, the printing plate and
the extruder unit return to their home positions and then immediately
move to the middle of the printing plate.
The heating of the extruders and the printing plate is switched off
automatically.
The display shows "Align Extruders".
This means that the second extruder must be aligned now.
Heat up the printing plate to 100 °C again and the two extruders to
120 °C. Proceed as described in this chapter, in item "Heating up the
printing plate and the extruders".
Again, wait for at least 10 minutes when the set temperatures are
reached.
The extruder 0 should now be supported nearly entirely on the print-
ing plate.
Tobecertain,rstreleasetheholdingscrewoftheleftextruder(ex-
truder 0), so that it is actually supported on the printing plate.
Then release the screw of the right extruder (extruder 1) and lower it
carefully onto the printing plate.
Now tighten the two screws again in sequence. Best hold the extrud-
er at the very top of the inlet. This prevents them from twisting and
hitting the fan sheet. Both extruders must be applied to the printing
plate with the same force.
Press the button "Play" (6) to terminate Heat Bed Scan.
Attention! Never touch the hot extruder or the printing plate dur-
ing the settings! There is a danger of burns!
When the information "Scan completed" is displayed as shown in
thegure,thescanhasbeencompletedsuccessfullyandthevalues
have been saved.
ConrmthemessagewithOK.
The printer switches back to the main display.
Youcanusetheprinternow.Bestcontinuebyinsertingthelament.
If the display shows "Scan aborted", this means that measurement
has been aborted.
In this case, observe chapter "22. Troubleshooting".
In this version of the head bed scan ("Scan"), you need to manually set the Z-offset (distance between nozzle/printing plate when printing the
rstlayer)afterthescan.ForthesettingsfortheZ-offset,seethemenu"Conguration" - "Z Calibration" - "Z Offset". Alternatively, the Z-offset
can also be controlled via the G-code.