Sending a Locked Print file
1. From an application, select a command to print.
The [Print] dialog box appears.
2. Select the printer you want to use in the [Name] list, and then click [Properties].
The [Printer Properties] dialog box appears.
3. In the [Job type:] box, click [Locked Print].
When printing with the PostScript 3 printer driver, click [Locked Print] in the [Job Type:] box on the
[Job Log] tab.
4. Click [Details...], and then enter a User ID in the [User ID:] box.
This is used to identify the user. The user ID can be entered using up to eight alphanumeric (a-z, A-Z,
0-9) characters.
5. In the [Password:] box, enter a four to eight digit password (0-9).
6. Execute a command to print.
The job is saved on the hard disk.
Printing a selected Locked Print file only
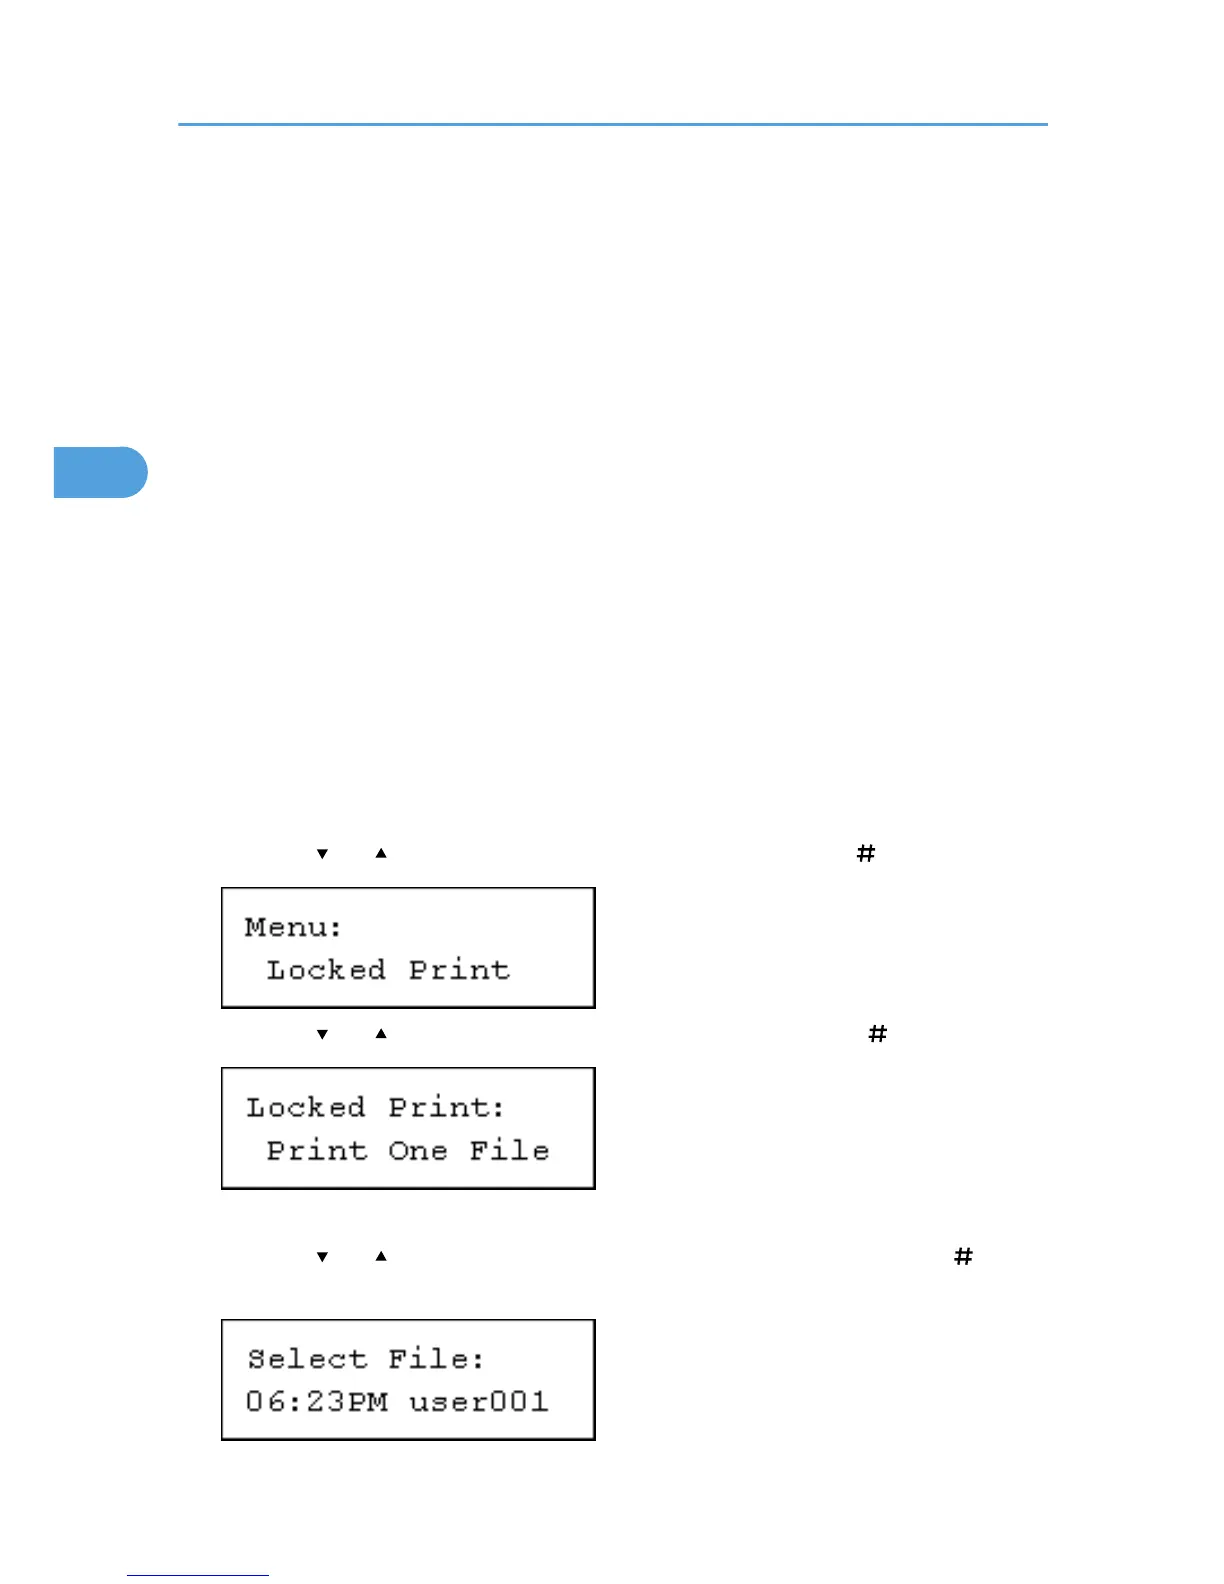
1. Press the [Menu] key.
The [Menu] screen appears.
2. Press the [ ] or [ ] key to display [Locked Print], and then press the [ Enter] key.
3. Press the [ ] or [ ] key to display [Print One File], and then press the [ Enter] key.
The file name and the time when the job was stored appear.
4. Press the [ ] or [ ] key to display the file you want to print, and then press the [ Enter]
key.
3. Printing Stored Documents
104

 Loading...