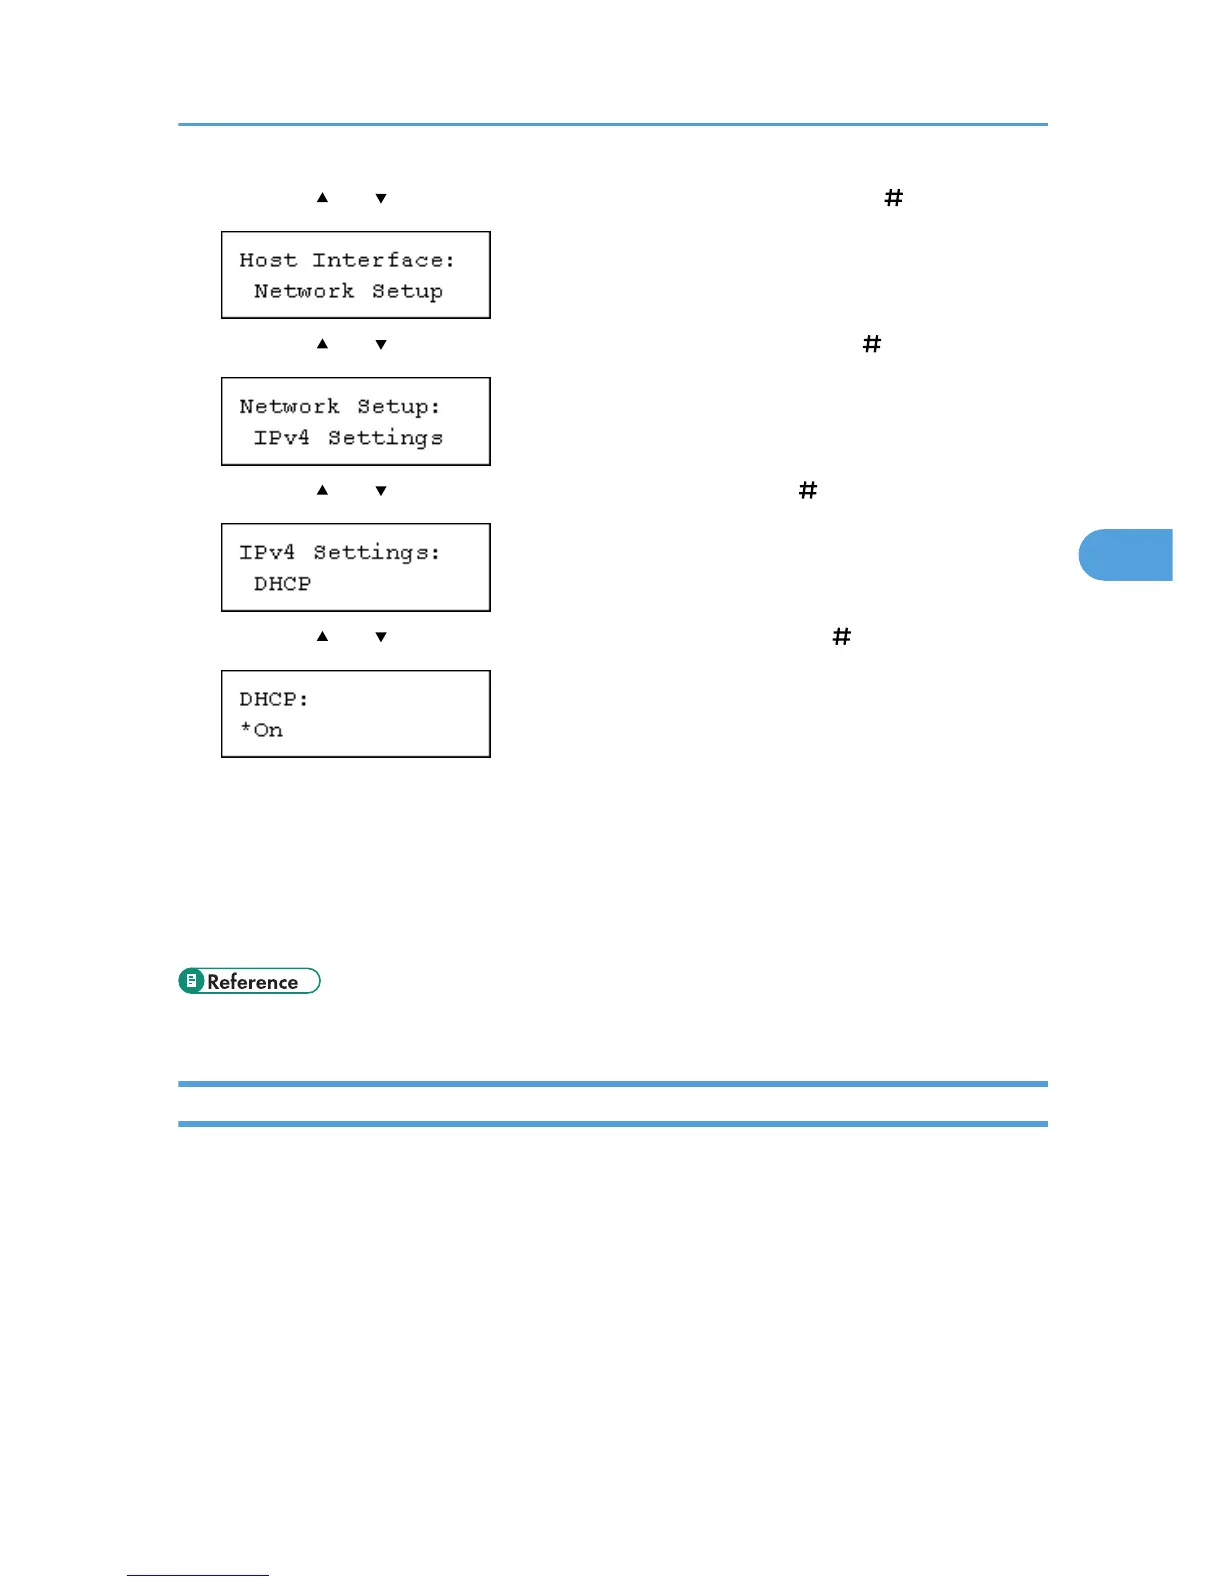
3. Press the [ ] or [ ] key to display [Network Setup], and then press the [ Enter] key.
4. Press the [ ] or [ ] key to display [IPv4 Settings], and then press the [ Enter] key.
5. Press the [ ] or [ ] key to display [DHCP], and then press the [ Enter] key.
6. Press the [ ] or [ ] key to select [On] or [Off], and then press the [ Enter] key.
The address will be automatically assigned to the printer.
The default setting is [On].
7. Press the [Menu] key.
The initial screen appears.
8. Print a configuration page to confirm the settings made.
• "Printing the Test Page", Quick Installation Guide.
Configuring Network Settings When Using NetWare
If you use NetWare, select the frame type for NetWare.
Select one of the items below if necessary.
• Auto Select (Default)
• Ethernet II
• Ethernet 802.2
• Ethernet 802.3
• Ethernet SNAP
Ethernet Configuration
65
 Loading...


