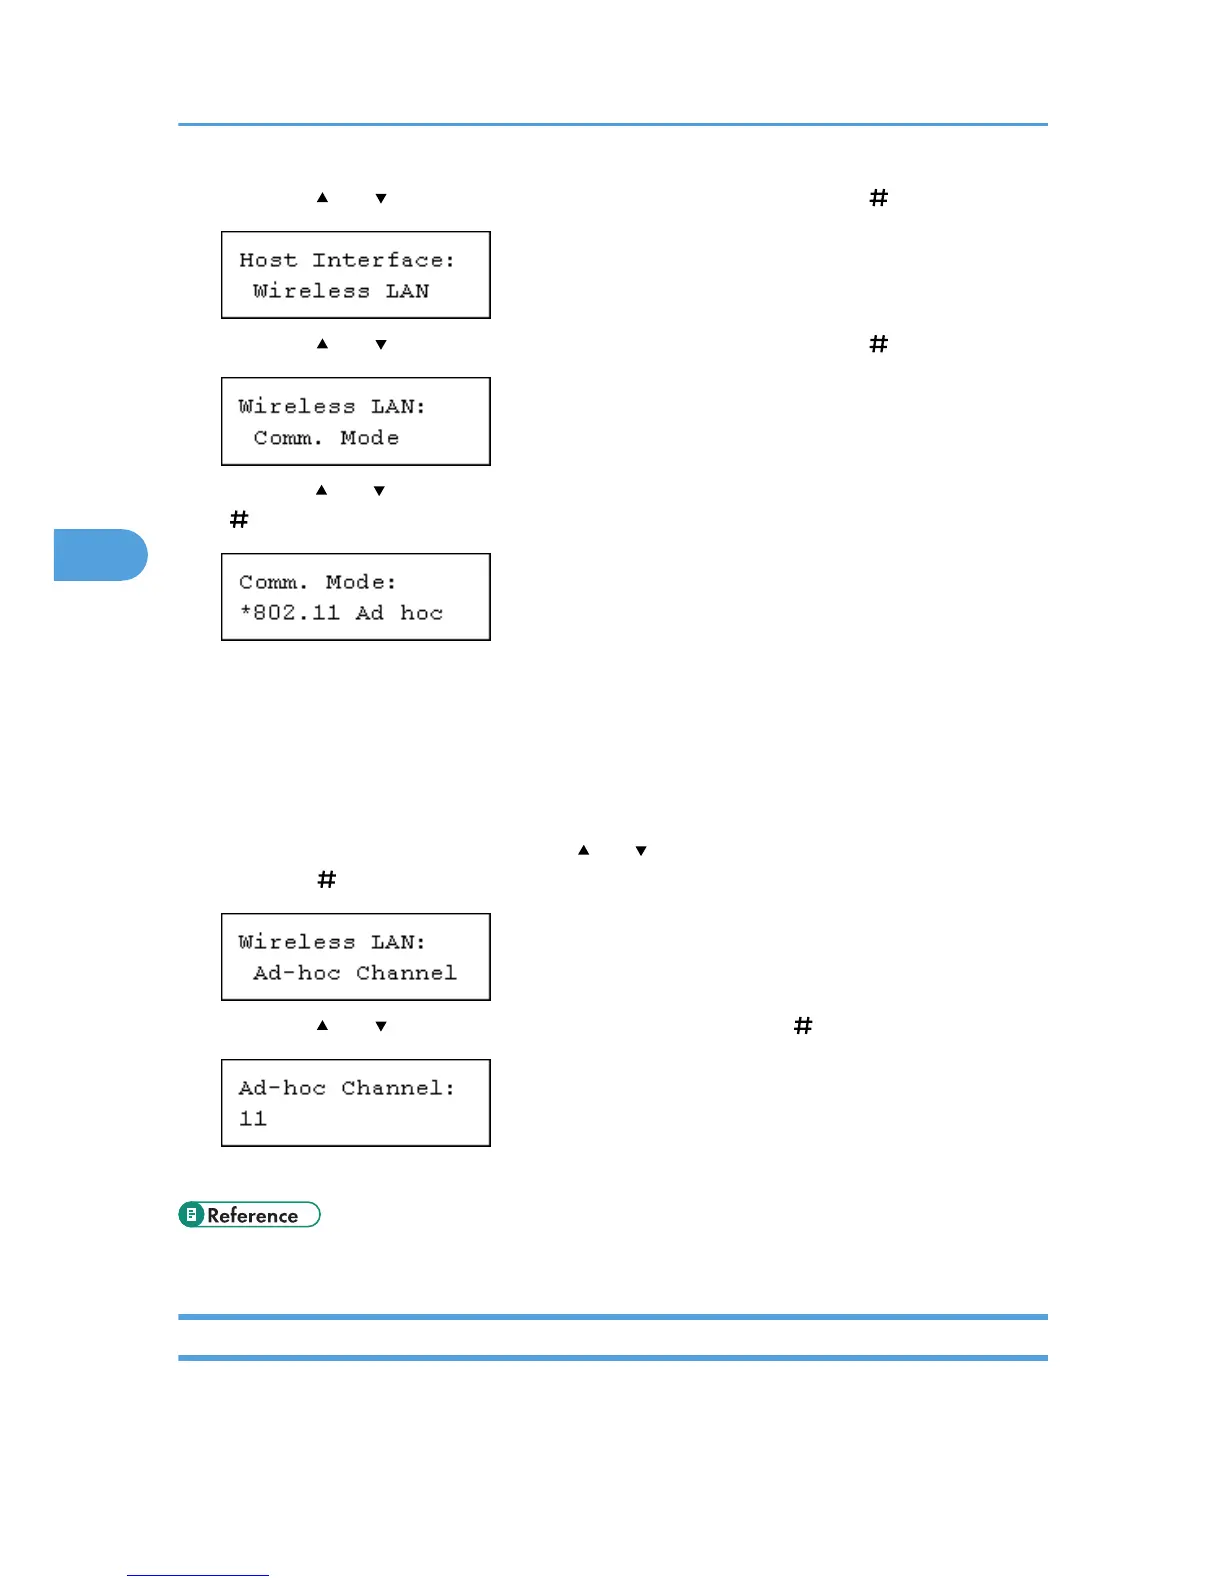
3. Press the [ ] or [ ] key to display [Wireless LAN], and then press the [ Enter] key.
4. Press the [ ] or [ ] key to display [Comm. Mode], and then press the [ Enter] key.
5. Press the [ ] or [ ] key to select the transmission mode of wireless LAN, and then press the
[ Enter] key.
The factory default is [802.11 Ad hoc].
The transmission mode of wireless LAN can also be set using a Web browser. For details, see Web
browser, and "Configuring the Network Interface Board", Software Guide.
6. If [802.11 Ad hoc] is selected for [Comm. Mode], set the channel to use for transmission.
Confirm the network administrator for the channel to use.
7. In the [Wireless LAN] menu, press the [ ] or [ ] key to display [Ad-hoc Channel], and then
press the [ Enter] key.
8. Press the [ ] or [ ] key to set the channel, and then press the [ Enter] key.
9. Print a configuration page to confirm the settings made.
• "Printing the Test Page", Quick Installation Guide.
Setting the SSID
To use wireless LAN, set SSID for transmission. Consult your network administrator for the SSID to use.
4. Configuration
72
 Loading...


