When [Comm. Mode] is set to [Infrastructure] or [Ad hoc], you must specify the Service Set Identifier (SSID)
of the wireless access point that the printer will connect to for network access.
Ask the network administrator for the SSID to use.
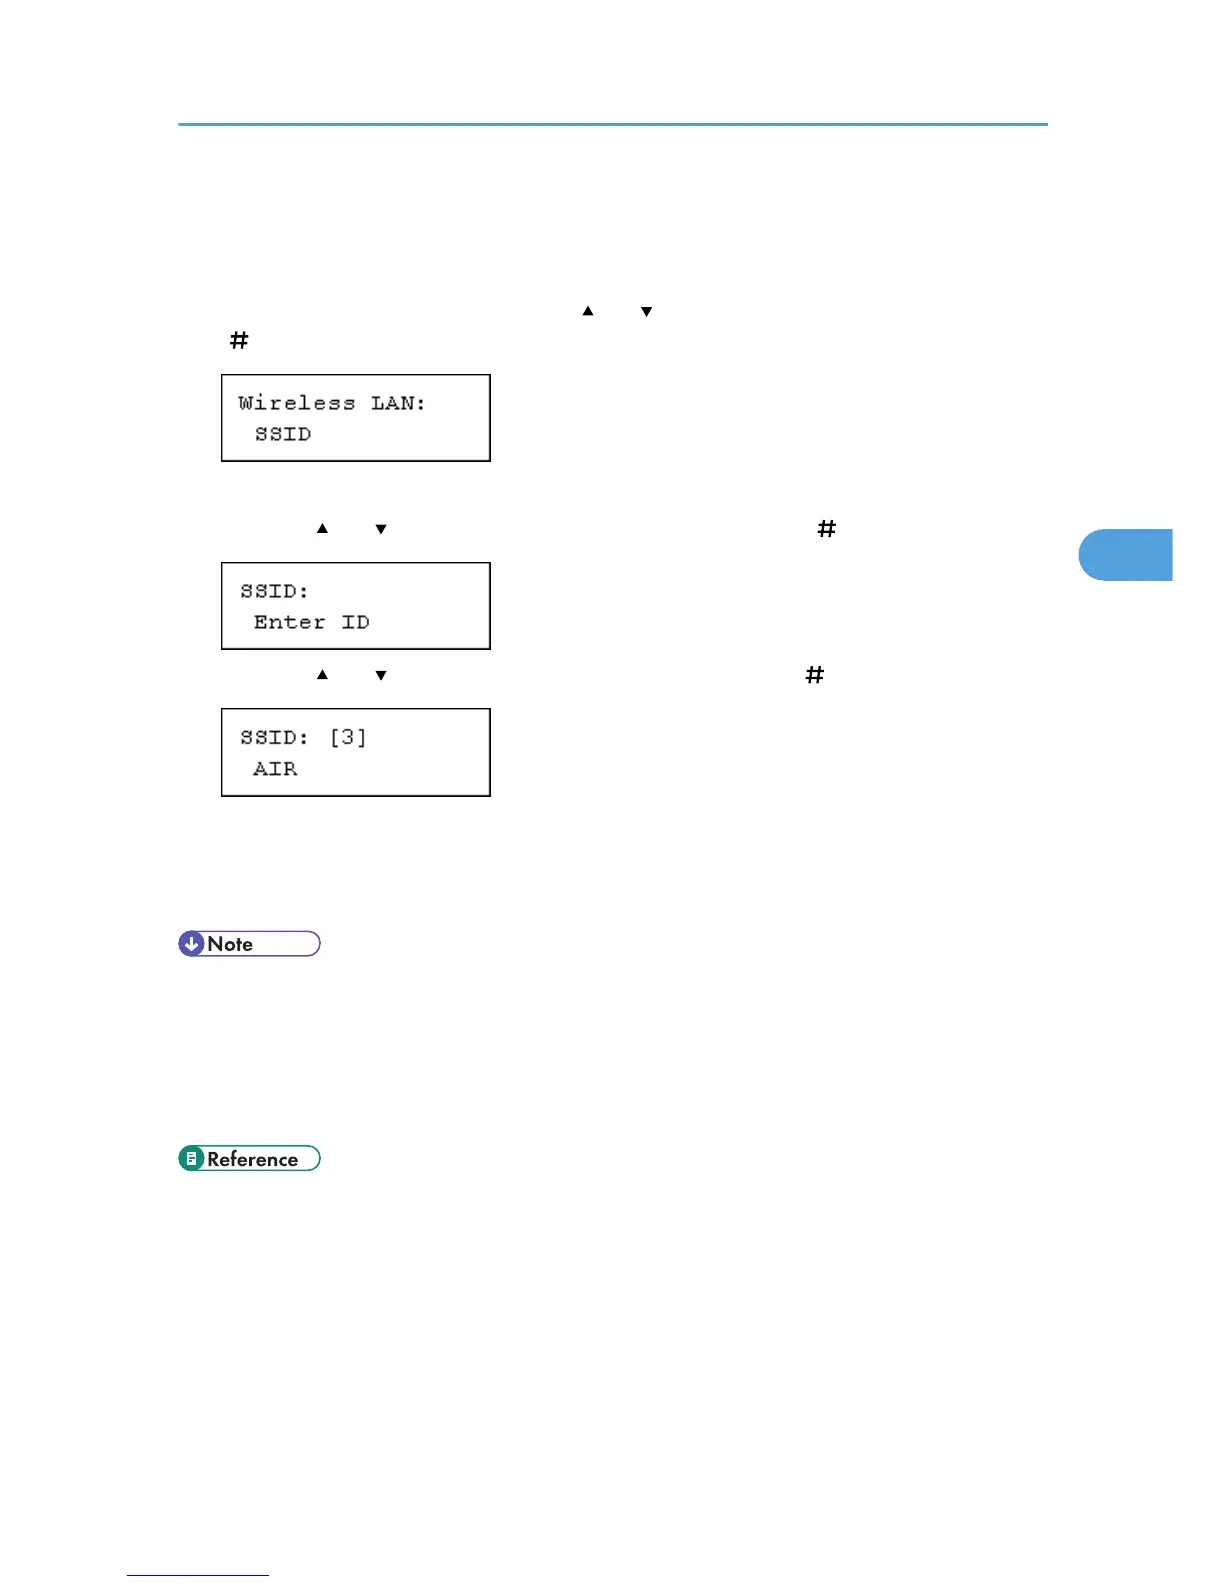
1. In the [Wireless LAN] menu, press the [ ] or [ ] key to display [SSID], and then press the
[ Enter] key.
If an SSID has been set, you can check the SSID setting.
2. Press the [ ] or [ ] key to display [Enter ID], and then press the [ Enter] key.
3. Press the [ ] or [ ] key to enter characters, and then press the [ Enter] key.
The number of characters you have entered is displayed on the top right of the screen.
The characters that can be used are ASCII 0x20-0x7e (32 bytes), 16 digits.
4. Print a configuration page to confirm the settings made.
• The SSID can also be set using a Web browser. For details, see the Web Image Monitor Help, and
"Configuring the Network Interface Board", Software Guide.
• WEP key can also be set using a Web browser. For details, see Web Image Monitor Help.
• For details about printing the configuration page, see "Printing the Test Page", Quick Installation
Guide.
• "Configuring the Network Interface Board", Software Guide
• "Printing the Test Page", Quick Installation Guide
• Web Image Monitor Help
Wireless LAN Configuration
73
 Loading...


