• Locked Print files printed or deleted using Web Image Monitor after you have selected [Locked Print]
using the control panel will still appear on the display panel. However, an error message will appear
if you try to print or delete those Locked Print files.
• If the application has a collate option, make sure that it is not selected before sending a print job. By
default, locked print jobs are automatically collated by the printer driver. If the collate option is selected
in the application print dialog box, more prints than intended may be printed.
• Print jobs are not saved on the hard disk in the following cases. You can check the error log for jobs
not saved.
• When there are 100 Sample Print, Locked Print, Hold Print and Stored Print jobs saved on the
hard disk.
• When the total number of pages saved on the hard disk exceeds 9,000 pages.
Sending a Locked Print file
1. In the application, click [Print] on the [File] menu.
The [Print] dialog box appears.
2. In the pop-up menu, click [Job Log].
3. On the [Job Type:] pop-up menu, click [Locked Print].
4. In the [User ID:] box, enter a user ID using up to eight alphanumeric (a-z, A-Z, 0-9)
characters, and then enter a 4-8 digit password in the [Password:] box.
The user ID associates the user with his/her jobs.
5. After making the necessary settings, click [Print].
The document file is saved in the printer.
To print the document, perform the following steps.
To delete the document, see "Locked Print".
Printing a selected Locked Print file only
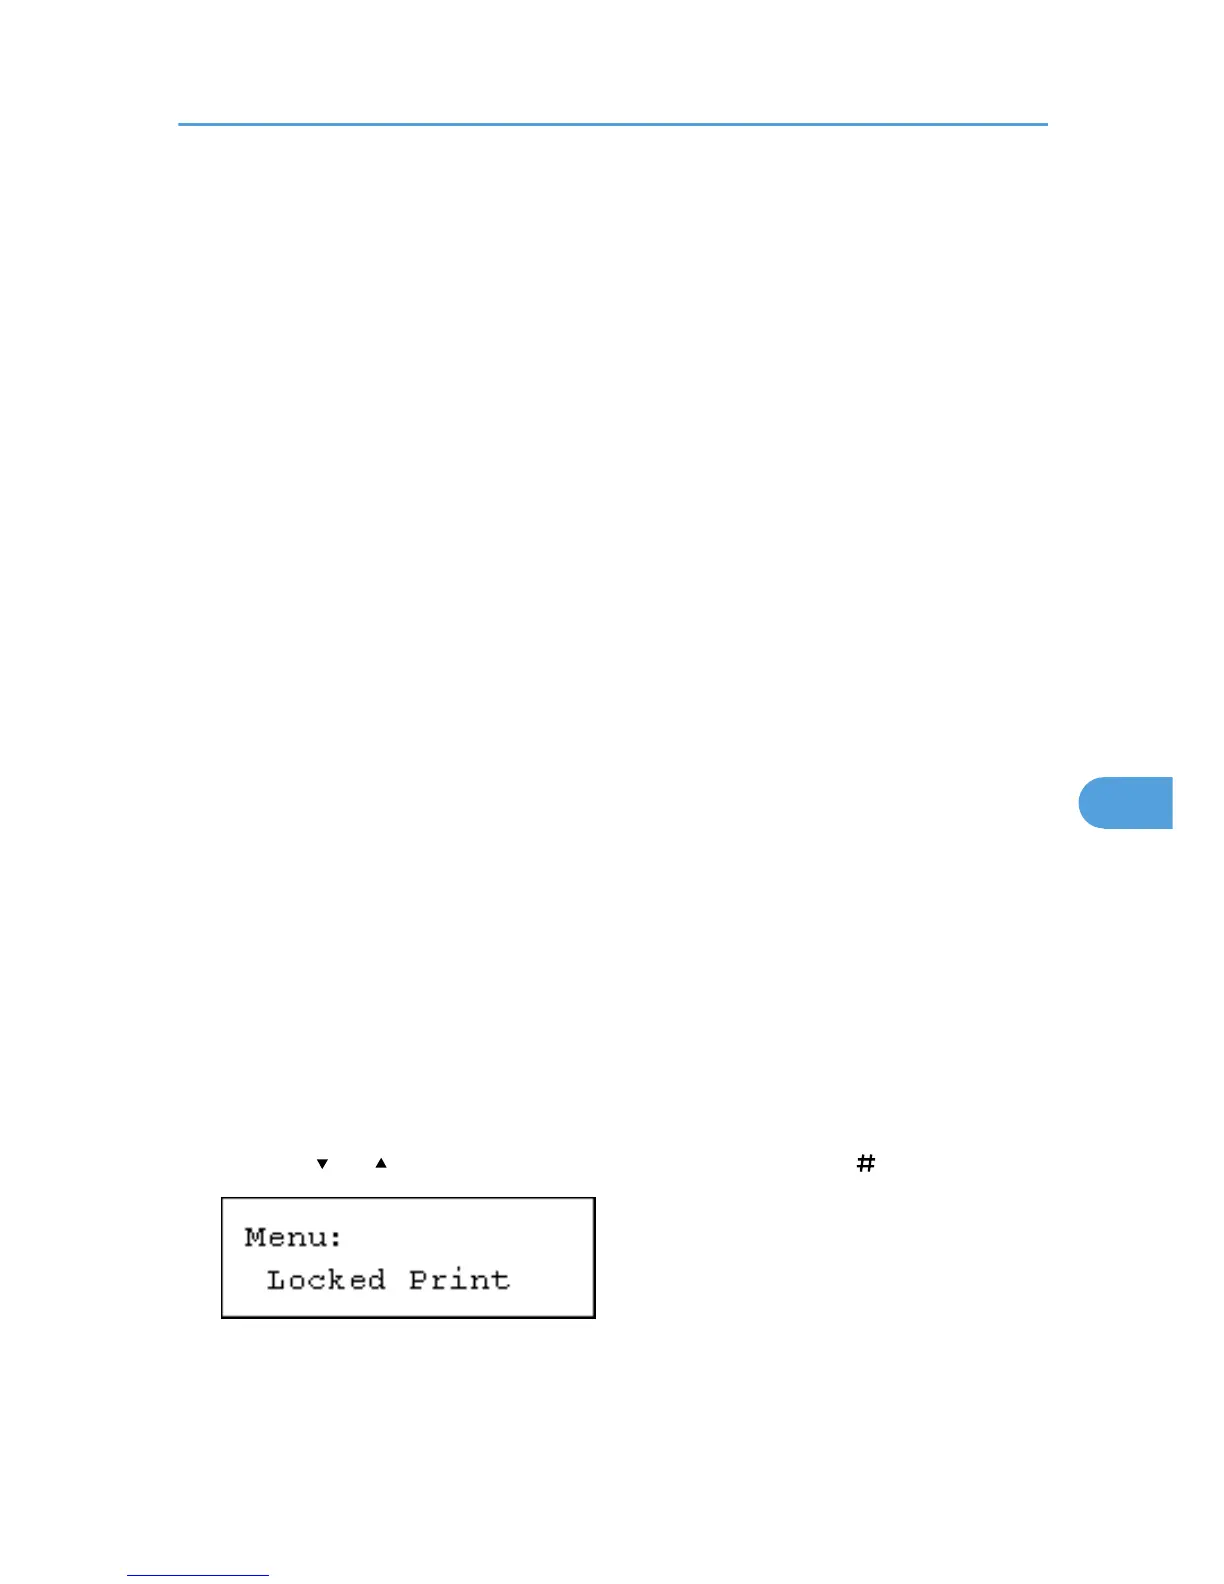
1. Press the [Menu] key.
The [Menu] screen appears.
2. Press the [ ] or [ ] key to display [Locked Print], and then press the [ Enter] key.
Using PostScript 3
309
 Loading...


