When the wireless LAN unit is installed, the slot cover is no longer required. However, we recommend
you keep the cover for future use.
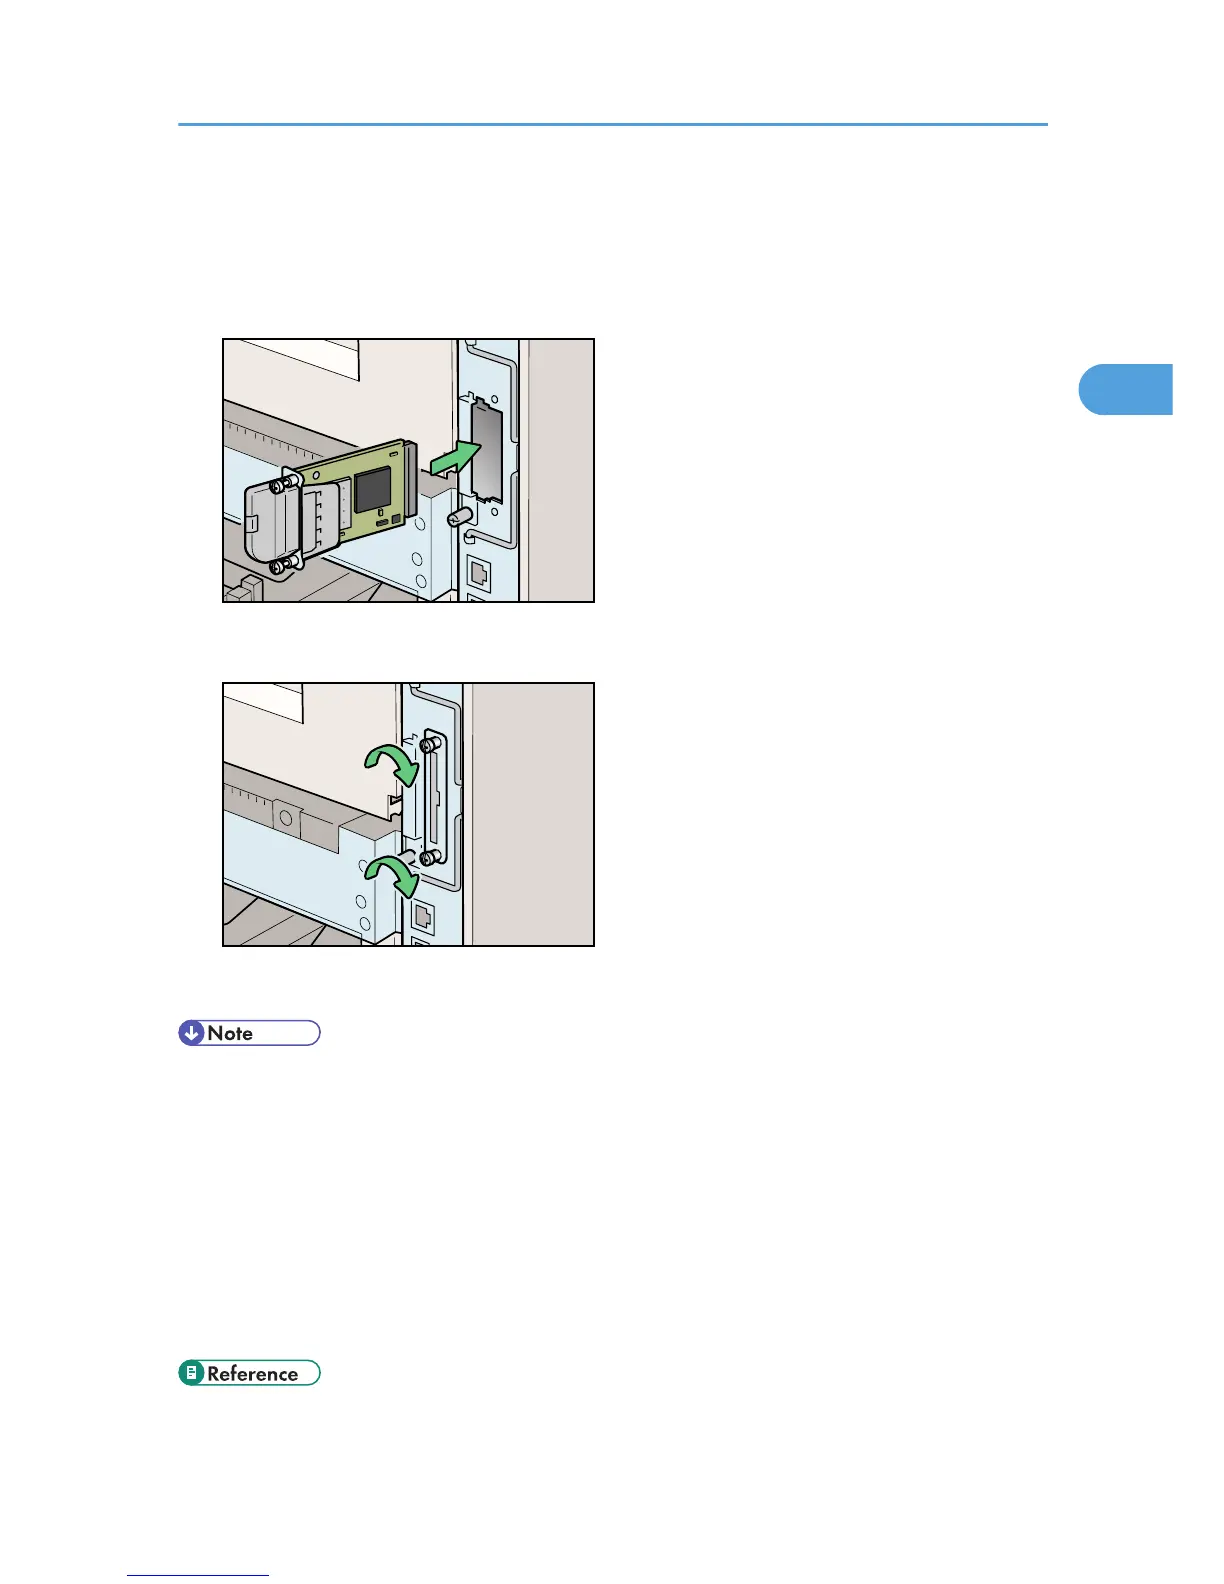
4. Attach the wireless LAN interface unit.
Insert the end of the wireless LAN interface unit into the slot.
Check the wireless LAN interface unit is connected firmly to be controller board.
• Use a coin or similar object if the screws do not turn easily.
• After finishing installation, you can check the wireless LAN interface unit is properly installed: Print the
configuration page from the [List/Test Print] menu. If it is installed properly, "Wireless LAN" will appear
for "Device Connection" on the configuration page.
• If the wireless LAN interface unit is not installed properly, reinstall it following this procedure. If you
cannot install it properly even after attempting reinstallation, contact your sales or service
representative.
• You need to make settings with the control panel before using the wireless LAN interface unit. For
more information, see "Wireless LAN Configuration".
• "Printing the Test Page", Quick Installation Guide
Installing the Interface Units
41
 Loading...


